
Polymer80 Glock 17/19/43 [Review, Build, & Parts Guide]
Want to build your own unregistered Glock that's completely custom to you? We cover essential tools, all build instructions with tons of photos, and our favorite picks for each Glock component part.

PPT Founder. NRA Pistol Instructor. USPSA/3-Gun/NRL22 Competitor. 250+ articles
We review products independently. When you buy through links on our site, we may earn a commission to help support our testing. Learn more.
Want to build your own Glock to your own specifications?
Polymer80's frame kits ($149) let you do just that...in the comfort of your own home. And unlike other 80% projects where you have to mill aluminum...this time you don't even need a drill press.
We've built a couple the past year and all with tons of different triggers, frames, and sights.
By the end, you'll know exactly what to buy to meet your end purpose and budget. Plus everything we've learned along the way to make your build as painless as possible.
{
  "blockName": "core/shortcode",
  "attrs": [],
  "innerBlocks": [],
  "innerHTML": "\n[toc]\n",
  "innerContent": [
    "\n[toc]\n"
  ]
}Should You Even Do This?
Disclaimer: This is purely educational (and we're not lawyers)...you're building a firearm so make sure you're legal and safe. If you run into trouble while building, please consult a qualified gunsmith.
Legal
There has to be some cutoff of where a piece of metal or polymer becomes a gun. The 80% is industry slang but it's where the ATF deems something not a firearm.

Polymer80's Glock PF940Cv1 (compact like the Glock 19) and PF940v2 (standard size like the Glock 17) allow mostly everyone to build an unregistered firearm at home provided you they legally own one already.
But be sure to check your individual state/local laws.

"Individuals manufacturing sporting-type firearms for their own use need not hold Federal Firearms Licenses (FFLs). However, we suggest that the manufacturer at least identify the firearm with a serial number as a safeguard in the event that the firearm is lost or stolen. Also, the firearm should be identified as required in 27 CFR478.92 if it is sold or otherwise lawfully transferred in the future." -BATFE
Difficulty
I'd estimate 25% difficulty compared to completing an AR-15 80% build. It's really not that hard if you're semi-capable with hand tools and don't rush things.

You're dealing with polymer instead of aluminum in a standard 80% AR-15 lower build.

Tools Needed
There's lots of ways to do this since you're only dealing with polymer.

Bare Minimum
It might take a little longer...but this will get you through it. Plus useful for other gun and home projects.
- Hand drill (for the pin holes)...or a Dremel ($39) that can hold drill bits
- Needle Files ($8)
- Assorted Sandpaper ($8)
- Nylon Hammer ($15)
- Glock Front Sight Tool ($6)...or a 3/16" nut driver
- Nylon Sight Drift Tool ($8)
Recommended
- Drill Press (if you already have one...this makes milling pretty easy)
- Brass Punches ($17) (easier to put in pins, brass for not marring your metal surfaces)
- Thread Locker (Medium) ($5) for the front sight screw
Easiest
- Universal Sight Pusher ($140)
- End Snips ($13): No more milling...simply snip off the rail polymer segment and finish off by hand-filing

Now that you've got all the tools...what else do you need?
Parts List
Polymer80% Kit
First...choose the size. If you want to build a full-size Glock 17/22/33/34/35, get the PF940v2.
There's also an aggressive texture one only from Brownells. I personally like the regular "frame textured" which is already light years better than a stock Glock.
"Ready-mod" means that the grip is smooth so you can do what you want...from stippling to adding your favorite grip tape.
If you're looking for a compact Glock like the 19/23/32, get the PF940CV1.
And now more recently...if you want the single stack G43 series...get the PF9SS.
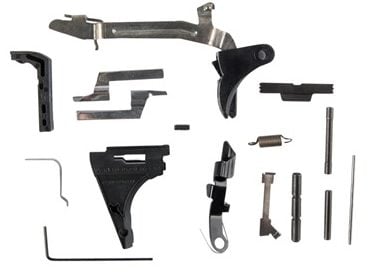
Frame Completion Kit
All my builds have been with this so it works for me. The trigger is actually quite good and better than the stock Glock one. I also like how it comes with the 3.5 lb connector, and extended versions of the slide lock lever, slide stop, and magazine catch.
Make sure you get the correct full-size or compact version. The PF9SS (G43) will also have different parts.
In desperate times you might have to search for any available Glock Completion Kits.
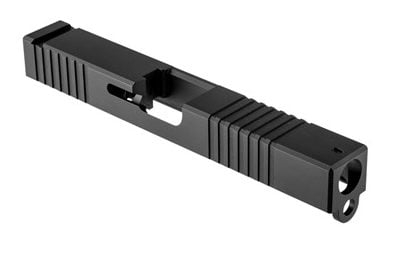
Glock Slide
Make sure you get a Gen 3 Glock slide so that it fits perfectly with the P80 frame. Gen 4 ones have a gap which will likely lead to some problems down the road.
You can opt for complete versions with everything installed including the barrel, or piece everything together yourself.
Check out our Best Aftermarket Glock Slides article for all our recommendations.
But the go-to affordable option is Brownell's where you can get windowed and RMR (red dot) cut slides.
Slide Completion Kit
Depending on if you get a complete slide or a bare one...you might need a slide completion kit. I have used Lone Wolf's and it's good to go.

Glock Barrel
If you went with a slide without a barrel, check out our Best Glock Barrels article.
I really like Faxon's Glock Barrels because of their increased accuracy and looks (full review).

What's the point of customizing if you can't make it your own.
And for the budget build...I'd go with Brownell's editions made by Victory First which seems to have great reviews.

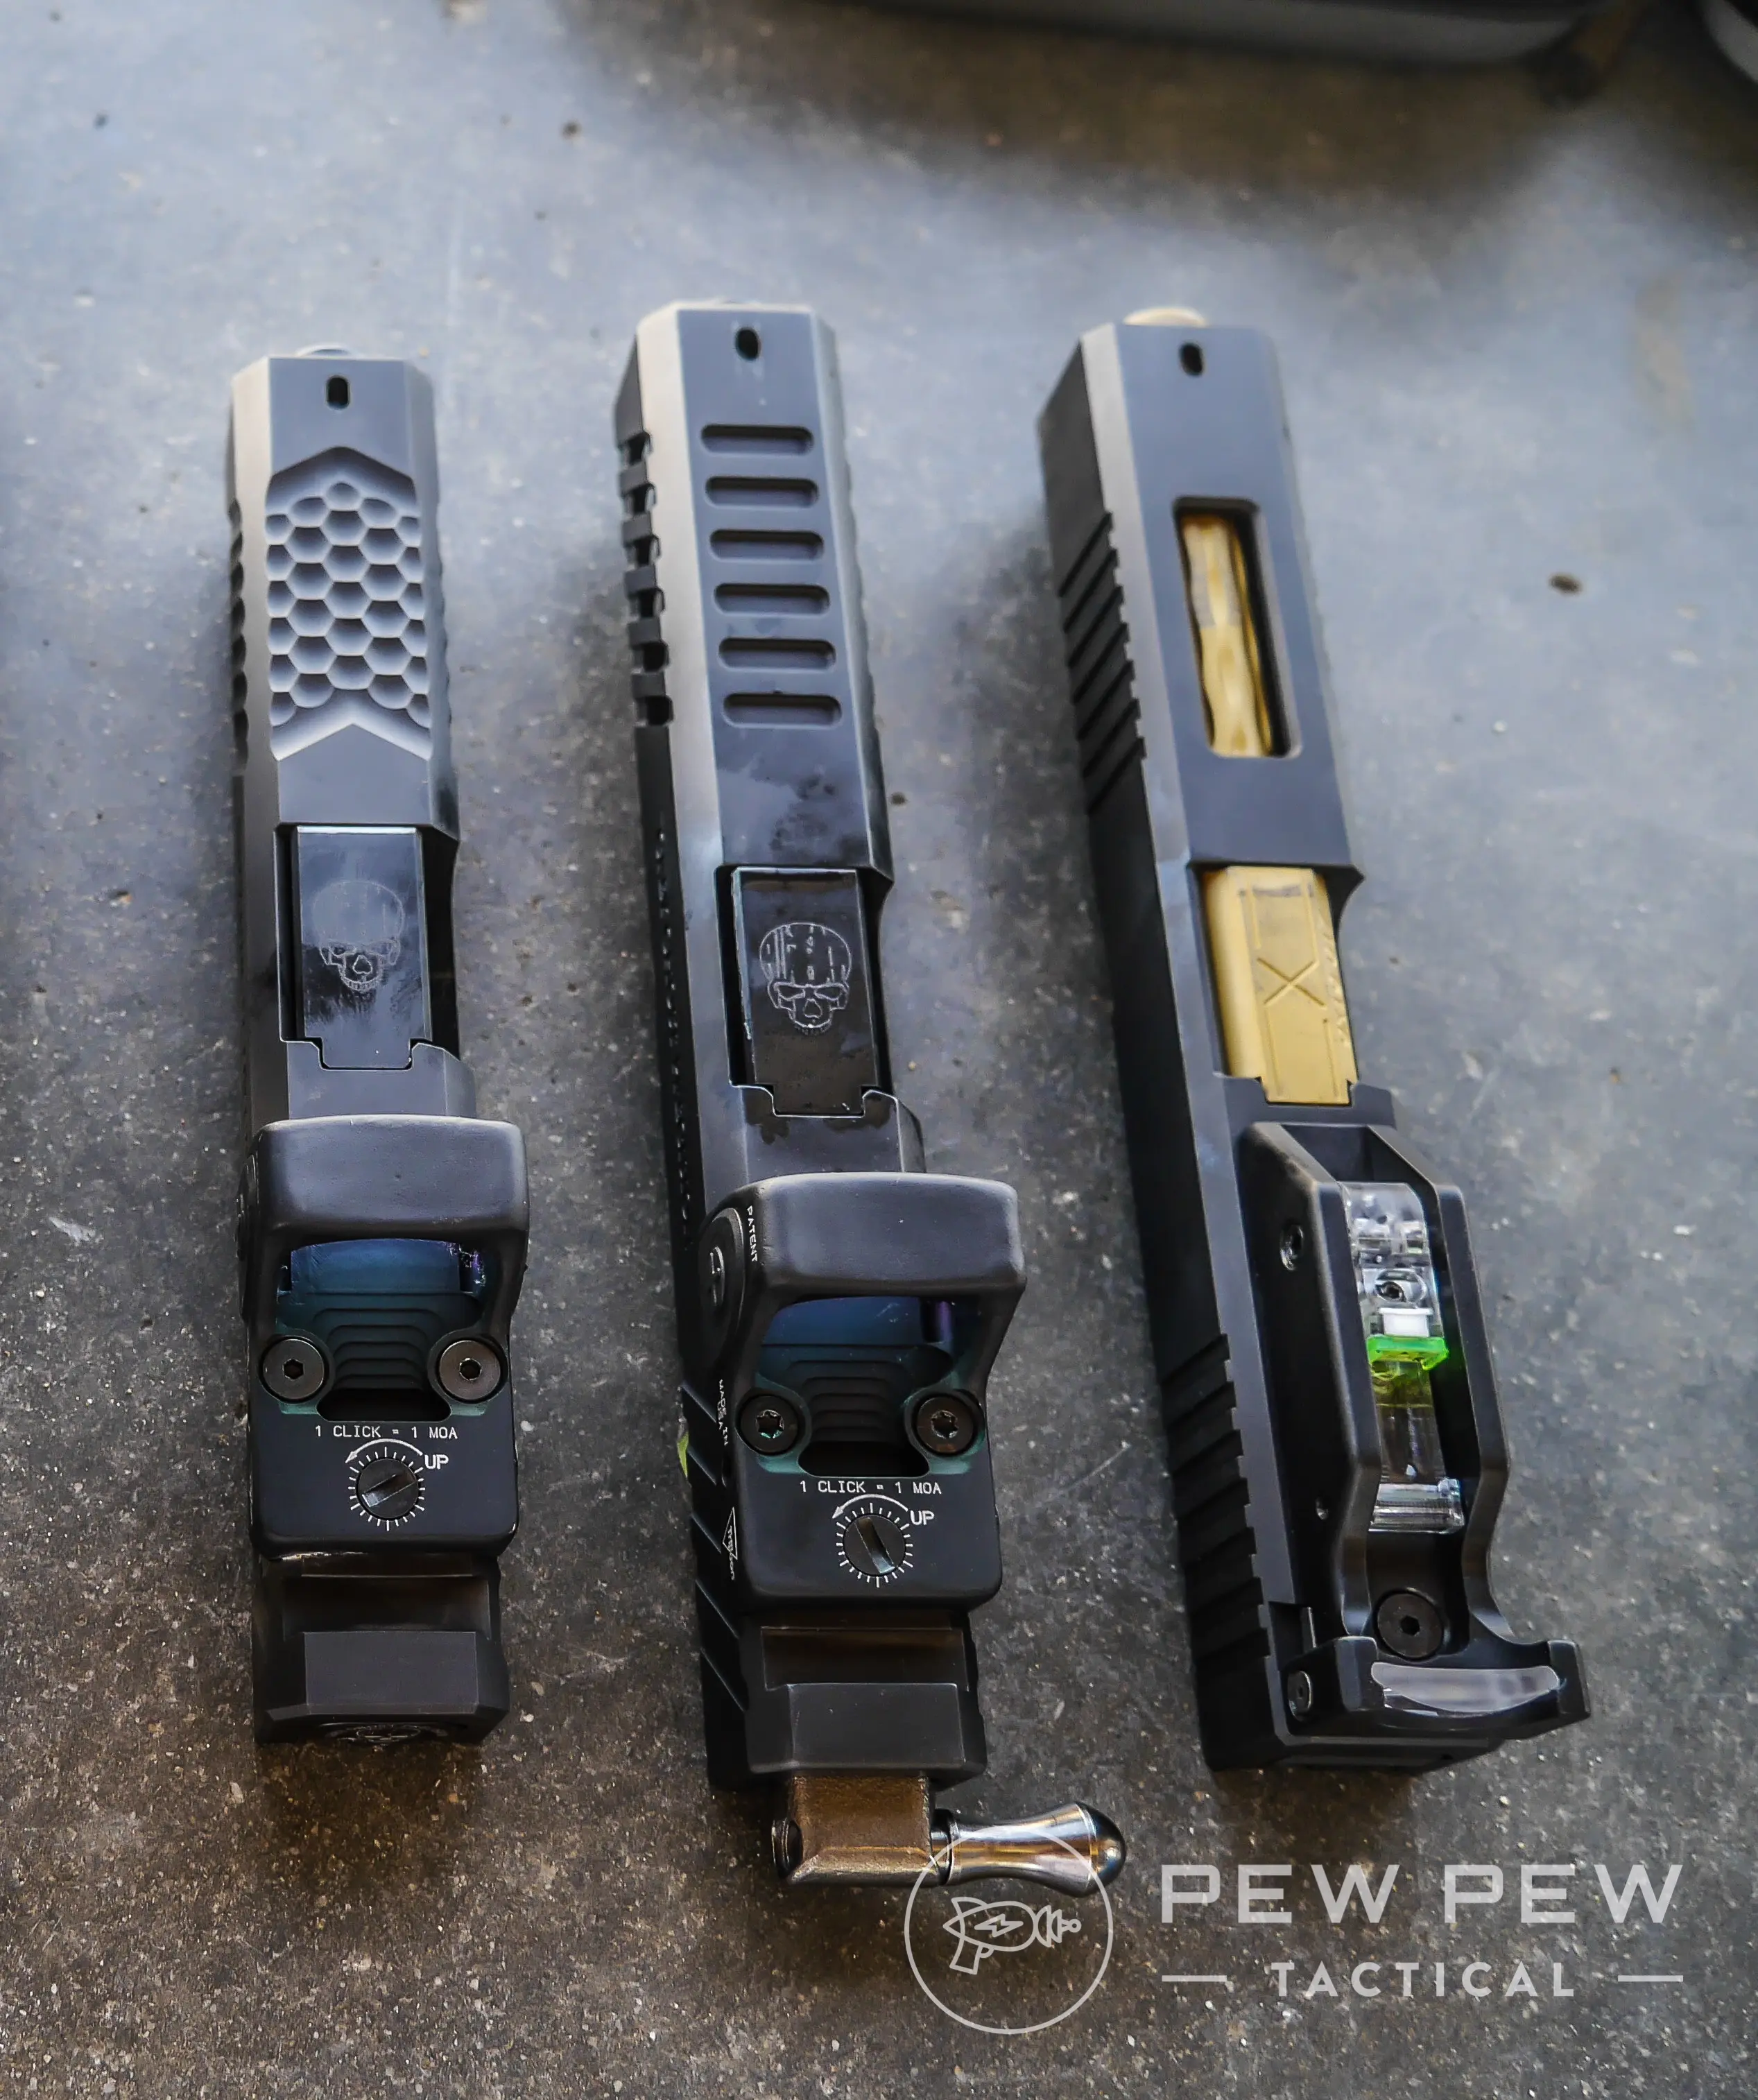
Glock Sights
If it's a more practical gun...I'd stick with Glock OEM night sights.
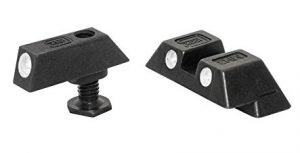
You can check out more of our favorite iron sights at Best Glock Sights.
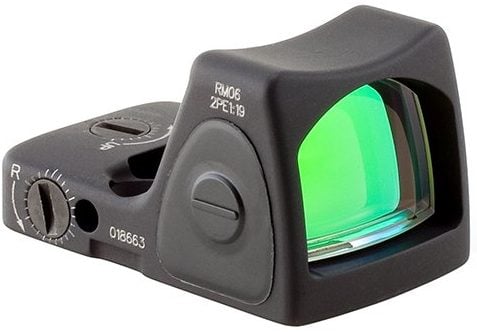
And if you're going the red dot route...check out Best Pistol Red Dots.
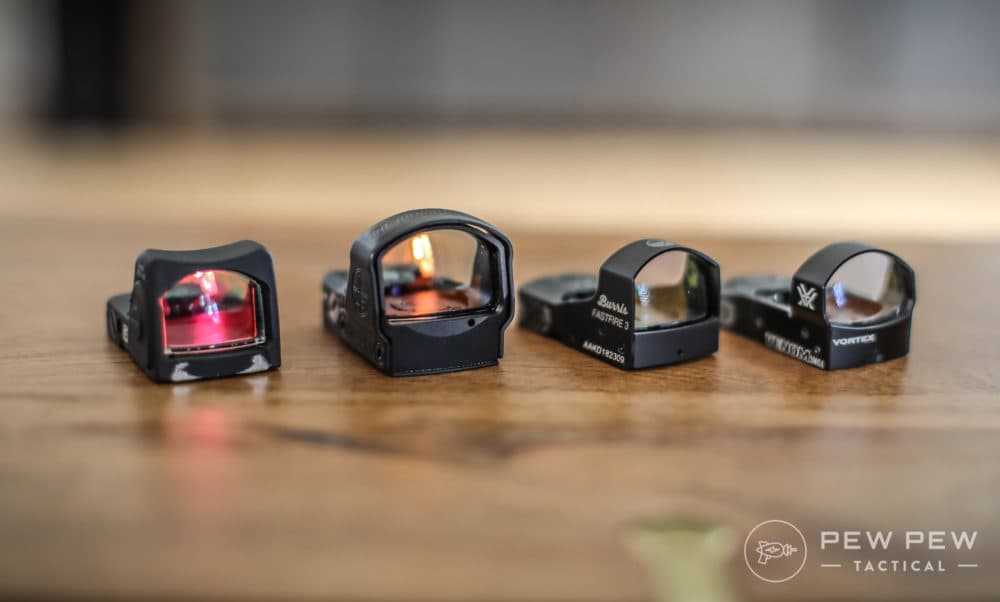
Our top pick is the Trijicon RMR Mod 2 since most frames are milled for it.
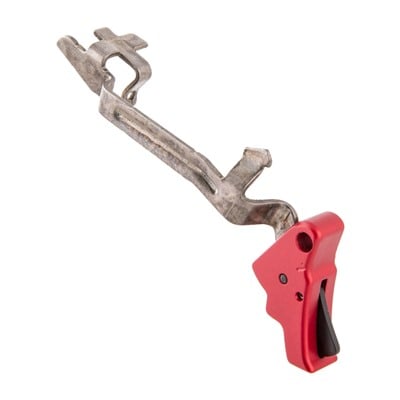
Upgraded Glock Triggers
Although the stock Lone Wolf trigger is pretty decent...it can always get better.
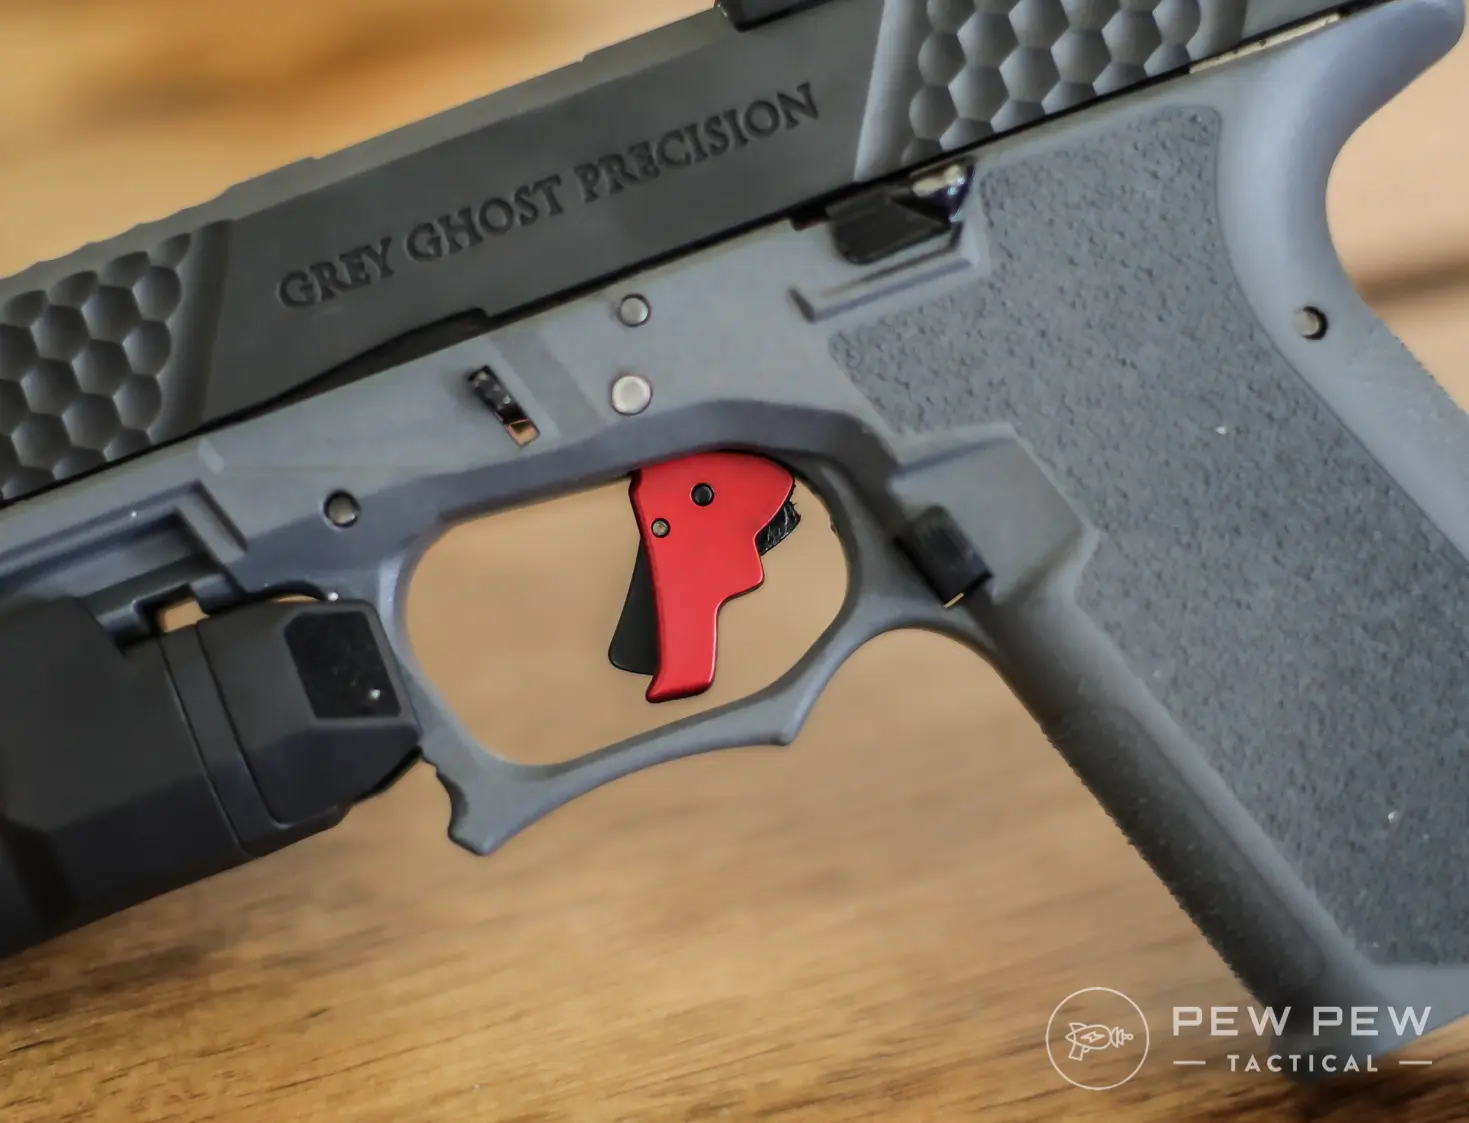
We cover a few of the most Best Glock Aftermarket Triggers (and the infamous 25 cent trigger job) and our favorite is actually the most budget friendly with Apex.
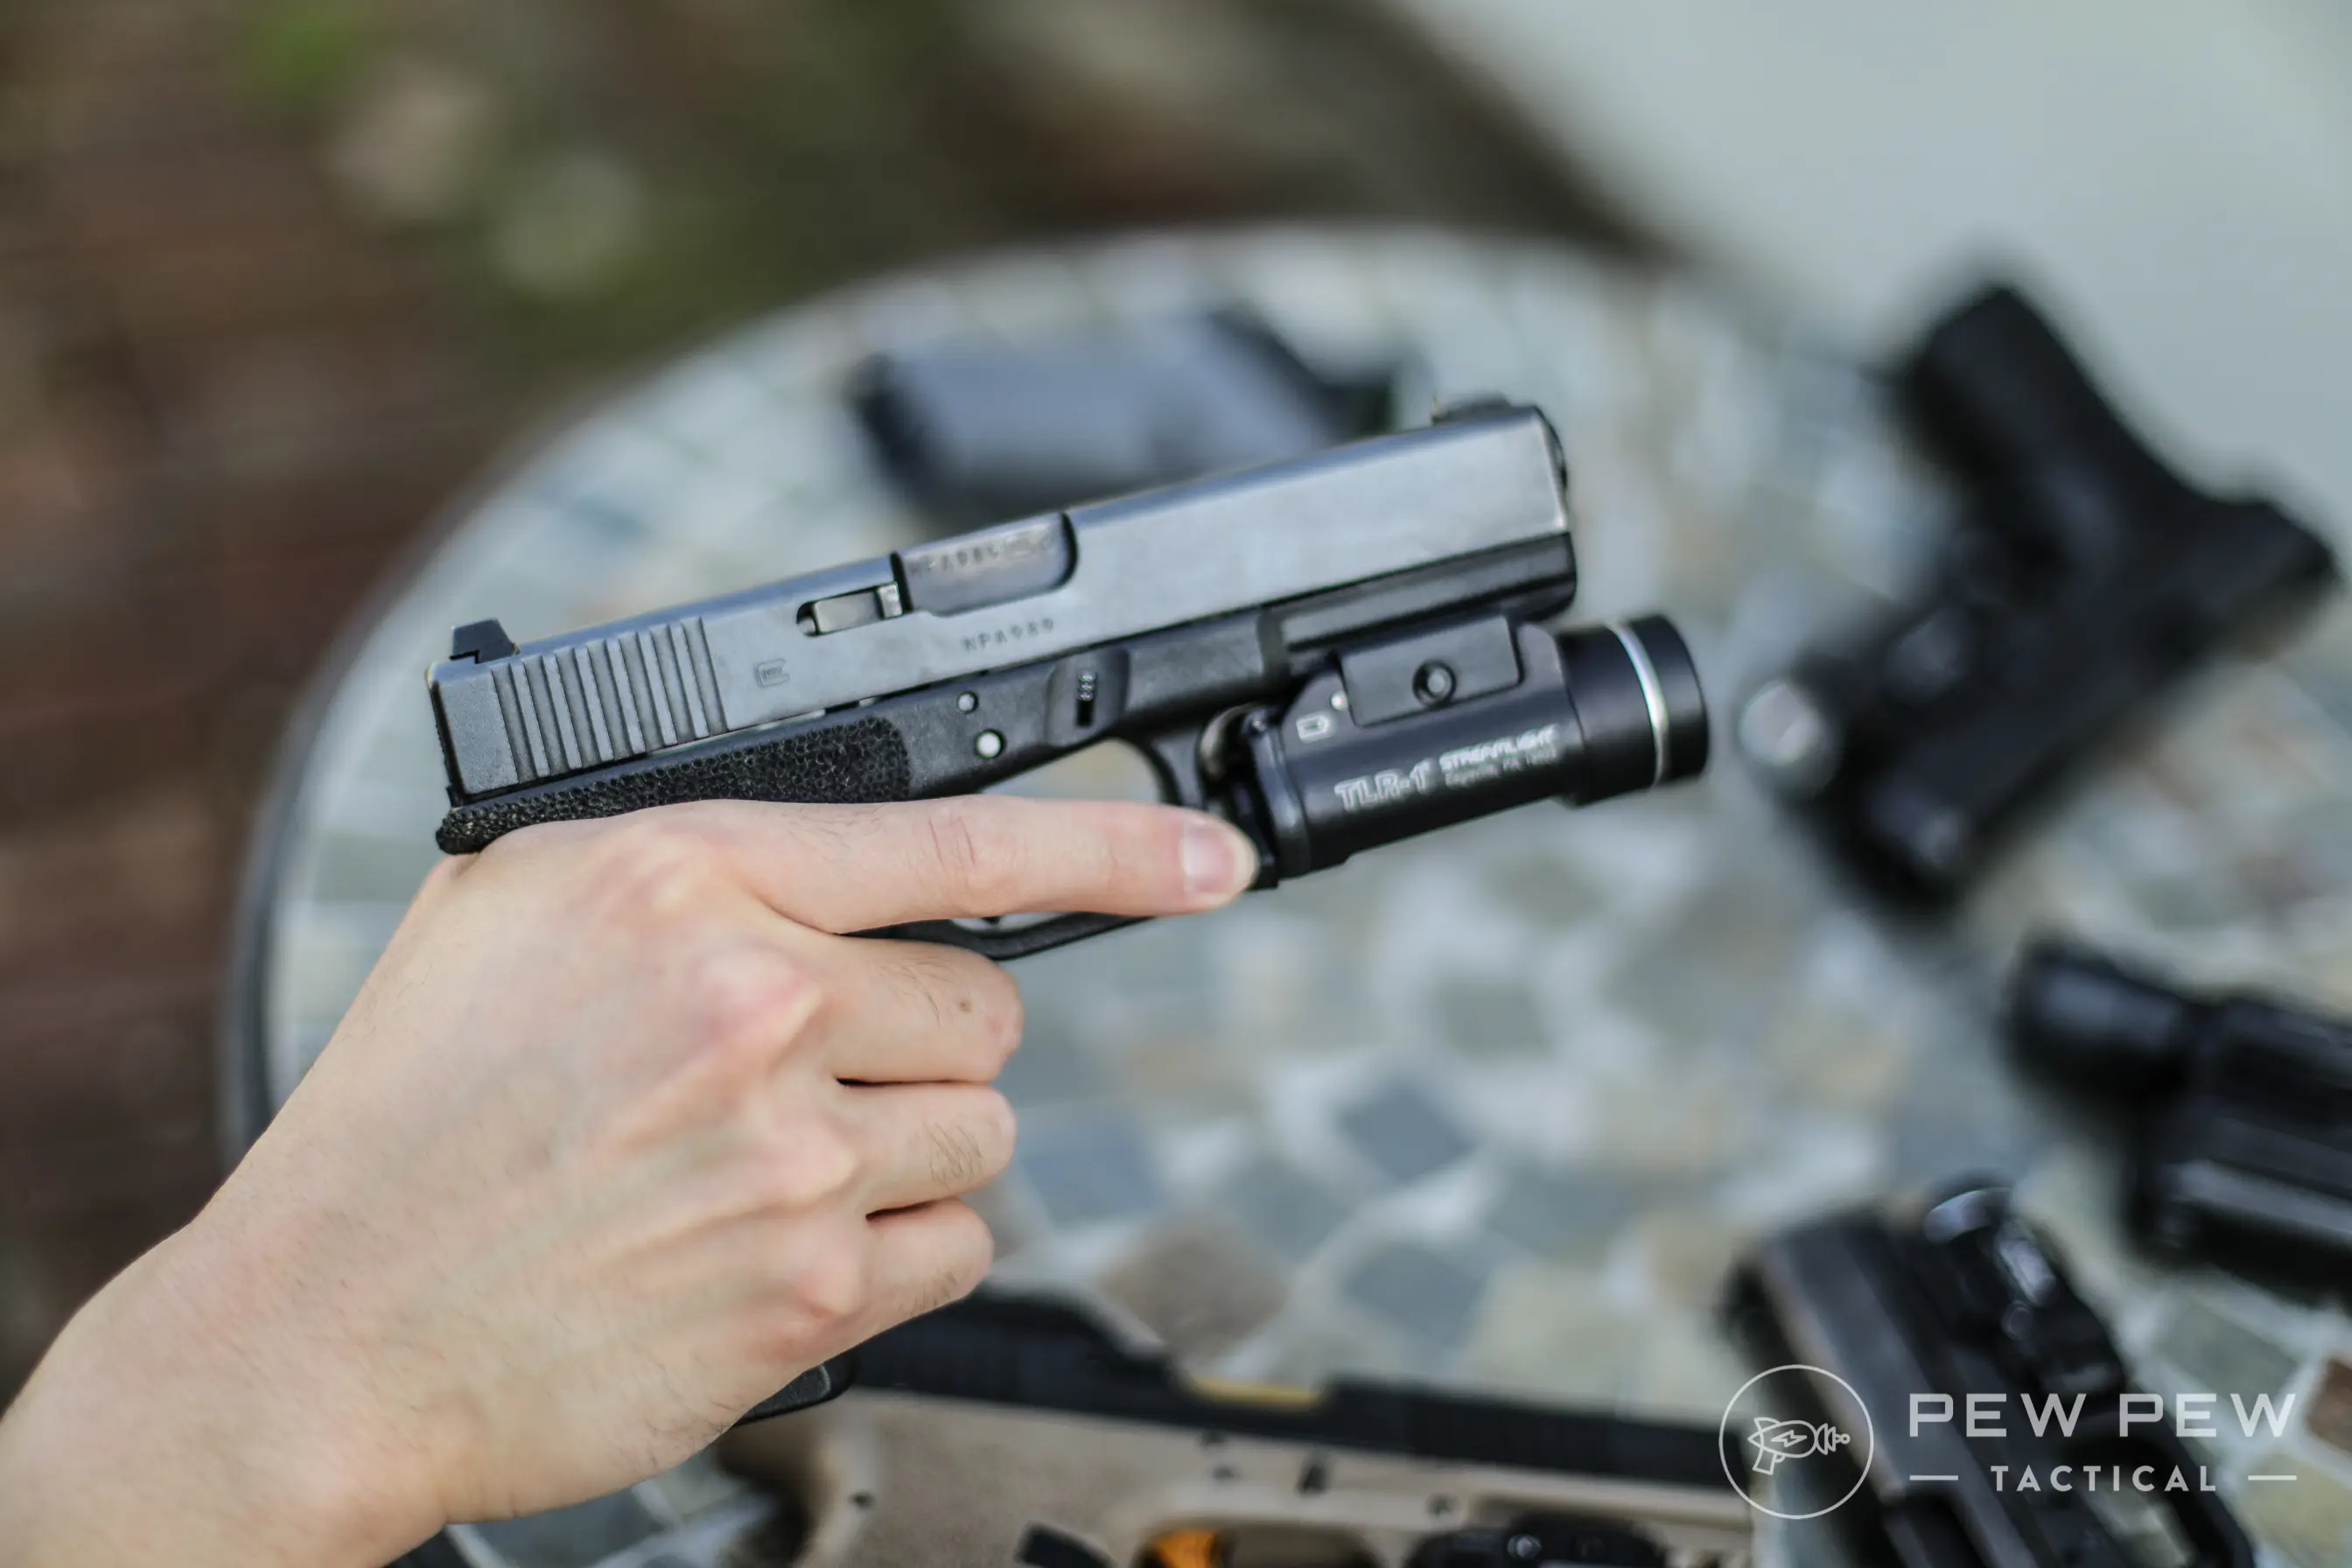
Pistol Lights
You can't shoot what you can't see and identify. We tested out the most popular ones.
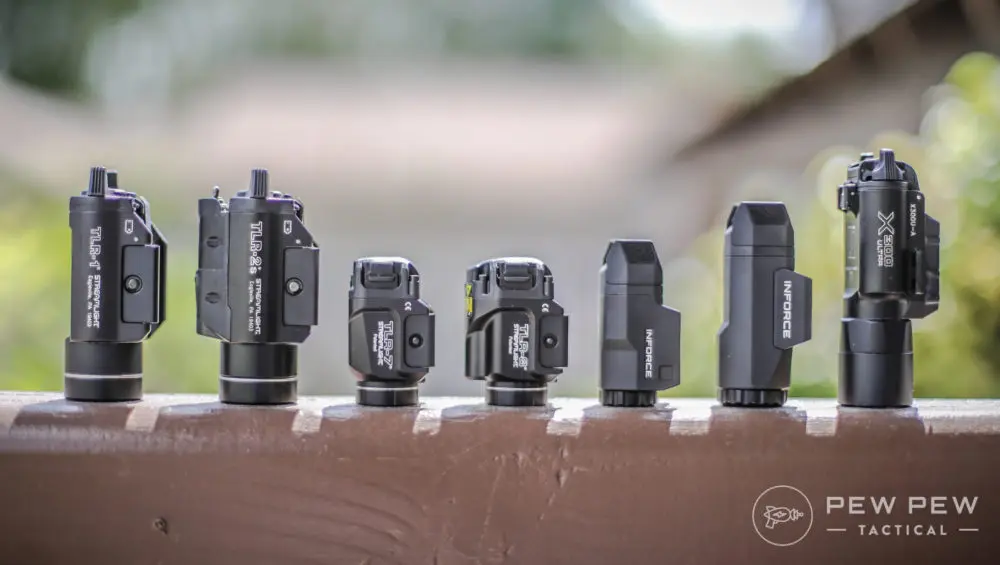
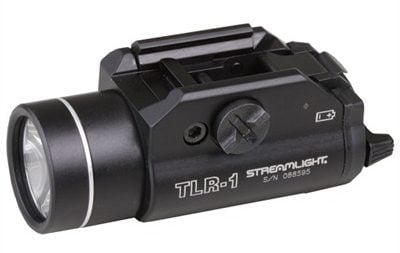
Our favorite and best-bang-for-the-buck is the Streamlight TLR-1
Check out the rest (and each light's beam spread) in Best Pistol Lights.
That should cover everything...now let's get building!
How to Build: Milling & Drilling
Make sure to follow the instructions straight from Polymer80. This is just how I did it for a couple frames.
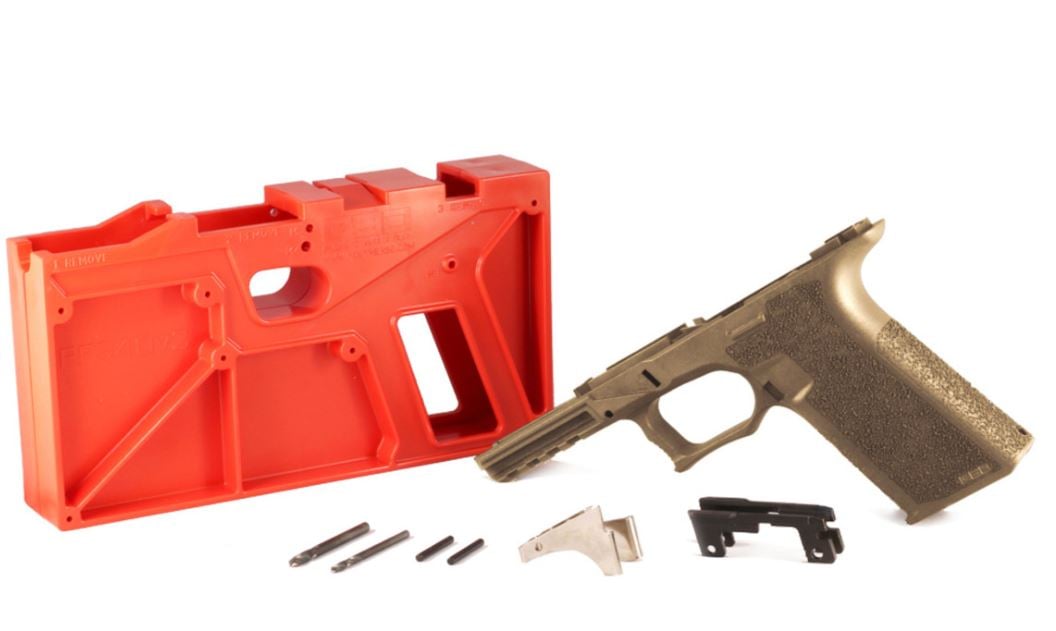
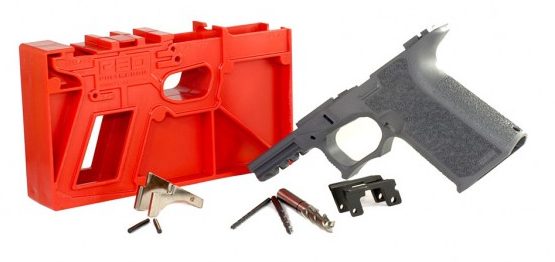
This should be what you get in your kit with some variations in size of the frame and color.

If you're going the milling route...load it up on your vise but not too hard. Otherwise, get crackin' on hand-filing everything!

Put in the milling bit a little above the red...you're going to hand finish it.

I start by moving in the larger front segment.

And finish up the segment slowly.

Then do the same for the rear small segment.

You can see the final results from only the mill bit.

Next up is the hardest bit...milling out the Barrel Block.

Official instructions is to flip the jig and continue to use the mill bit. But my first one caused a lot of vibrations and started going off track.

I would suggest doing it entirely by hand...or starting it off with a Dremel and a grinding attachment.

Go slowly and don't try to remove everything in one go.

Now come the hand tools to finish everything off. If you have more robust files like I do lying around...it's going to go a lot faster. But the small ones I recommend will also work...you just need a little more patience.

Here I'm filing the frame so there's close to no more residual.

Almost there with the hand tools.

I stop when it's rough but flush.

And for the rear segment.

Now I grab the sandpaper...I start off a little rougher and graduate to something pretty high grit (less rough). You can also wrap it around something hard and straight if you don't trust yourself.

And for the barrel block I roll up a piece of sandpaper. You can also wrap it around something cylindrical for more force. Pay extra attention here since the smoother it is the smoother your slide action will be since it's where the recoil spring lives.

The end result for the frame.

And for the barrel block.

It still wasn't super smooth when I assembled everything so I went back and evened it out some more...and made sure there wasn't stuff to snag on the sides.
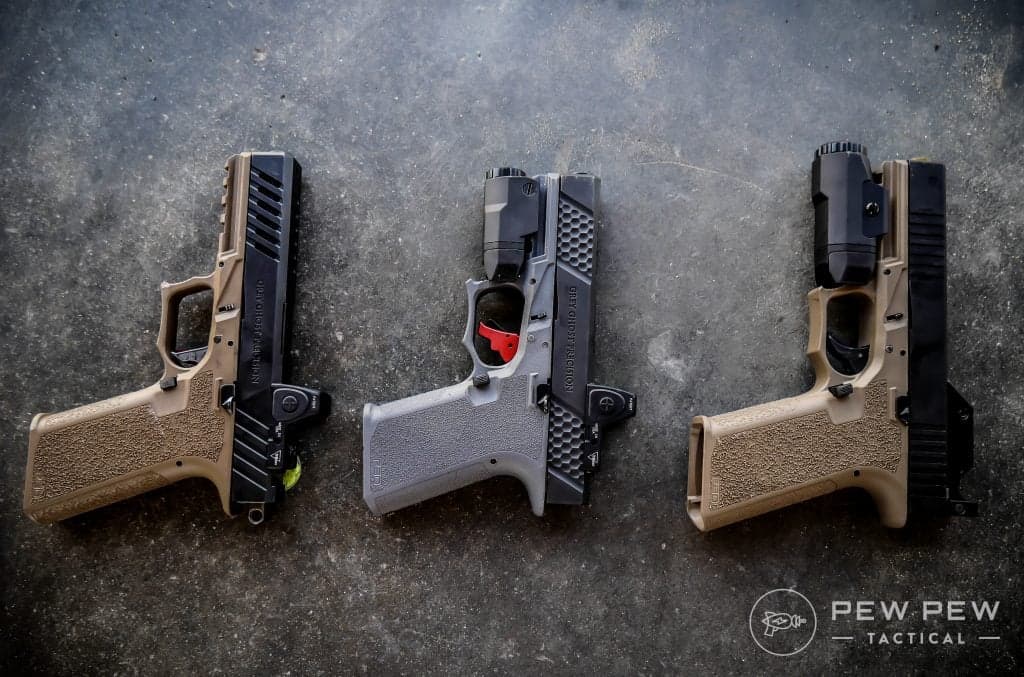
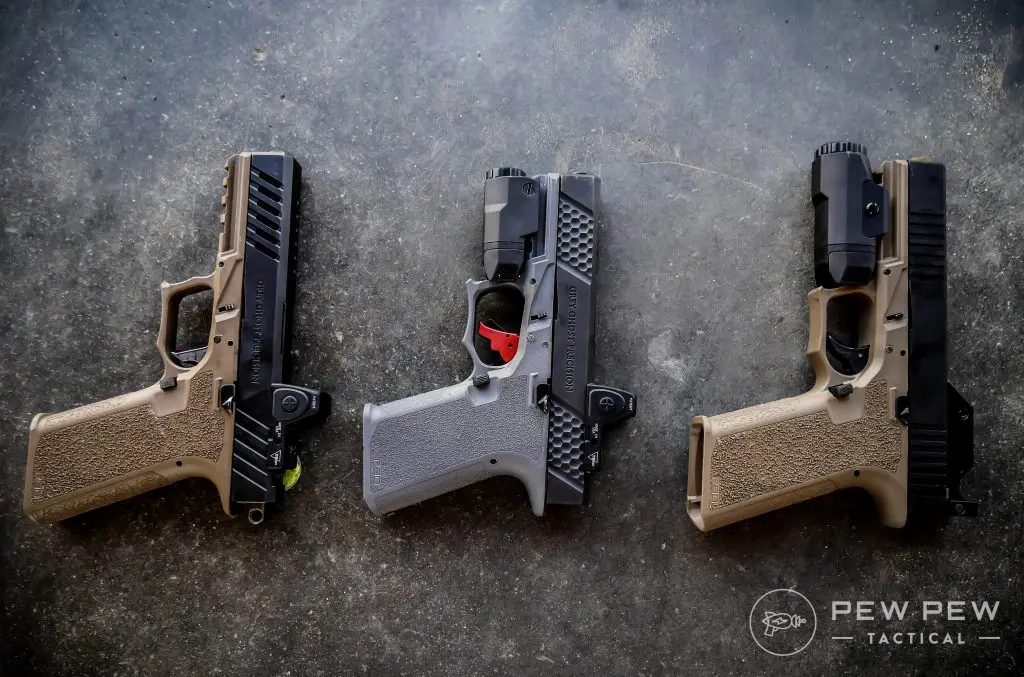
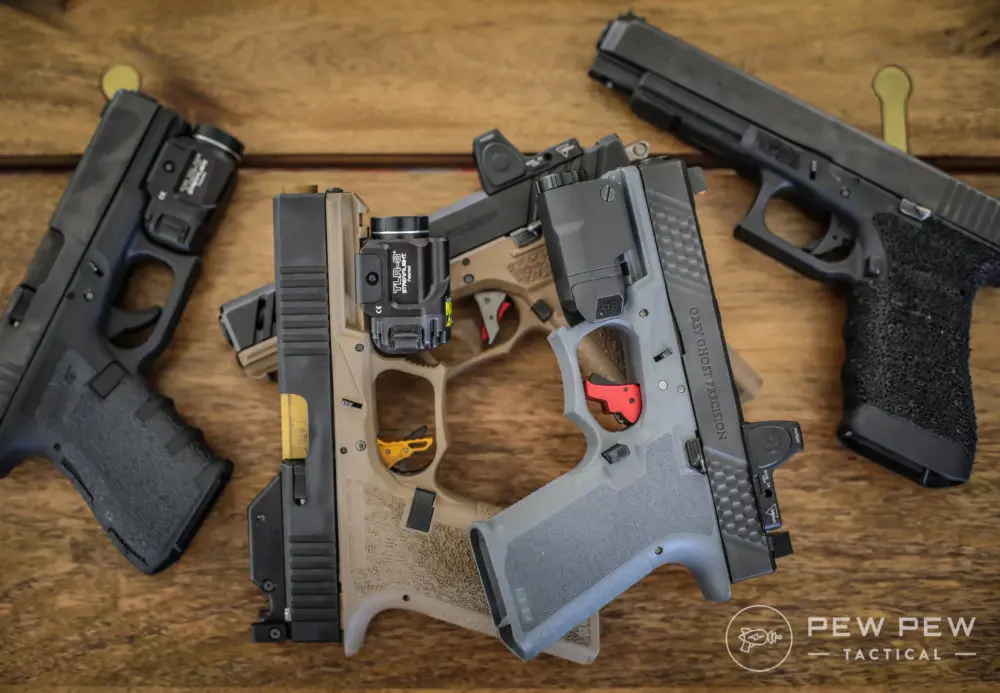
Here's the end result of my two P80s.

And from the front. It's pretty forgiving as you can see my first gray one had an oopsie with the mill bit on the top right.

That wasn't so bad...was it? Now you just have six easy hand drill portions left.
Make sure to use the correct bit, not have it in a vise, use a hand drill, and go side by side (not all the way through). 3 drills on each side for a total of 6.

But wait...what about the end snips?
Turns out...they are perfect for cutting off the frame parts! I'll be trying this in a future build.
How to Assemble: Polymer 80 Frame
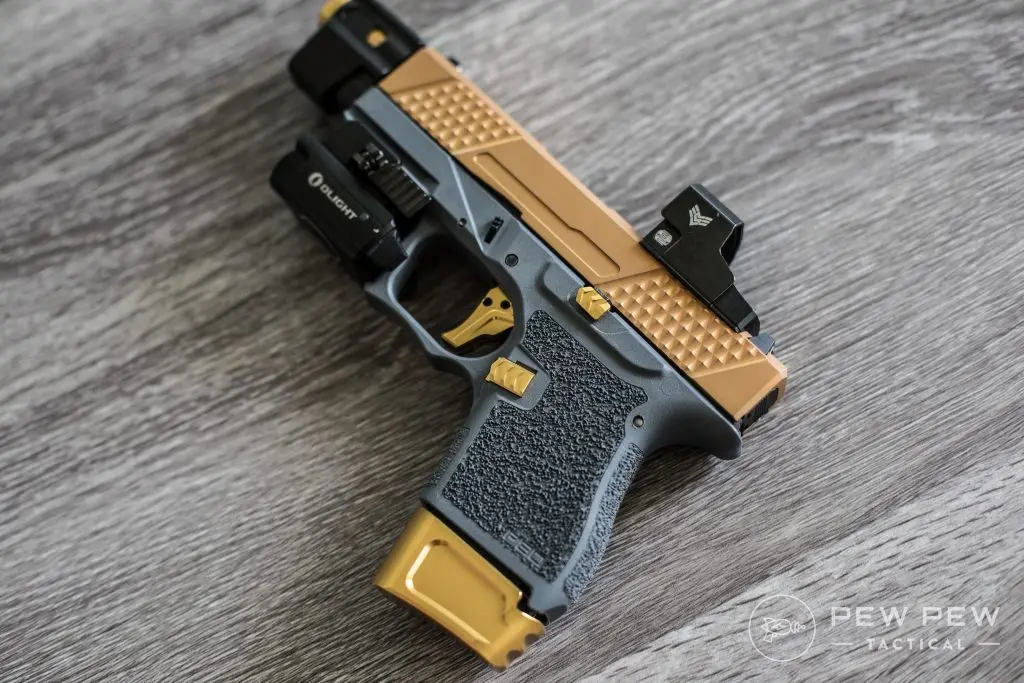
Now...let's assemble everything! Some pictures will have my upgraded trigger (gold colored) since I went back and retook some pictures that weren't clear.

First let's start with the magazine release. It's pretty difficult to show through pictures so here's one of my old videos:
Next let's put in the slide lock spring...this is different for the full-size and compact sizes so be sure! It may be a little hard to push it in all the way into the hole in the frame.

Then get your slide lock...it's not symmetrical so make sure you can see the side with the "teeth" and have it face the rear. Don't mess this up since it catches the barrel lug (aka keeps your barrel/slide from flying off).
Press down on the spring with something and slide the lock in.

Correct orientation of slide lock.

Next it's time to add Polymer80 specific metal parts to beef up your polymer frame.
First...the locking block rail system (LRBS).

For the first time it's usually really hard to put in. Be patient and you can use light taps from your non-metal hammer.
Then tap the pin through with a punch (left-most hole). I like to look through the hole to see if it's completely clear to save unnecessary banging.

Next is the rear rail module (RRM). Push it in but no pin yet since we'll need to add the trigger first.

Gather up your trigger parts and assemble.

This gets a little confusing so here's another video of mine:
Place the completed trigger into the frame.

Get the polymer trigger pin and punch that in.

Then the smaller metal pin.

Take the slide stop lever and insert it so that the spring is underneath the just put in smaller pin.

Punch in the bigger pin.
This was difficult the first few times since you have to wiggle the slide stop lever...and everything is really tight. I recommend using a punch as a slave pin so everything is already oriented.

And...done!

How to Assemble: Glock Slide
If your slide came pre-assembled...you're in luck. Otherwise it's not too bad!

First start assembling the firing pin and extractor plunger.

Push down on the spring and then add the spring cups on top of the spring(takes a little practice...make sure you're wearing eye protection throughout and maybe point everything in a cardboard box to catch lost parts).

Smush the extractor plunger parts together and there you have it.

Now grab your firing pin safety, spring, and extractor. Place the firing pin safety and spring into its hole.

Orient the extractor and press down on the firing pin safety while fitting in the extractor.

Once you release the firing pin safety...the extractor should stay.

Next is placing the completed firing pin and extractor plunger assemblies.

Grab the slide cover plate and use a punch to press down on the firing pin and extractor plunger assemblies until everything clicks into place.

Now place in the barrel and the recoil spring (with the dome shape towards the front of the slide).

If you're looking at adding sights...bare minimum get Nylon Punch Tool. The front sight is added with a 3/16" nut driver. I'd recommend adding some thread locker to the screws too.

And you're done!

Now you have your own self-made Glock!
Safety Checks
With no ammo in the gun or in the room...run through some safety checks. Even better...get it checked out by a qualified gunsmith before shooting for real.
- Oil the rails up and make sure the slide returns to battery even when only a little racked
- Make sure the trigger safety works
- Depress and hold the trigger, and rack the slide...make sure the trigger resets and can be pressed again
- Use a wooden pencil and put it down the barrel...see if it shoots out when you press the trigger
Polymer80 Troubleshooting
Not working? Here's some common problems and fixes.
Use Original Parts
Whatever part is not working...try it all with stock OEM parts. Sometimes aftermarket slides and triggers have too tight tolerances to work in a P80. So far the Brownells and Grey Ghost (a little tight) have worked in my builds. I've heard ZEV slides might be too tight.
Trigger Not Resetting
If it's especially bad on one side orientation, you might want to grind off off a little bit of the polymer in the rear right side rail.

It should get better each time you grind a little off. If it's still not completely fixed at all orientations...check to see if the rear rails are of different height.
If it is...it will cause the slide to tilt and get stuck somewhere.
You'll have to file the higher metal rail down a little if that's the case.
Slide Getting Stuck
A little grittiness is ok since it's a new build and things will get smoothed out with use. But if you're having difficulty getting the slide on...check the slide lock spring so it's not poking up and snagging on the recoil spring.

Misaligned Holes
If you just can't get the pins to go through (especially on the rear polymer one)...and you look through to see obstructions. You can re-drill carefully.
Rough Feeling
If the slide feels rough...again it's the barrel block area. Make sure it's smooth and you can run something along the bottom and make sure nothing snags.
Review
Not much to say here...it's a great 80% project that's easier than doing an AR-15. You also won't end up saving money compared to buying a stock Glock at your local FFL.
But when you're done, you'll be left with a sense of pride and accomplishment. And of course...a fully customized Glock that's off the books.

I like the grip angle a lot more (I believe it's closer to a 1911) and also the lack of finger grooves. Those things are made for the "average" hand that no one really has.
Plus...the regular frame textured one is a great balance of the stock pattern and stippling yourself. Because of these factors...I get a much better, higher, and more positive grip.
As long as you go slowly (you can't ADD on polymer) you should end up with a pretty reliable Glock clone. The main problems will come when you try to add too many upgraded parts at once. Remember...process of elimination if you end up with problems.
I'm about 1000 rounds through my grey one and 500 rounds through my brown one. Besides some initial break-in hiccups on the first few mag changes...and it hating my low-power reloads...it's run flawlessly with factory ammo.
I fully recommend doing a Polymer80 Glock project.
Conclusion & Additional Resources
Here's some links to all our Glock stuff again so you can choose what's the best for you.
- Best Aftermarket Glock Slides
- Best Glock Barrels
- Best Glock Sights
- Best Pistol Red Dots
- Best Glock Aftermarket Triggers
- Best Pistol Lights
How did we do? Anything we're missing? And how did your build turn out? Get through all that and decide building a Glock isn't for you? See our choices for the best Glocks of all time.