
[Review+Video] How to Paint Your AR with Stencils: MultiCam Version
Have you ever wanted to paint your AR-15, but in MultiCam? We have! So, we stocked up on the aerosol paint and gave it a try. Come learn how to do your own!

Gucci gear nerd. Recreational shooter. MilSim Airsoft enthusiast
We review products independently. When you buy through links on our site, we may earn a commission to help support our testing. Learn more.
Have you ever thought to yourself...I want to paint my AR, but make it MultiCam?
Because I have. (That’s what happens when you have an art kid brain, an AR-15, and some time on your hands...)
So, I grabbed some spray paint and went to town on an Aero AR...three times because it’s not as easy as it looks.
Come along with me as I show you how to make your AR-15 really stand out, and hopefully, you don’t have to do it three times as I did – i.e., learn from my mistakes.
If you’d rather the painting process, check out the video below.
As always, head over to Pew Pew Tactical on YouTube to see more guns and gear.
Table of Contents
Trending: Best July 4th Gun Deals 2026
The Supplies
While the colors would probably be easier to replicate with an airbrush and Cerakote paints -- if you're really determined -- I personally prefer aerosol model paints.
I ultimately settled on a mixture of aerosol paints from both Model Masters and a nice matte tan color from Montana.
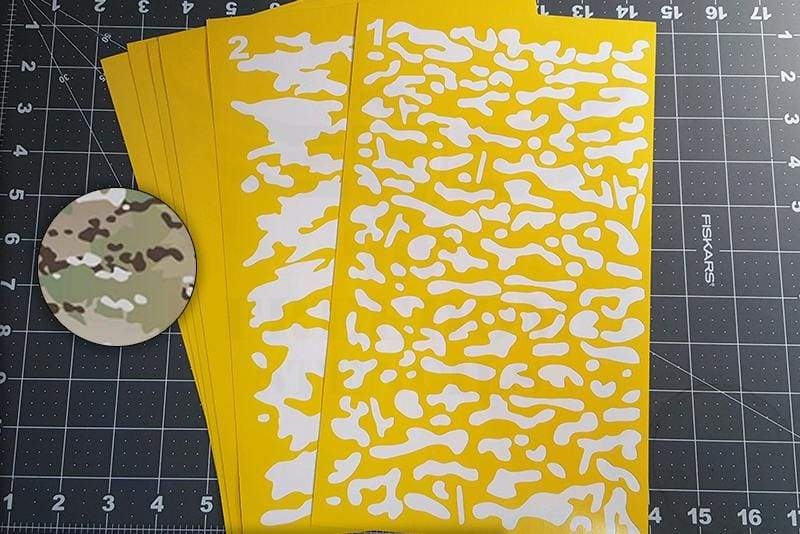
To create that loveable MultiCam look, you’ll need some stencils. For this project, I used the MultiCam Shape Stencil Pack from Freedom Stencils. It did the job quite well, in my opinion.
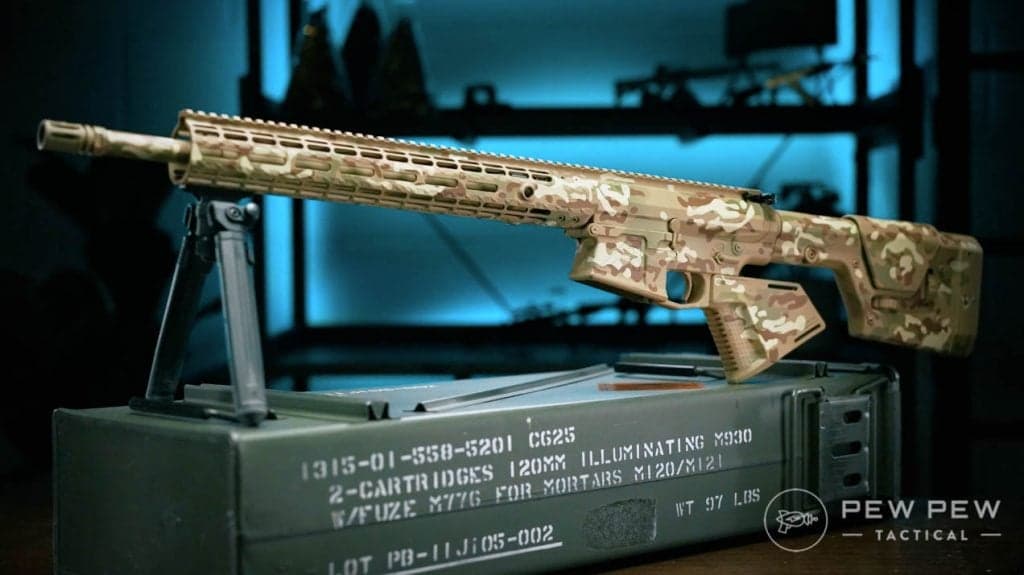
And of course, you need an AR. I'm using an Aero Precision M5 for this build.
With tools in hand, let’s get to painting!
How To Paint Your AR – MultiCam Version
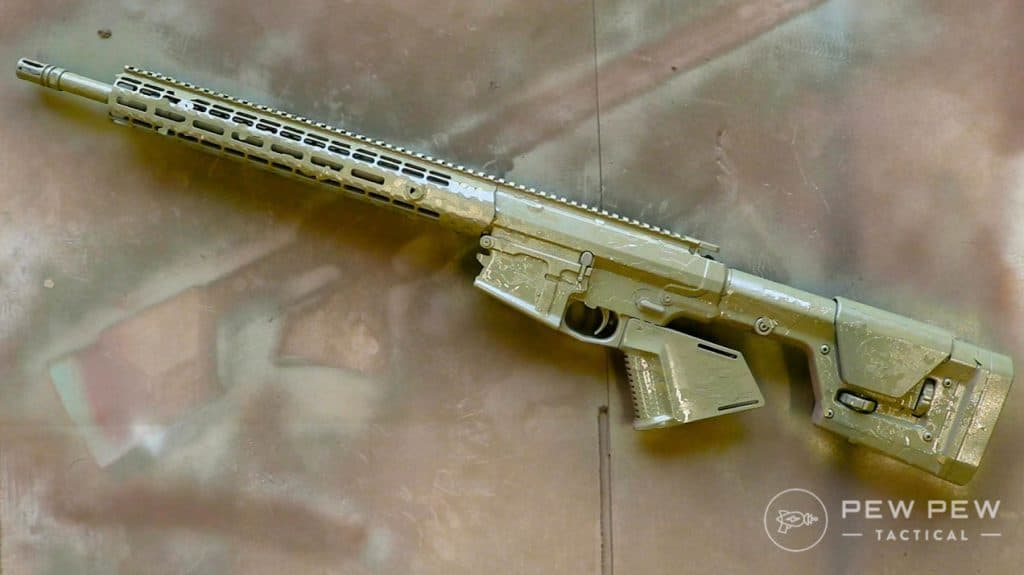
1. Apply Your Light Base Layer
So, first things first here...
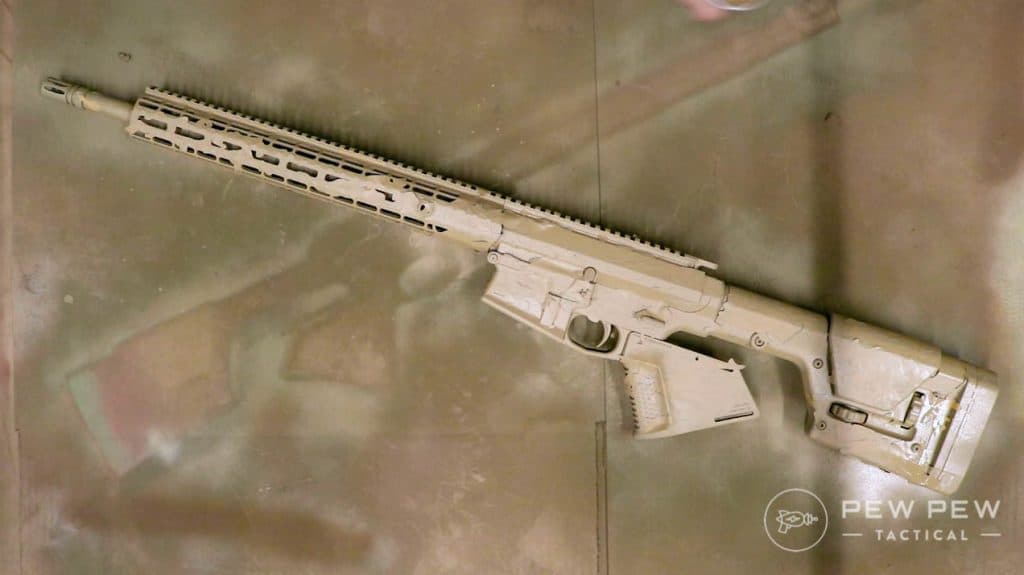
As you can see right off the bat, I'm painting over a previous failed attempt at getting both this pattern and the color to work.
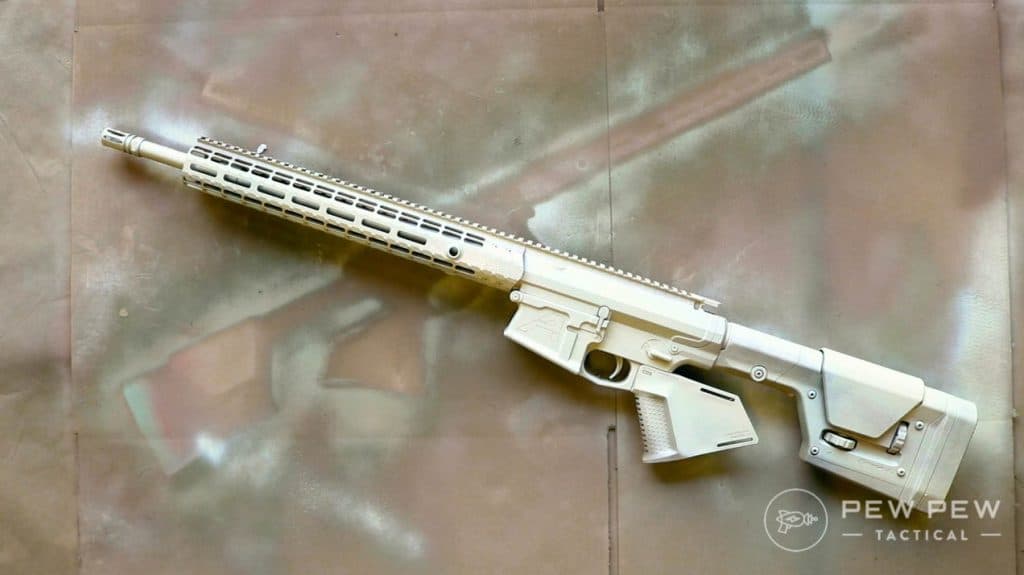
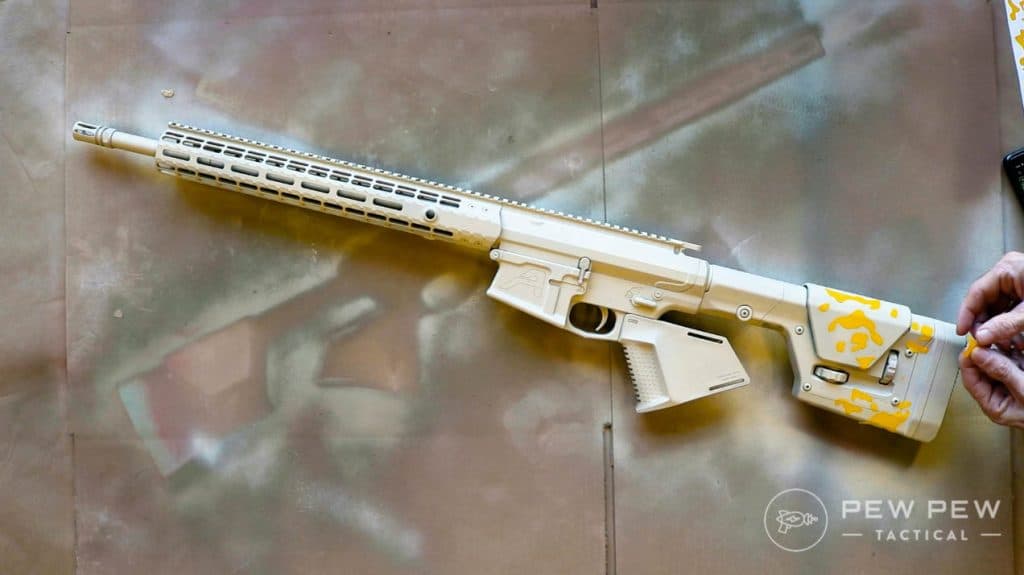
For the first layer, I sprayed on Modern Desert Sand from Model Masters.
After you give the gun a nice and even coat -- avoiding build-up and letting it dry so that it's no longer tacky -- it's on to your first layer of stencils.
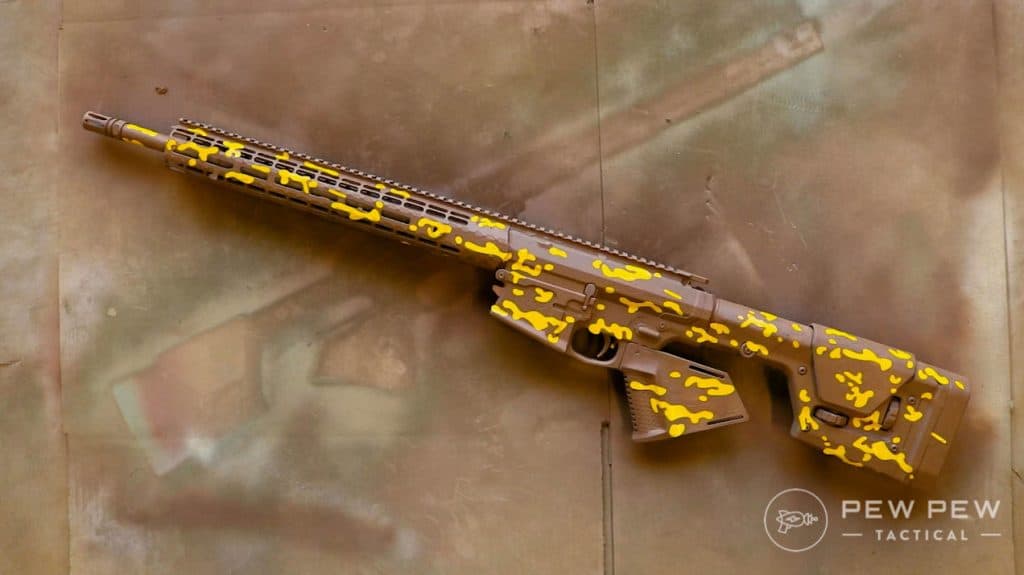
2. Apply Stencils and Darkest Paint Coat
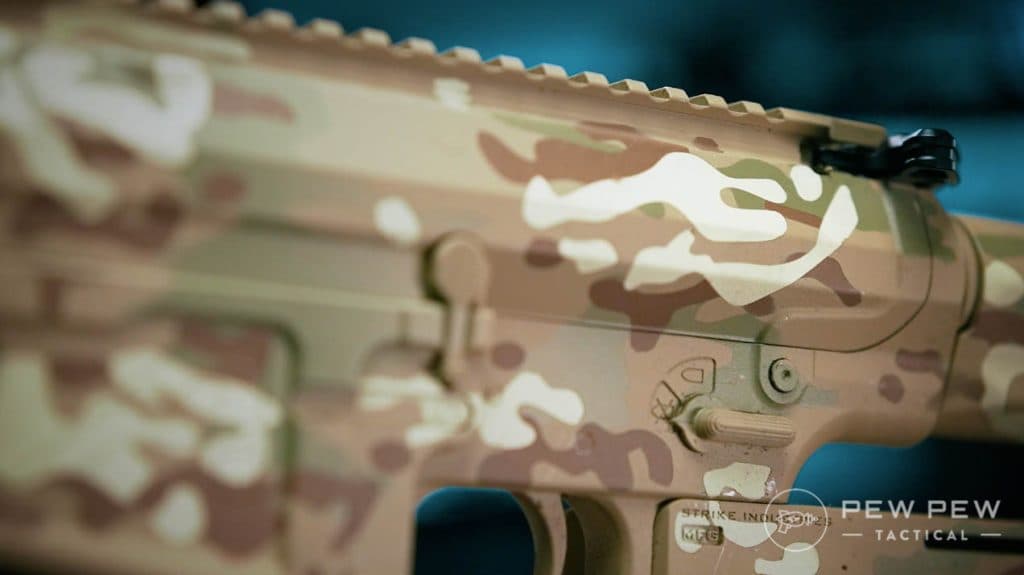
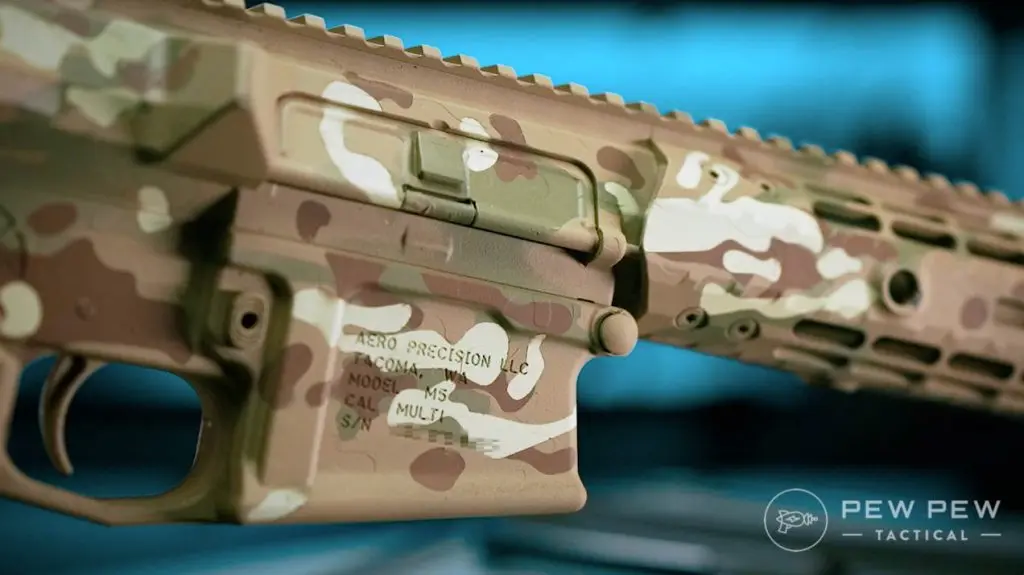
Again, I used the MultiCam Shape Stencil Pack from Freedom Stencils. If you look at MultiCam Arid, you'll notice that the "highest" layer will be your whiteish tan one.
It manifests throughout the pattern as a series of medium-sized splotches whose ends or tips are usually pointed downward.
Additionally, the white-ish tan layer is not spread uniformly across the pattern, instead appearing in clusters that run in a slashing motion at almost a 45-degree angle. This leaves more space for other colors that will eventually be underneath it.
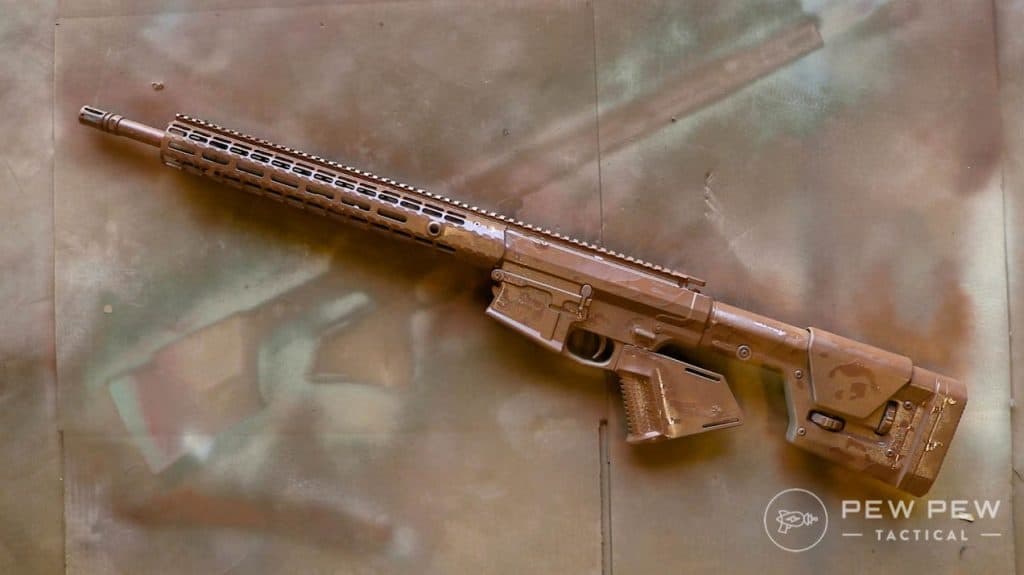
Next, we're going to move to our darkest coat.
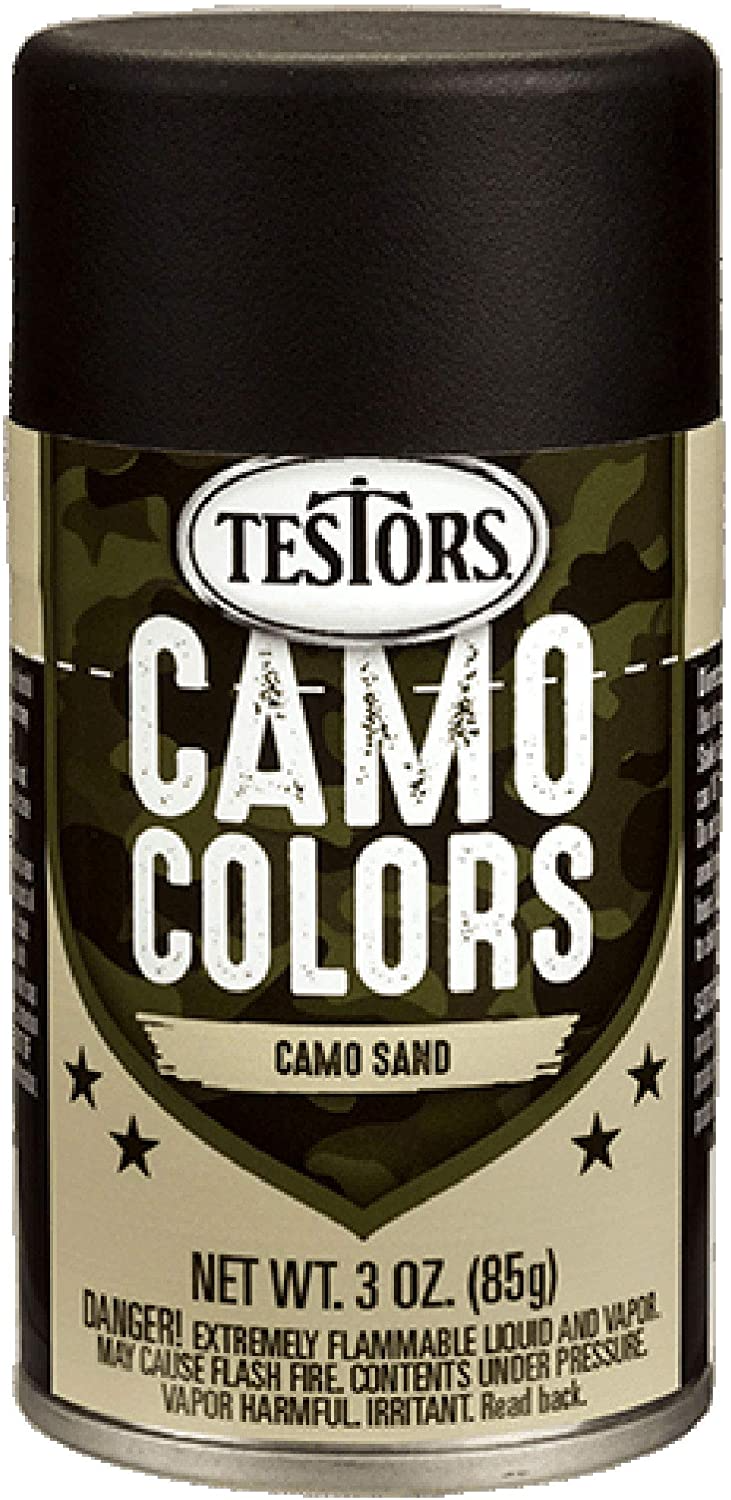
I used Testor's Model Masters Light Earth Aerosol for this layer to give it a nice, darker brown color.
If this is your first-time using stencils, like it was mine, it might be hard to wrap your head around the concept.
But we’re applying the darker paint over the stencils to protect the white sand layer in the stenciled spots.
This allows us to begin applying the other colors but preserve the white-ish pattern underneath. Spray the whole gun, avoid any buildup or overspray if possible.
And then grab those stencils because it's stencil time once more.
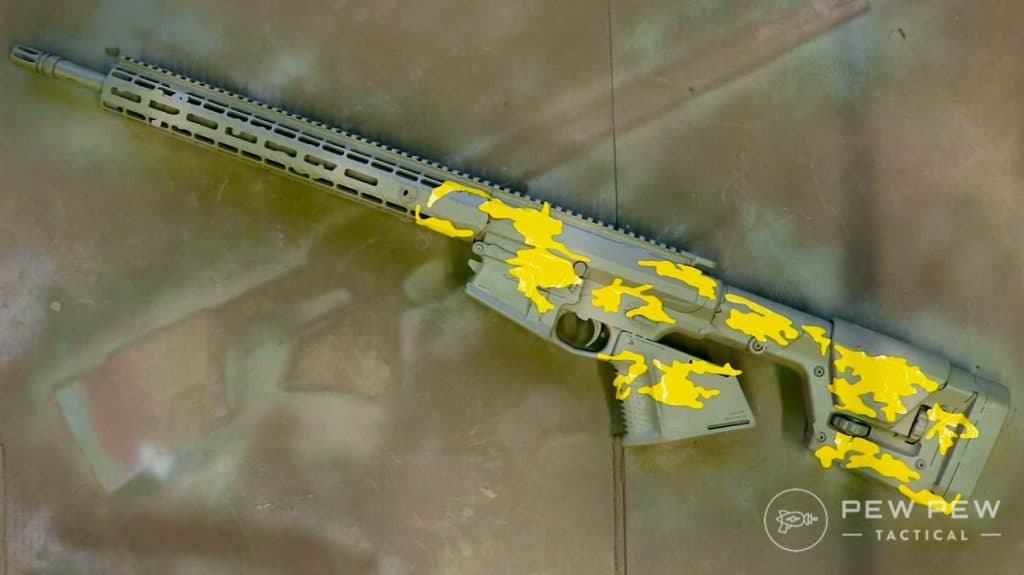
3. Apply Another Layer of Stencils & Add Greenish Paint
Grab the more medium-sized stencils from the same sheet as your sandy white layer and begin laying them down on the gun in a similar manner...with a few key differences, though.
To me, the darkest layer of brown in MultiCam Arid looks like it generally occupies more space on the gun than the white top layer.
While some areas are to be left void, get comfortable with making these stencils a little bit more claustrophobic.
Make sure you're using more of those small, splotchy circles in the pattern for this layer, as well as overlaying at least some of the dark brown stencils over our last layer's stencils.
From there, you're good to move on to the next layer of paint.
Mine was a sort of sandy khaki greenish color that I had a hell of a time finding in an aerosol.
Eventually, I settled on Model Masters Strategic Air Command Tan that Is prayed over the entirety of the gun.
4. Add Final Stencils and Final Layer of Tan Paint
We're now in the home stretch!
You're now going to move on to some of the larger, more complex shapes in your stencil pack.
As these stencils are much larger, have them occupy both open space and intersect previous stencils.
I opted for a tan color called Marrakech in the Montana 94 can line for the final layer.
I felt it fit the color profile I was looking for much better than other options.
5. Remove All Stencils
Once the final layer of tan paint is dry, begin removing every stencil layer to reveal the masterpiece before you.
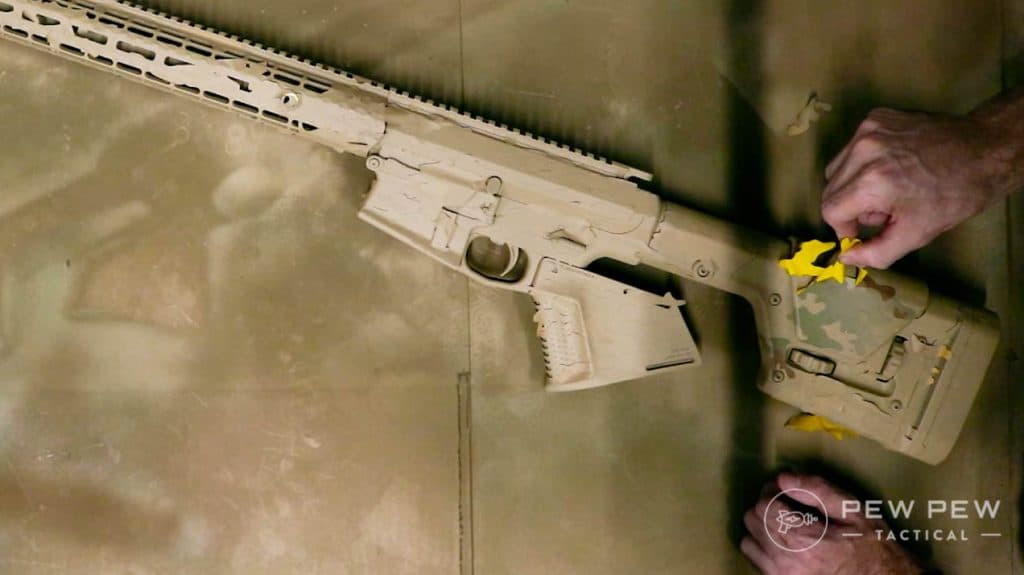
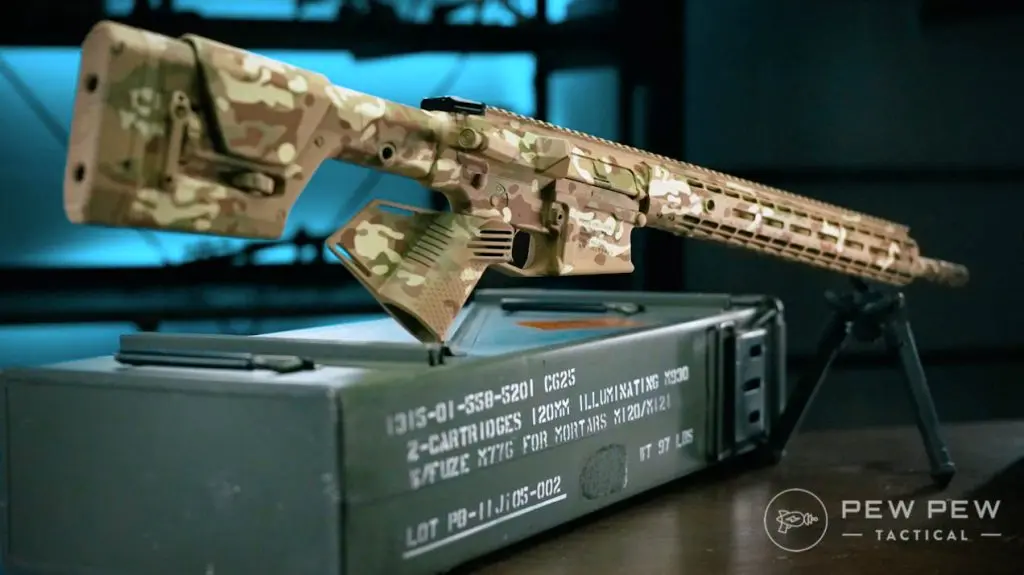
Ta-da! You’re done!
Conclusion
Hopefully, this gives you a fundamental understanding of how I achieved the MultiCam pattern by painting from the top layer down.
If it still hasn't clicked yet, don't beat yourself up. It literally took me three tries to get anything remotely passable.
Overall, I’m quite happy with how it turned out. You don't necessarily have to follow my instructions to a tee. In fact, I think experimenting is one of the most fun parts of rifle arts and crafts time.
But hopefully, this at least gave you a starting point. So, give it a shot and let me know how it went for you!
To watch me paint this again, check out the video below.
Have you painted an AR or any gun before? Let us know how it went in the comments below! For a more basic paint job, check out our piece on How To Paint Your AR-15.