
How to Properly Shoot a Handgun or Pistol [With Videos]

Quickly learn how to safely shoot a handgun by covering different trigger types, correct grip, sight alignment, and loading/unloading.

PPT Founder. NRA Pistol Instructor. USPSA/3-Gun/NRL22 Competitor. 250+ articles
We review products independently. When you buy through links on our site, we may earn a commission to help support our testing. Learn more.
Got a new pistol you want to train with? Good for you!
Today, I’ll give you a crash course on how to shoot a handgun so your first range day can be safe, fun, and educational.
This is focused on shooting a semi-automatic pistol (we have a separate guide for revolvers), and it covers essentials like grip, sights, and trigger control. I’ll even show you how to load your first magazine.
Let’s dive in!
Table of Contents
What You Need Before You Start
Must-Have Tools
- Shooting range
- Semi-automatic pistol
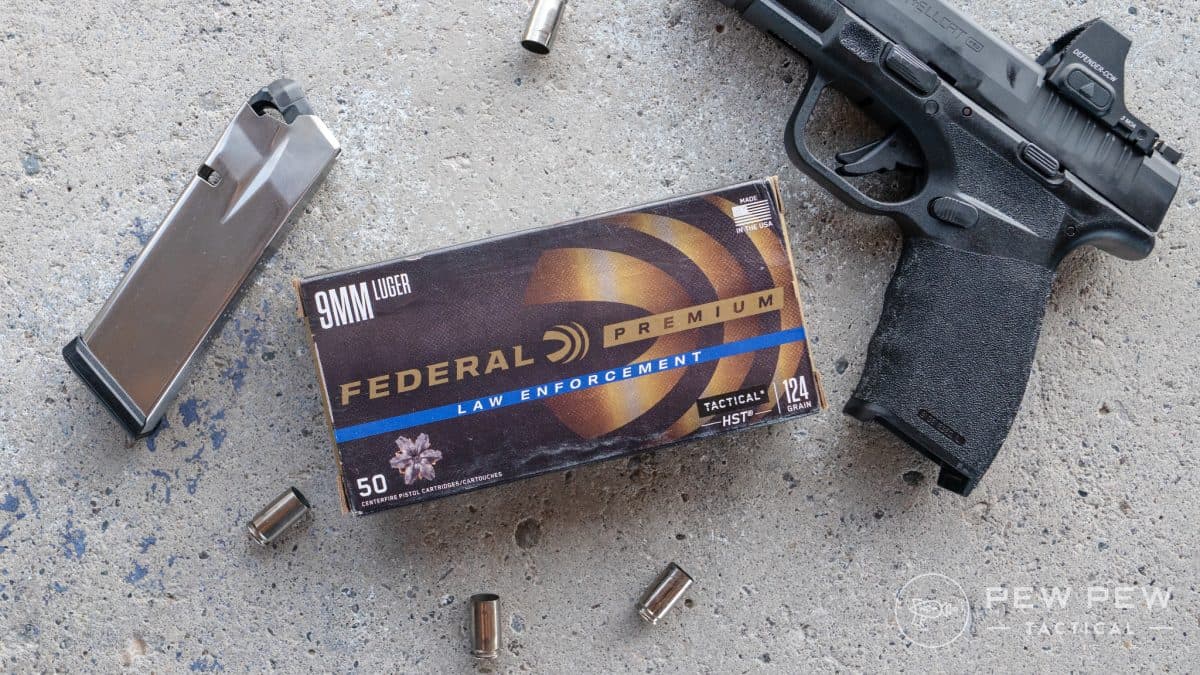
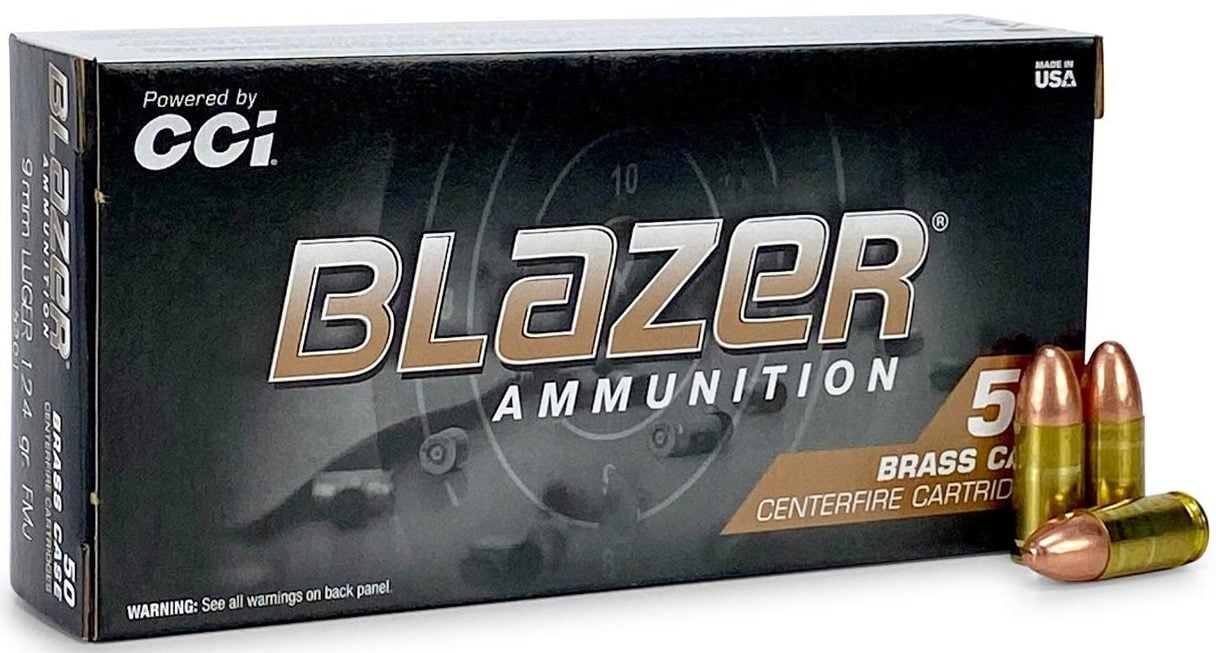
- Ammunition
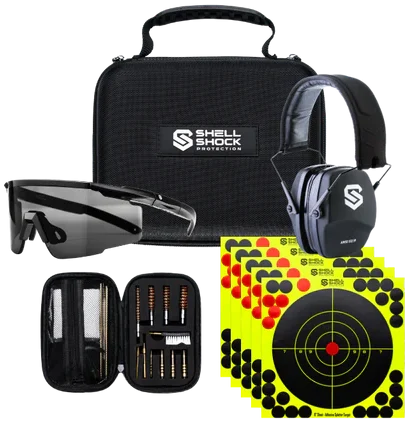
- Hearing and eye protection
- Targets
Nice-to-Have Tools
- Speed loader
- Holster
- Gun belt
- Shot timer
Step-by-Step Instructions
Pistols and revolvers are the hardest platforms to shoot accurately. There’s not much to hold onto, the sights are very basic, and recoil management is a challenge.

But I believe in you! Here are six basic steps to get you shooting safely, accurately, and progressively better.
Step 1: Safety First
I’ve been doing this for a while, and I still remind myself of the four safety rules every time I reach for a firearm or kick off a training session.
Let’s run through them together.
- Always treat every firearm as if it’s loaded.
- Never point a firearm at anything you do not intend to shoot.
- Keep your finger straight and off the trigger until you’re ready to fire.
- Keep the firearm on safe until you intend to fire.
And, of course, know your target and what lies beyond it, have an emergency medical plan, and follow the range safety officer’s instructions – all that good stuff.
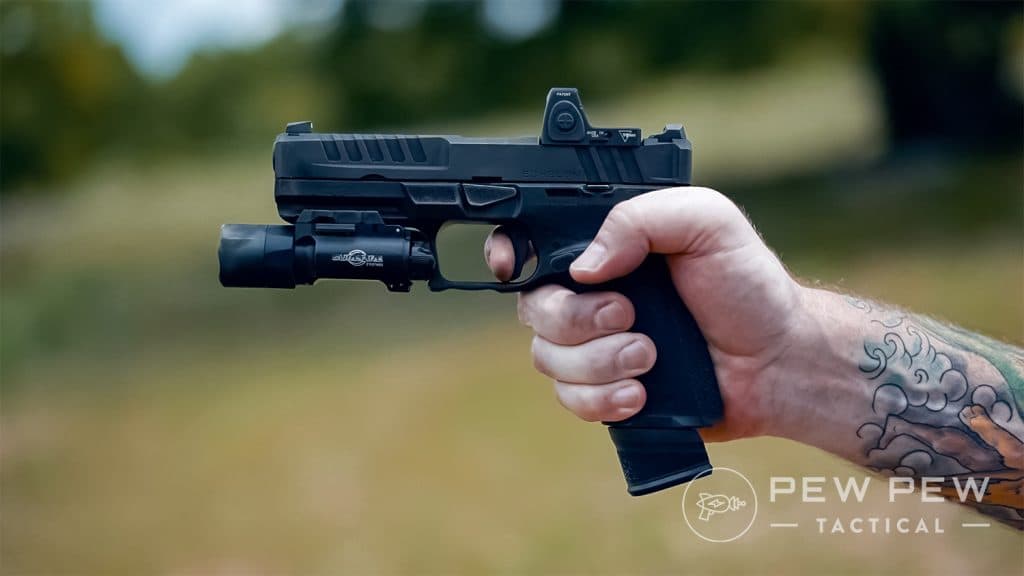
Step 2: How to Hold a Pistol Properly
Shooting a handgun well starts with how you hold the pistol. We have a step-by-step guide on How to Grip a Pistol, but here are the basics.

Your hand placement should be nice and high on the pistol’s frame. Squish the web of your hand into the beavertail of the pistol so you can’t see the grip at all from behind.
Your trigger finger should be straight and resting on the side of the frame .
Use your support hand to cover as much of the remaining exposed grip as possible, with the top of your index finger pressed firmly against the button of the trigger guard. Rotating your wrist forward and locking it out will help with recoil management.
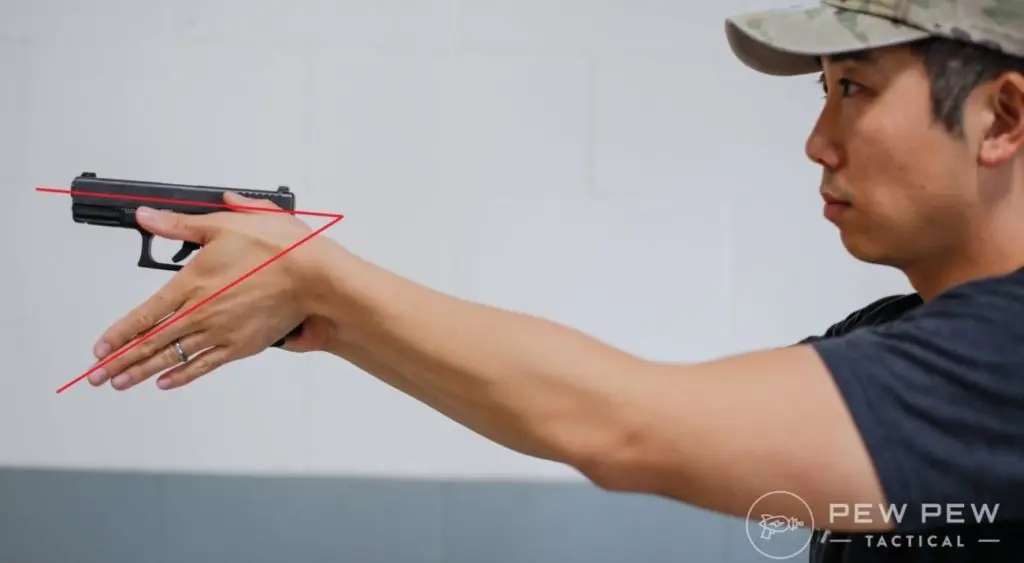
Give both hands a good squeeze. Apply enough pressure that the pistol won’t wiggle loose under recoil, but not so much that your hands shake.
Stance matters, but not as much as the topics we’re covering today. Check out our guide to the Top 3 Shooting Stances (and some bonus stances) if you want to know more.
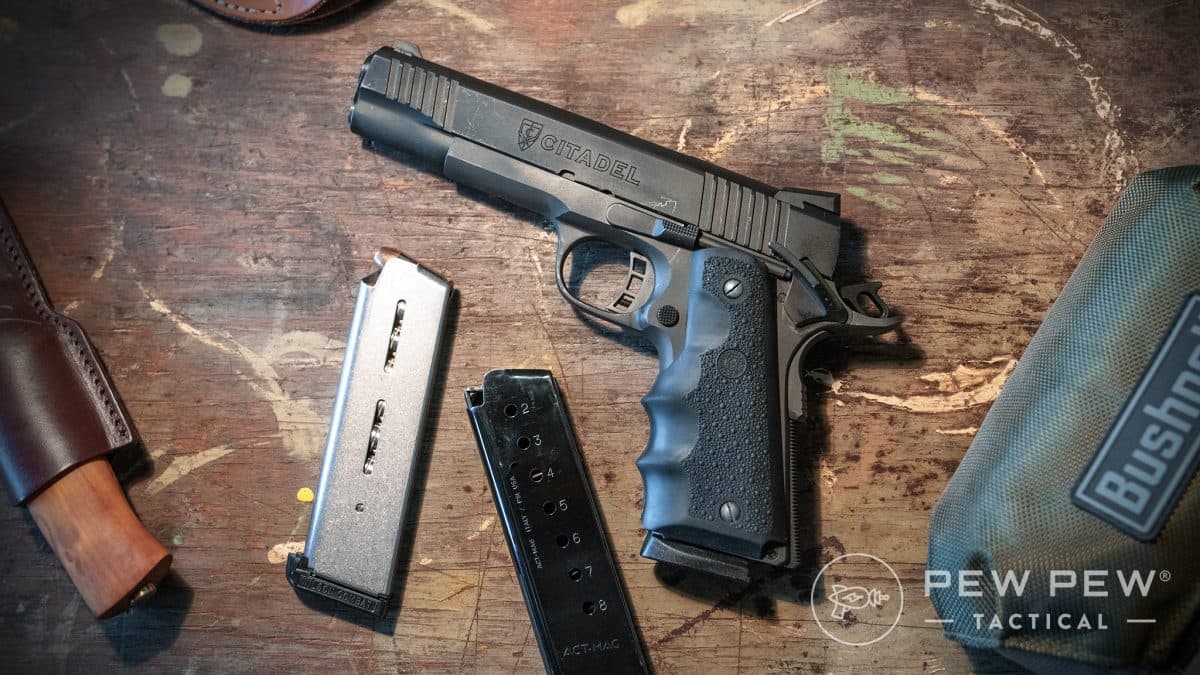
Step 3: Load & Make Ready
Let’s get some ammo into that pistol, shall we?
Start by loading a magazine. Press each round down, then to the rear. You can use your support-hand thumb to make this easier.
If you haven’t loaded a magazine before, here’s what that looks like.
When you're ready to shoot, hold the pistol with your shooting hand.
Using your support hand, grab a loaded magazine and insert it into the magazine well with the rounds up and facing forward. Tap it firmly into place and give it a gentle tug to make sure it’s properly seated.
The pistol is now loaded.
Move your support hand up to the slide, pull it all the way to the rear, and let it go like a slingshot. As it moves forward, the slide will strip the first round out of the magazine, push it forward, and chamber it.
The pistol is now ready.
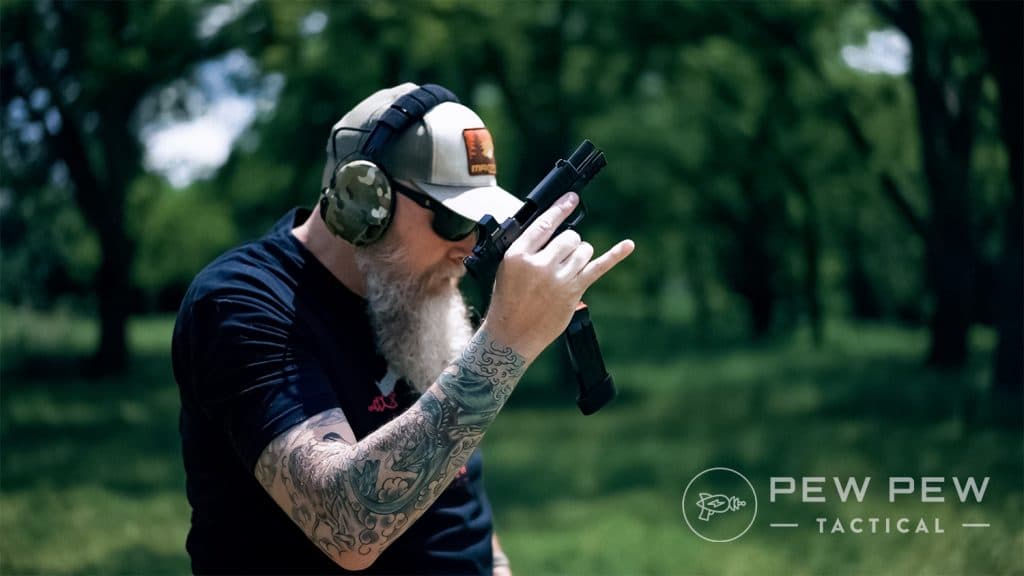
Step 4: Aiming Your Pistol
There are two common tools to aim a pistol: iron sights and red dots. I’ll cover both.
Aiming With Iron Sights
If you’re going to use the iron sights that came on your pistol, start by figuring out Sight Picture & Eye Dominance.
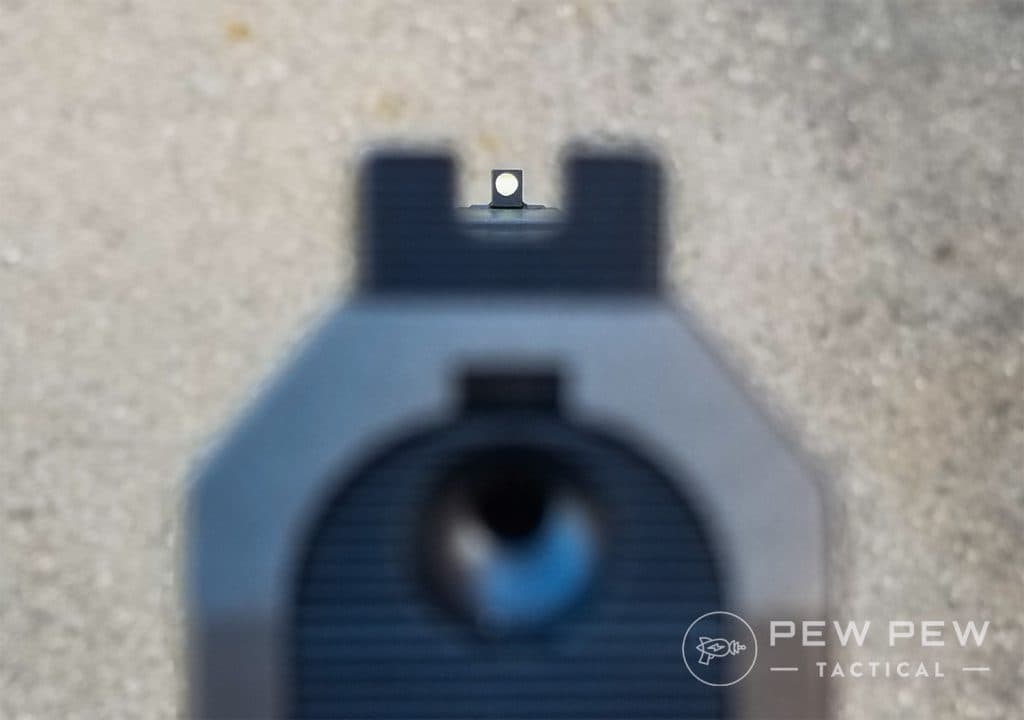
There are three things you need to align: the rear sight, the front sight, and the target. The sights should kind of look like a castle wall: even height, with even spacing on each side of the front sight.
Depending on how your pistol is set up, the target might need to sit on top of the front sight or be cut in half by it.
Tiny misalignments make a big difference, so be meticulous in building proper sight alignment (how the front and rear sights are oriented relative to one another) and sight picture (how the sights are oriented relative to the target).
Shooting with irons is a great skill to have, even if you primarily use a red dot.
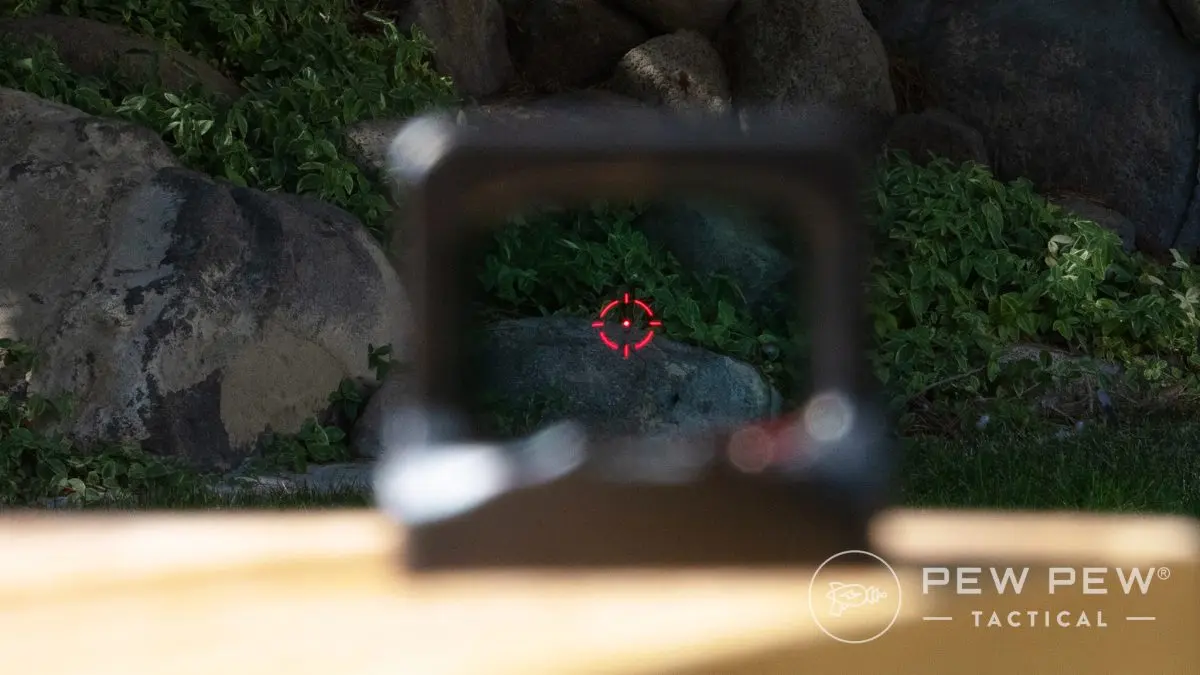
Aiming With a Red Dot
If you mount a red dot, aiming is a little bit simpler because you only have to align two things: the dot and the target.

Just put the dot where you want to shoot! It’s ok if the dot isn’t in the middle of the window, and it doesn’t have to be lined up with the sights.
Your dot might be green, and it might have a more complicated reticle. That’s fine; the aiming principles remain the same.
If you’re not sure which one to get, check out our hands-on guide to the Best Pistol Red Dot Sights. There's something for every budget.
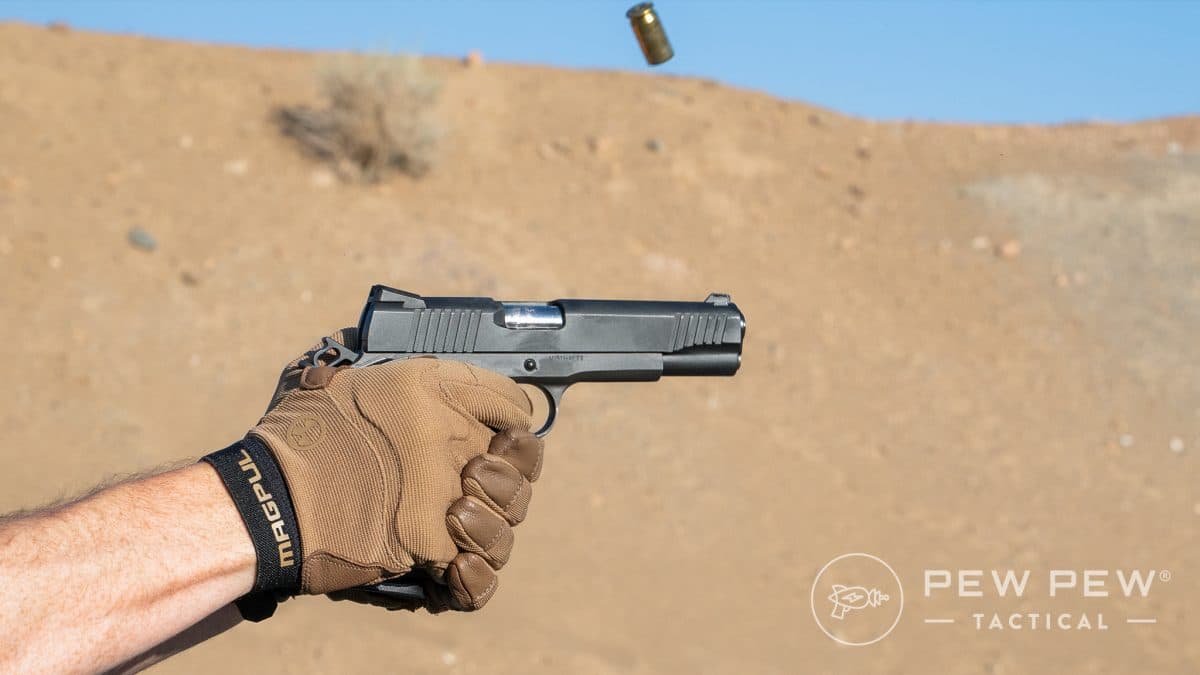
Step 5: Pressing the Trigger
I hesitate to get too far into the weeds on this one because trigger control is easy to overthink and overcomplicate.
The goal is simple: move the trigger all the way to the rear without disrupting the sights.
This requires smooth, steady pressure from your trigger finger alone. It’s not a slap, jerk, or full-hand squeeze.
Some people place their finger tip on the trigger, others center the trigger on the pad of their finger, and some people wrap their trigger finger around the trigger. A lot of that depends on your hand size.
If you achieve a clean trigger press, I don’t really care how you get there.
You'll notice that I didn't say anything about deactivating the safety.
Most modern pistols have a trigger safety that's deactivated by the natural trigger press, in addition to internal safeties you never interact with.
If your pistol does have a manual safety, deactivate with with your thumb before firing.
Step 6: Reloading
When you fire your last round, the slide should lock to the rear (if it doesn’t, you probably held your thumb on the slide release).
Drop the empty magazine by pressing the magazine release (usually a button on the left side of the grip) with the thumb on your shooting hand. Let it fall free or catch it with your support hand.
Grab a fresh magazine and insert it just like you did before.
This time, the slide is locked to the rear, and there are two ways to send it forward. You can either slingshot it like you did last time or press the slide release. Look for a small tab on the left side of the frame; sometimes there’s one on both sides.
That’s it; repeat until you’re done training!
Common Mistakes to Avoid

- Safety violations: Safety first, safety always. You’re never too experienced or in too much of a rush to revisit the four firearm safety rules.
- Skipping the fundamentals: I know that the Instagram CQB wizards look cool (and there’s value to training those skills), but don’t put the cart before the horse. All that stuff will happen much more easily and with greater success later if you master the basics of marksmanship first.
- Rushing: This is not a race! Slow down, mentally run through your checklist for each shot if you have to, and focus on your goal for the day. Get your hits first, build speed second.
- Going too slow: Once you build a solid marksmanship foundation, adding speed is a necessary progression. Yes, your accuracy will suffer. Train at a pace where you’re getting most of your hits while cutting time off the clock. Too slow, and you’re not making progress; too fast, and you’re wasting ammo and building bad habits.
- Falling in love with a certain technique: I wholeheartedly recommend getting professional instruction. Sometimes, two instructors will teach you different or even contradictory techniques. Keep an open mind, and try new things. Always ask why, and find what works for you.
Final Thoughts & Next Steps
Shooting a pistol accurately is a lifelong pursuit. There’s a lot to learn, but now you know the basic building blocks.
Start with marksmanship. Then add some drills to the mix, work on recoil management, stance, and speed. Dive into our online Gun Noob Pistol Course for more pointers!
Remember to come back and share what you learn along the way.
What’s the best shooting advice you’ve gotten? Share the wealth in the comments. Ready to take the next step? Check out our guide to the Best Combat Pistol Courses in America!
Resources
- How to Shoot a Revolver
- Best Pistols for Beginners & Home Defense
- Best Budget Handguns
- Best 9mm Ammo
- Best Shooting Range Gear
- Pro Shooter Drills
- Best Dummy Rounds & Snap Caps
- Safe & Effective Dry Fire Training
- Best Gun Cleaning Kits
- How to Clean & Lubricate a Glock
Latest Updates
- June 2026: Complete overhaul with new instructions, photos, and supporting content.
- April 2025: Complete revamp of article.
- June 2024:Added videos and additional info/pictures throughout.