Let me tell you how great it is to have a range at home. I walk out my backdoor, trot my happy butt a few hundred yards down the property, set up my targets, and shoot, shoot, shoot. I love it.
Public ranges require you to drive to access, pray they aren’t packed, and then pay to use.
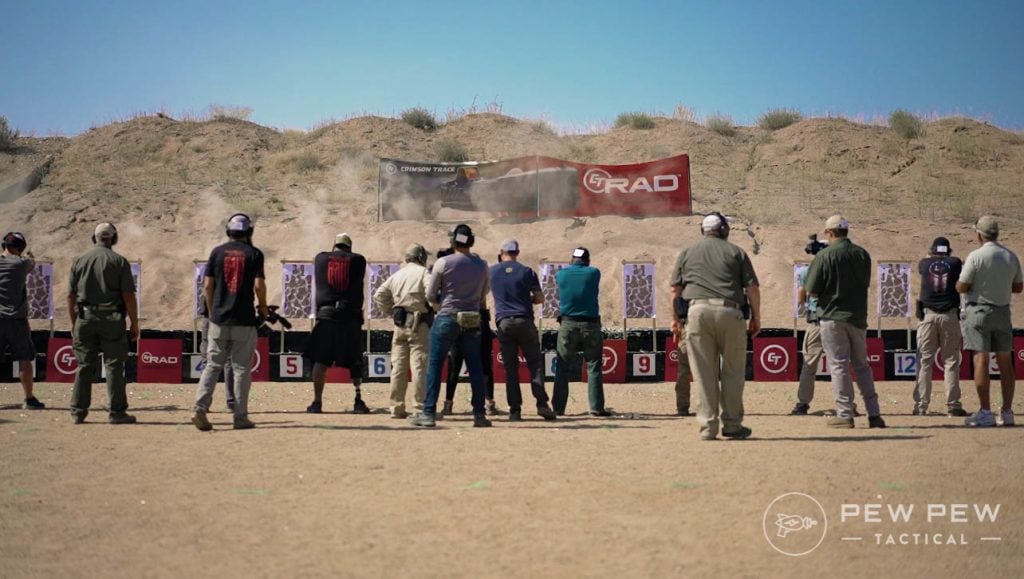
These ranges often isolate shooters to one small lane and prevent them from shooting more than one round a second.
Personally, I hated using public ranges. So, my priority when I got my property was to build my own range. It’s my happy place.
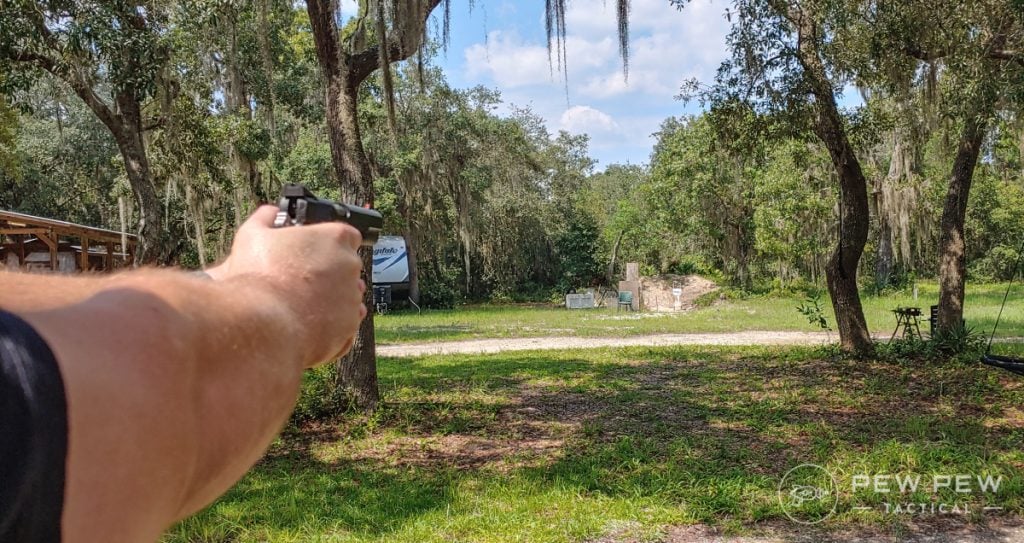
So, follow along as I walk you through the steps of building your own home range – from the legalities to the practicalities.
Table of Contents
Loading…
Why You Should Trust Us
I am a NRA certified instructor and concealed carry trainer out of Florida. I served as a Marine infantryman in my prior life, so I’ve had plenty of time behind guns.
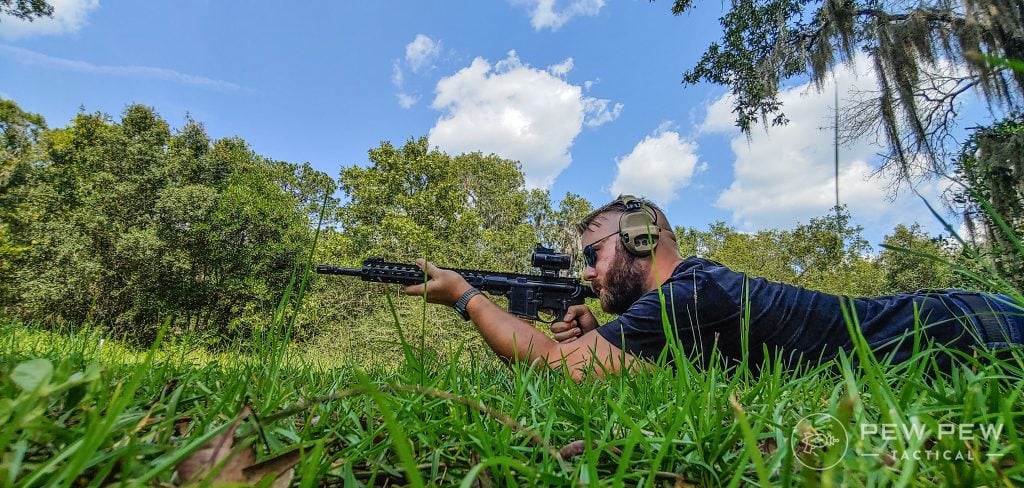
After building two home ranges, I think I know a thing or two about range construction. Well, at least for the enterprising backyard range owner.
How To Build a Backyard Range at Home
1. Legal Part
Before you get too excited, you should probably consult with your state and local laws about building a gun range on your property.
I’m not a lawyer, and I certainly don’t have time to learn about 50 different states and their laws regarding gun ranges, but I can most certainly advise that you need to learn them.

It might be a big no-no for you and your community, state, or whatever.
Before you invest in crews with skid loaders and chainsaws, you need to learn the legality of what you are getting into.
2. Location, Location, Location
Outside of the legal location issues, you need to be selective of your location. You need to make sure it’s safe and well-allocated for a gun range.
You need to decide which way the berm will face and then consider neighbors, infrastructure, and in my case, a herd of cows.
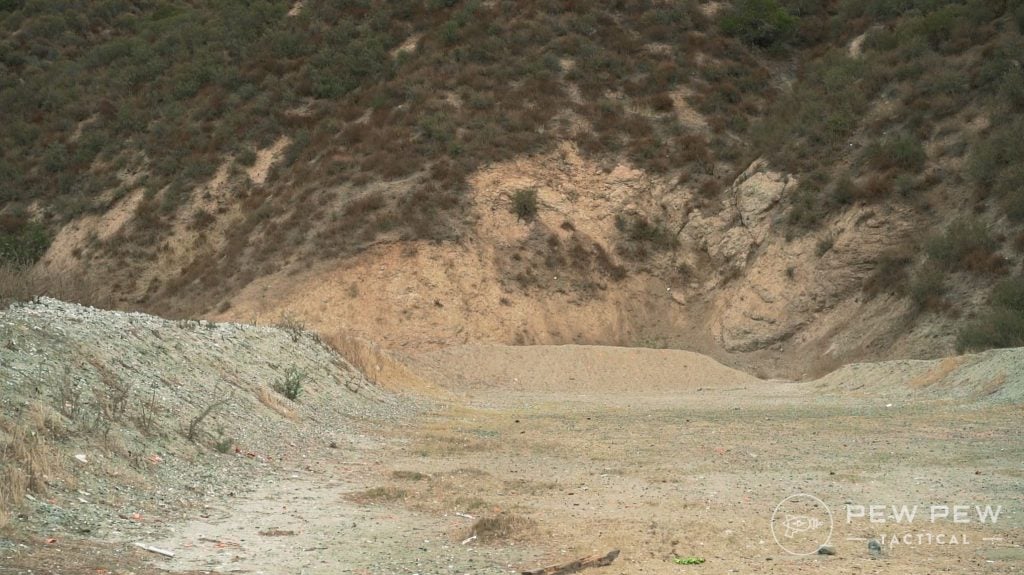
I doubt your neighbors want you to build a gun range facing their house, and for safety’s sake, it’s a dumb idea. Don’t do that. Outside of safety and concern for the well-being of others, you need to be smart about the location.
You should call 811 if you plan to dig to locate any buried utilities before digging. You do not want to run into a gas or underground power line.

Also, consult the county health department about the potential for old septic tanks on the property. Again, it’s not something you want to dig up.
Will your berm be in a position where the sun shines directly in your eyes for part of the day? Building a range facing west or east might be tough in the mornings and evenings, and I learned the hard way with my first range.
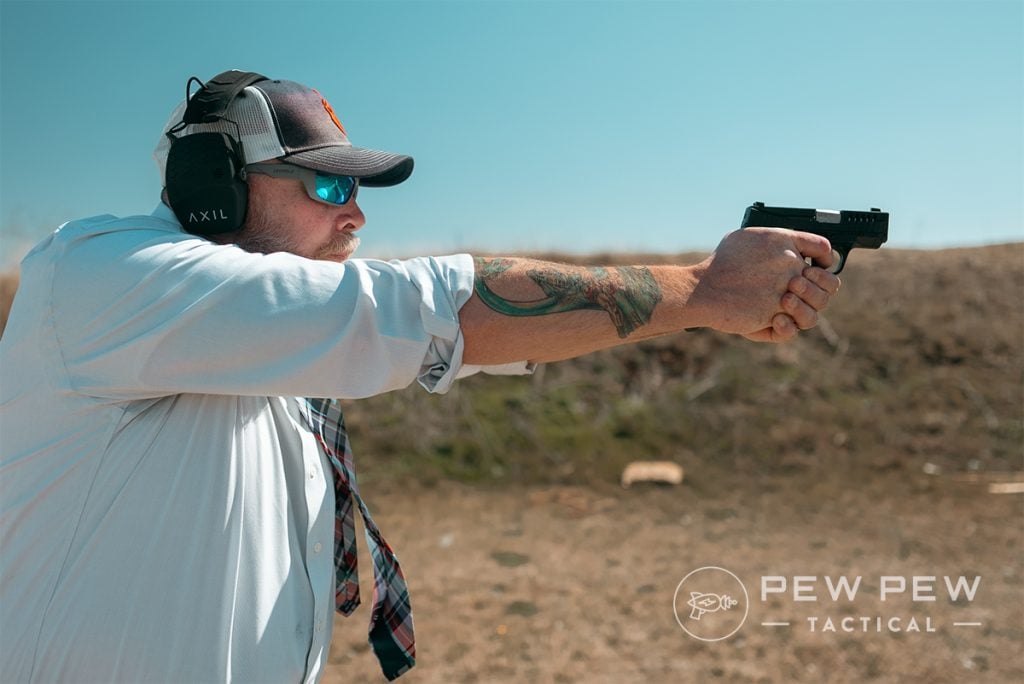
It might not be that big of a deal breaker if you shoot mostly in the afternoon but consider it.
3. Plan It Out
Once we have a location and direction, we want to start planning it out. You need to determine how long of a range you need.
Building a range for handgun use differs from building an 800-yard rifle range. You’ll need to plan to accommodate the distance you plan to shoot.
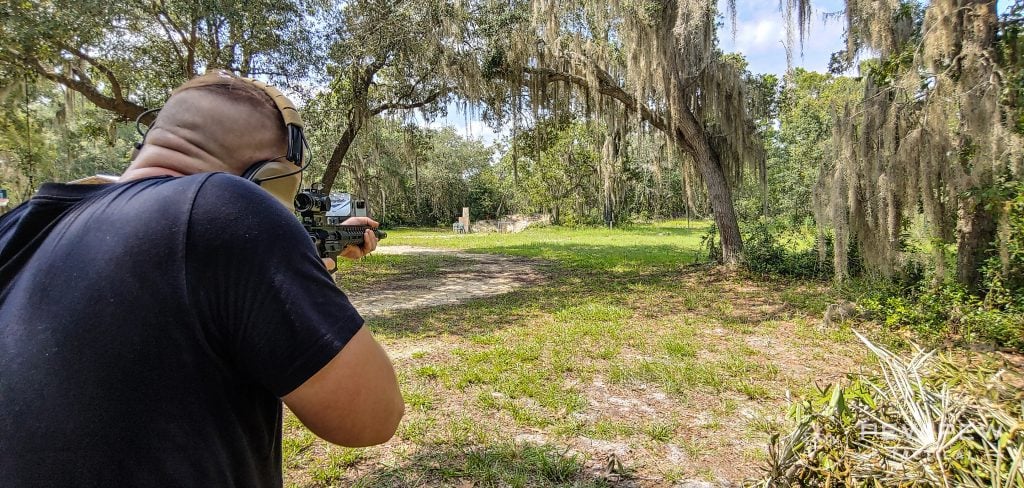
Ensure nothing is between you and the berm for the range you want to shoot. Use contractor’s tape to try and visualize the berm, including its height. This way, you can walk to the further location you plan to shoot from and observe the berm.
This will give you an idea of how it looks and can make you aware of any potential unnoticed hills, slopes, or high spots between this spot and the berm.
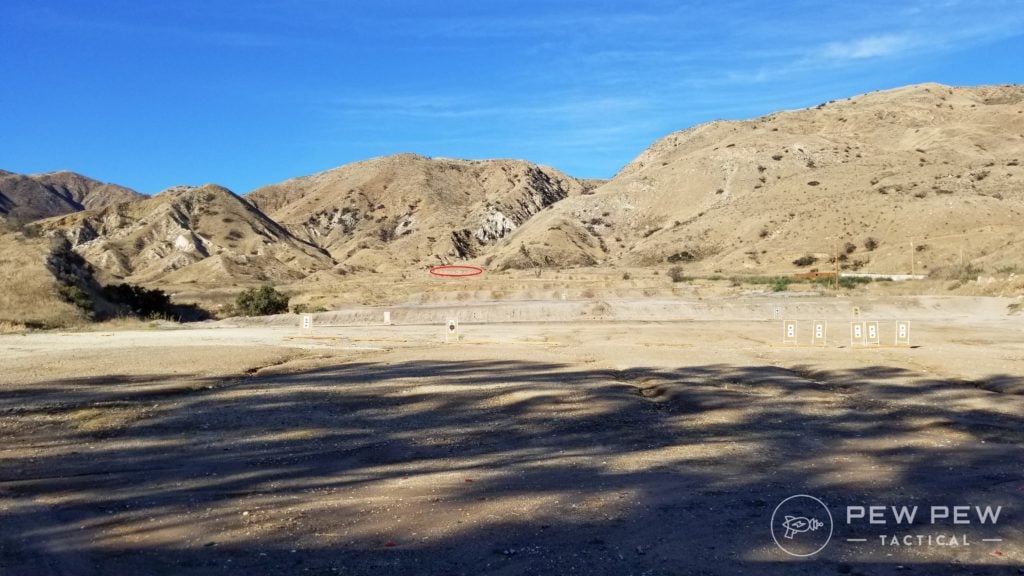
The range you plan to shoot will affect the location of the berm, as well as the location of all your other good-range stuff. What stuff is that? Well, you can make your range as fancy as you want.
If you want, you can build a legit bay with a roof to protect you against rain, sun, snow, and more. You might want to build tables and benches as well. You need to plan that all out.
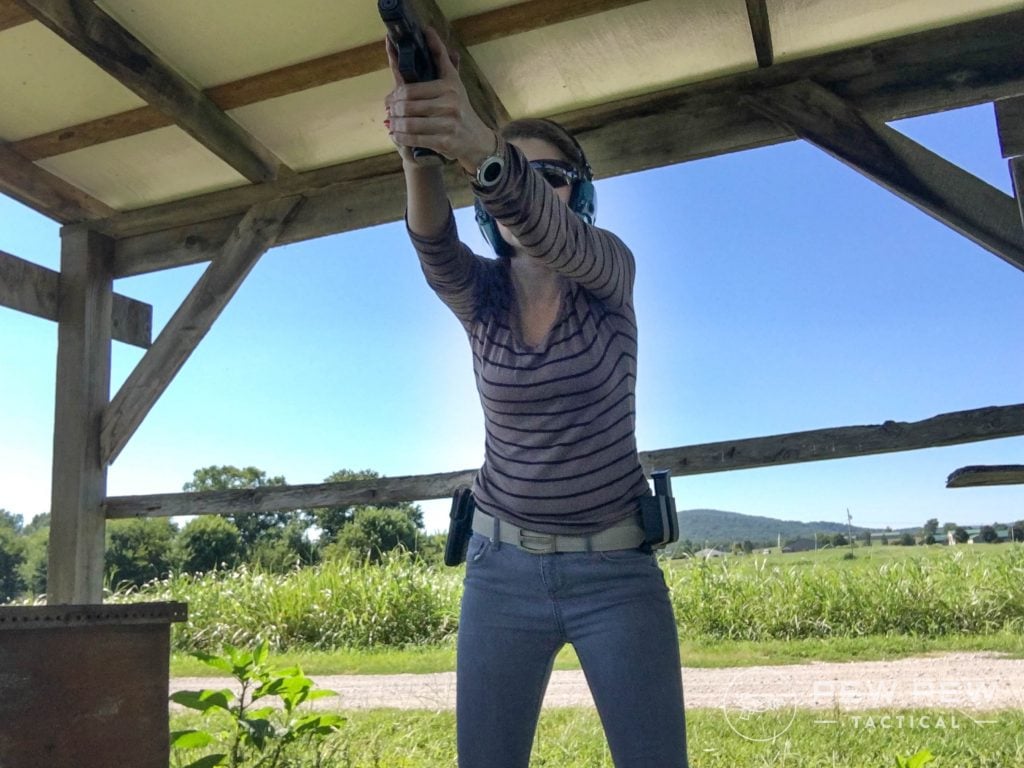
Grab a few rolls of flagging tape and build out these extra facilities so you can picture them. You might be able to visualize things quite well, but it’s a lot different when it’s actually measured and taped out.
I’d include space for storage, be it a portable building, shed, or whatever. Storage for targets, tools, and the like is really nice to have. Keep those things out of the way.
You might need to account for drainage as well. Pooling water creates mud, and you want to avoid that. The best way to plan drainage is to observe how water naturally drains out of the area and leave it be.
A downward slope to get water out of an area is a good idea, but that’s a job for a skilled contractor with grading experience.
4. The Berm
The berm is obviously the most important part of your range. Once we’ve ironed out the legalities, the location, and whatnot, we can focus on the berm.
How big should a berm be?
The Department of Energy has a guide published for public ranges that advises a berm 26 feet tall and 10 feet wide at the top…but that’s for a public range, but we aren’t building a public range.
I follow the NRA’s advice to use a berm at least 12 feet tall and about 4 feet wide at the very top, with the width progressively increasing. That works for my weapons, mostly handguns, shotguns, and even some light rifle cartridges like 5.56.
Berm thickness can vary depending on the materials used. I’m using just dirt. Other builders have used mixed materials, like dirt and railroad ties at the center, to provide a dense berm that needs to be as thick.
There are specially designed walls that will eat up and absorb gunfire. They are fairly expensive and used for most industrial-type public ranges. It’s a very expensive option, but it’s an option.
For a pure dirt berm, I suggest digging into the earth below where your berm will be for some of your dirt. Dig it at a gradual slope that extends to your shooting area. This positions you to shoot downward, making the earth part of your berm.
Shooting at a downward angle increases the safety of the range since even a miss is likely to be traveling at a downward angle into the earth.
Not only are you maximizing your safety, but you’re getting a little free dirt from the area around your berm.
Elevated shooting positions can aid range safety. A good friend has built a wooden platform about 4 feet tall, so he can safely shoot his .50 BMG at a downward angle into an earth-built berm without concern.
You’ll likely need earth trucked in. Truckloads of dirt will make it quick and easy to build the berm up and out. It can be as wide or tall as you want and as much as you’re willing to pay for dirt. When building the berm, you’ll likely need a contractor or the ownership and ability to drive a skid loader or similar earth-moving workhorse.
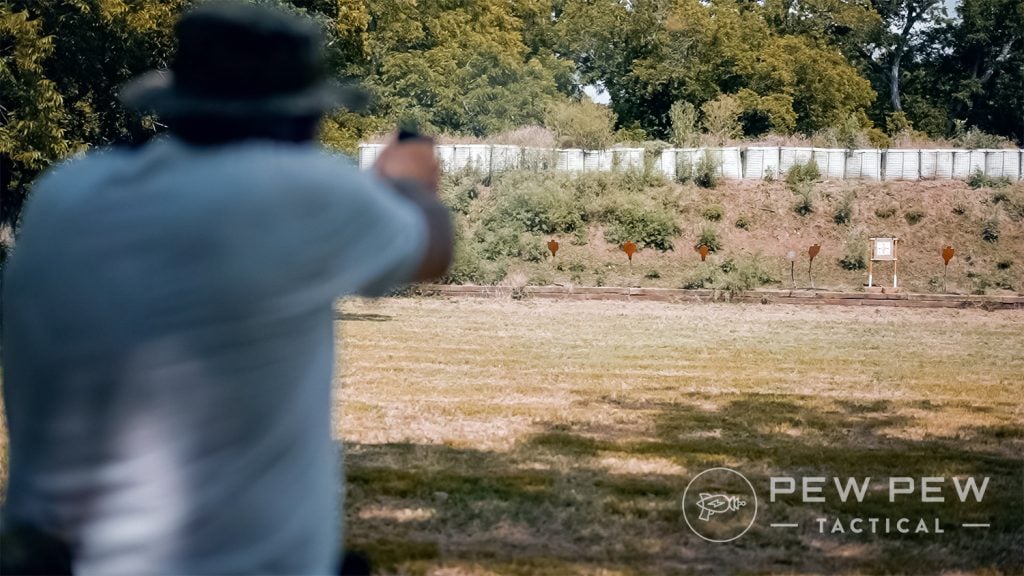
When building the berm, make sure you are removing any hazardous materials. That’s large amounts to anything a bullet can ricochet off, like rocks and man-made garbage mixed in. Keep an eye out and remove it as necessary.
Pro tip time: When building my berm, I had to remove some trees and minor debris from the area I was building the berm and where I planned to shoot. I placed those cut-off trees behind the berm to add another layer behind the berm to make it even thicker.
Use what you can to improve safety.
Another tip is to plant grass seeds at the top of the berm and give them some water. Let the grass grow on top and down the back. This will provide some erosion reduction from rain.
Set a Cut Off
My berm is 12 feet tall, but I don’t use all 12 feet for targets. That’s silly. I have a max target cut-off of 5 feet. The top of the target cannot be any higher than 5 feet from the ground.
I’ve yet to need a higher target, so my projectiles are impacting the thickest area of the berm.
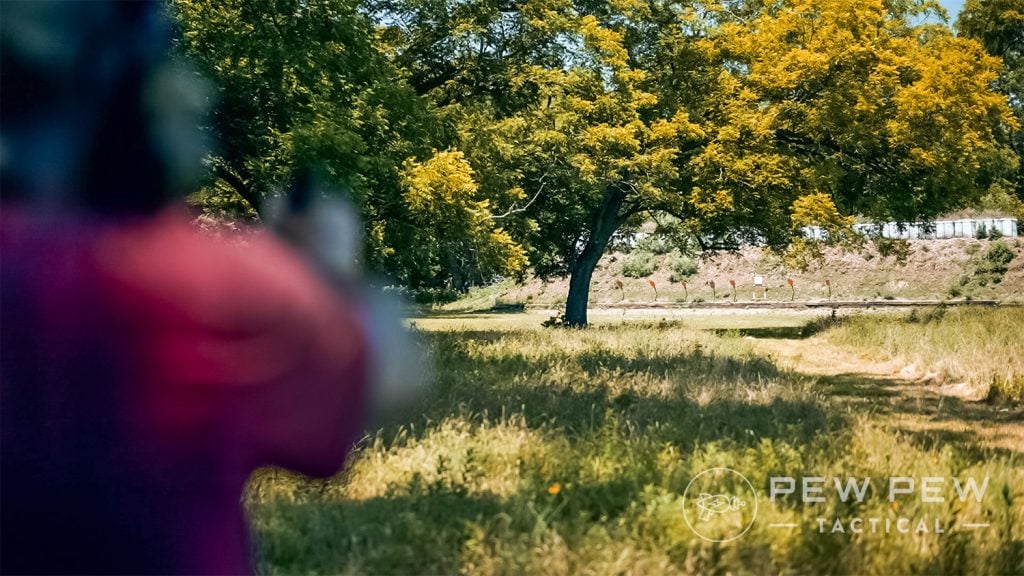
If I miss and the shot goes over, I have 7 feet of berm above the target to catch it. It would take a disastrous miss to hit over the berm. I’ve never had an issue with targets being taller than 5 feet, and most of my targets sit lower than that.
Targets
What kind of targets do I use? Well, it’s my range! So, I use whatever I want!
I love steel targets. I like the noise. I like the reaction and everything else. I love hearing the hit from 50 yards away.
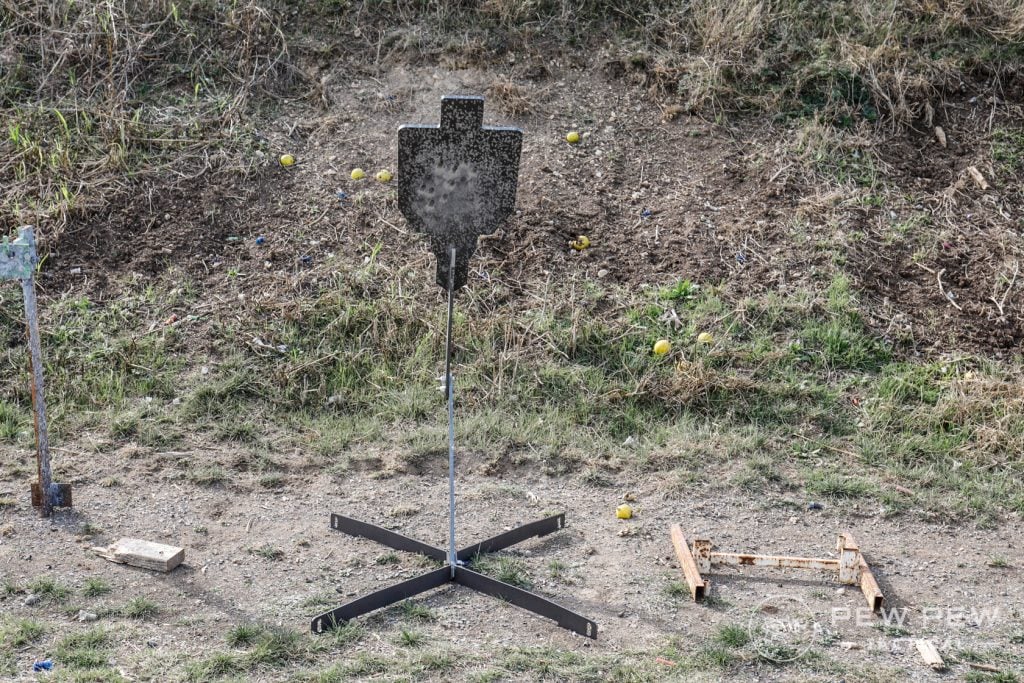
I typically use an IPSC-style swinging target for man-sized targets. Also, gongs are a favorite for their small size and reactive design.
The Caldwell gongs and stands are a one-piece setup that’s quite nice and very reactive. It’s also very well made.
Prices accurate at time of writing
Prices accurate at time of writing
-
25% off all OAKLEY products - OAKLEY25
Copied! Visit Merchant
I have a gong rack from a company called Highwild that provides four varying gongs, and it’s also fantastic for testing your shooting skills against large and small gongs.
-
25% off all OAKLEY products - OAKLEY25
Copied! Visit Merchant
Like everyone, I shoot more than steel. I also use paper can cardboard targets with cardboard backers. Moving boxes are a cheap way to get large cardboard slabs to act as target backers.
Highwild also makes some metal target stands that require some 1x2s. These are easy to move around and to take apart and put away.
-
25% off all OAKLEY products - OAKLEY25
Copied! Visit Merchant
Making your own target stand is an option. You just need some PVC and imagination.
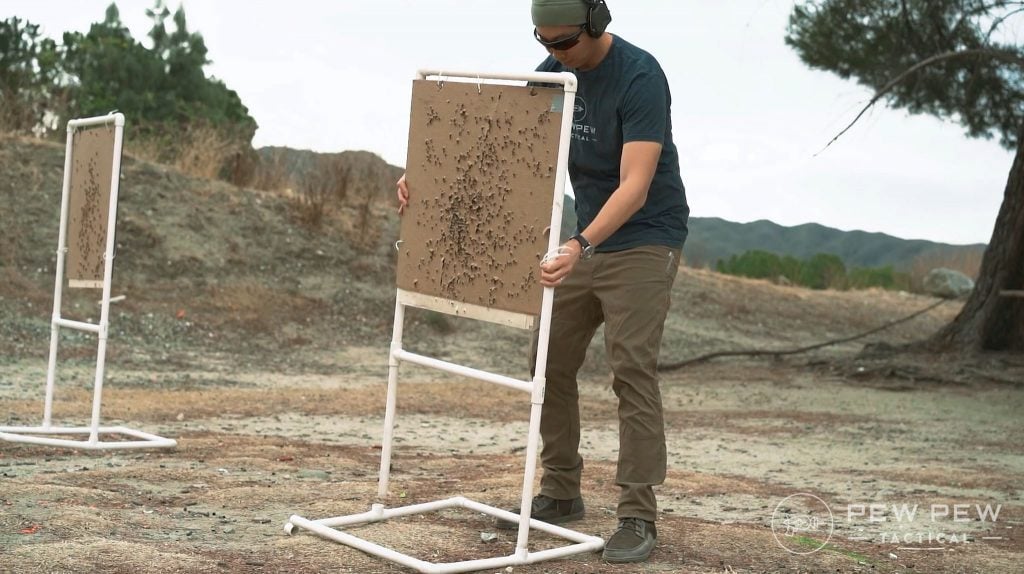
To keep things fun and exciting, there are gadgets like the Caldwell Target Turner that I really love. As the name implies, it turns your target, and you can adjust the speed and rate at which they turn pretty easily.
Prices accurate at time of writing
Prices accurate at time of writing
-
25% off all OAKLEY products - OAKLEY25
Copied! Visit Merchant
The Mini Backdoor Range
The range we’ve discussed requires land, money, and machines to build. For many, it might be out of their price point and capability, but you can make a very small range for only a little money and some work and effort.
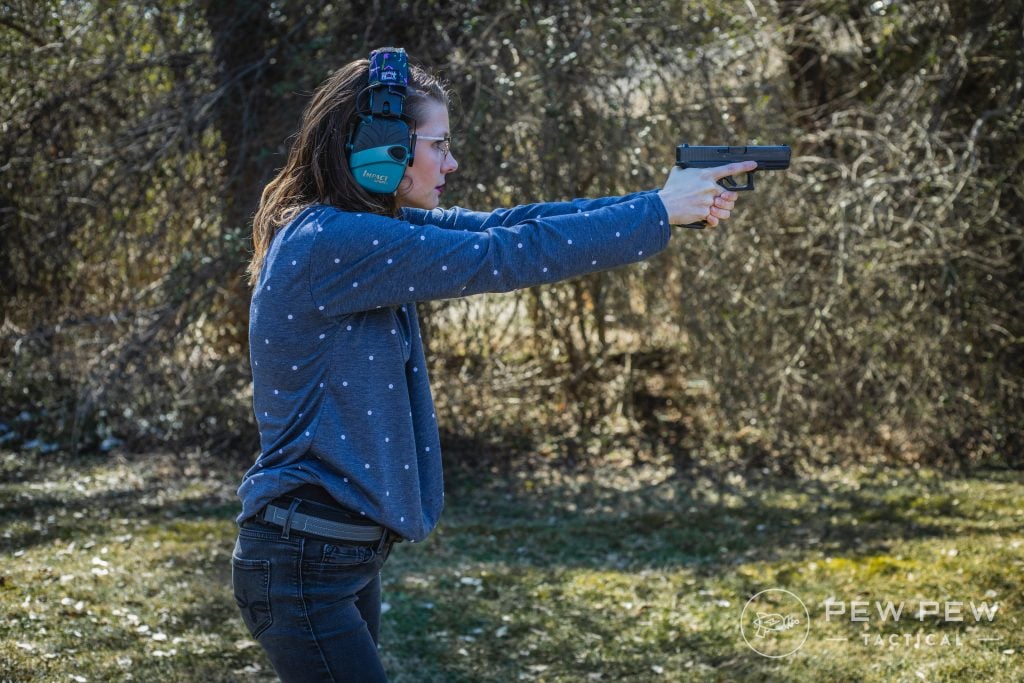
All the locations and legalities apply, so don’t think you can skip that.
A mini range is solely for rimfire use. It starts and is built around a bullet trap. Highwild produces a simple rimfire bullet trap for less than a hundred dollars.
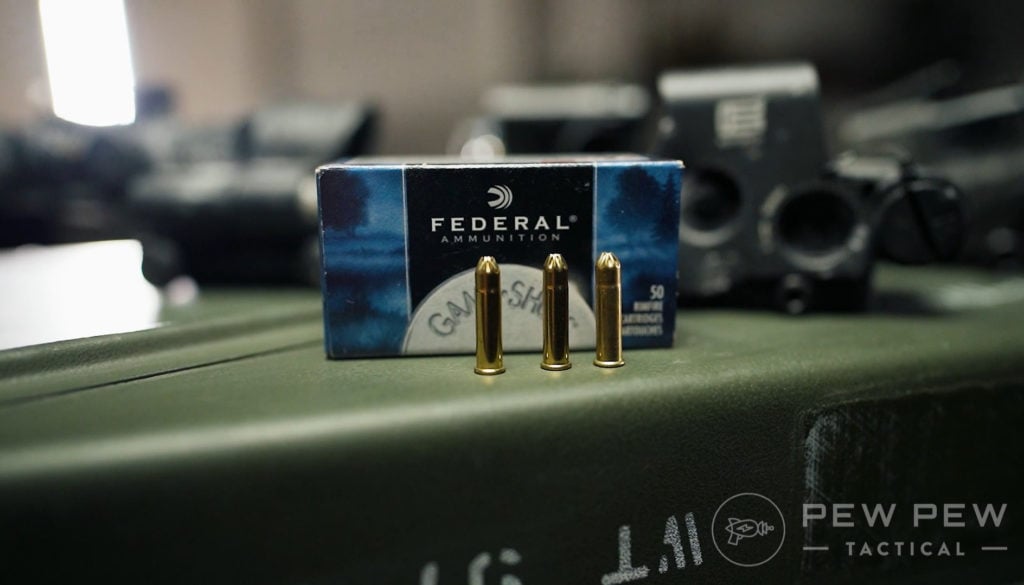
This box can absorb the powerful of .22 LR all day and provides a safe backstop. I still suggest building something around and behind it in case of misses. You can use a small berm built with shovels, a few railroad ties, or whatever you have handy to prevent misses from over-traveling.
Set your target inside the bullet trap, and you can enjoy hours of plinking at home without going broke.
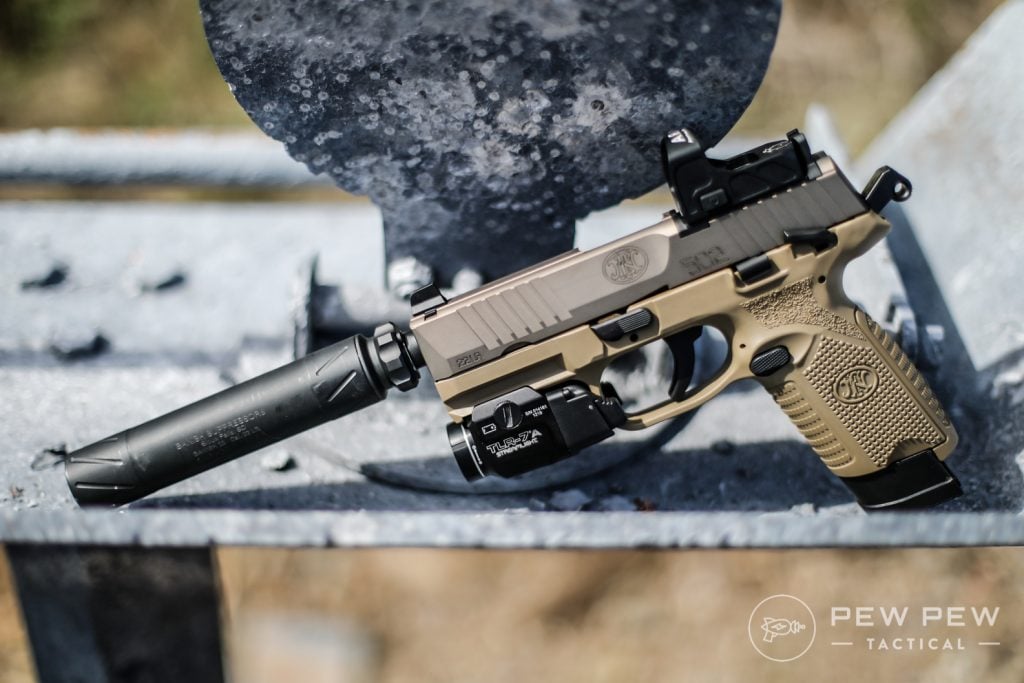
I used this setup after building my new home and not having a range to shoot at. I still had the itch to scratch, and this helped me get through those dark times.
Letting Others Shoot
You’ll suddenly make several new friends once you have your own private range.
You have a free palace to shoot, but should you let others shoot? You are opening yourself up to lots of liability.
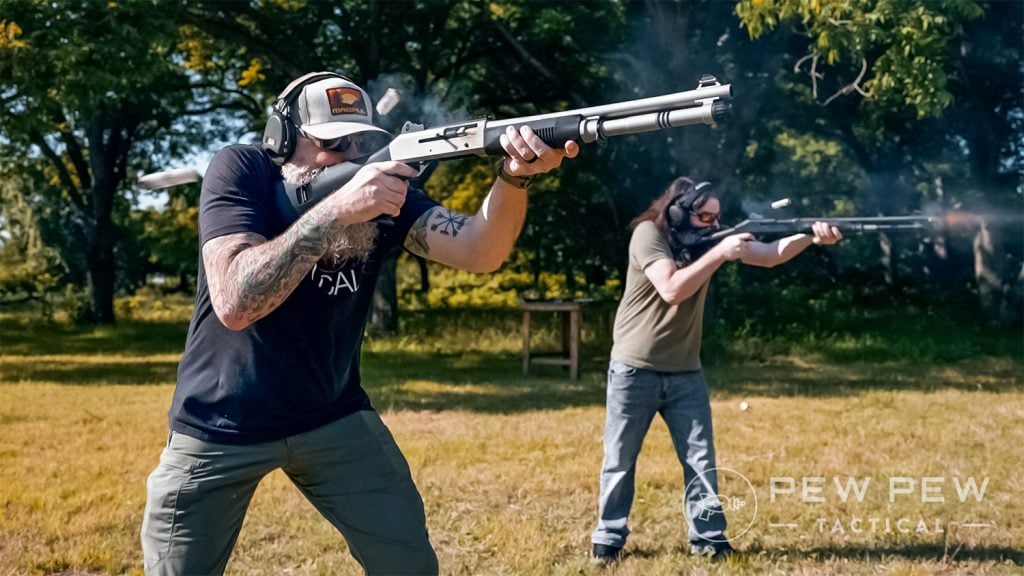
If someone gets hurt because of your range, it’s your range. Remember that.
Final Thoughts
When it comes to building your own range, it can seem like a mountain but don’t worry. It’s just a berm. A little range humor for you. In all seriousness, having a home range is so awesome.
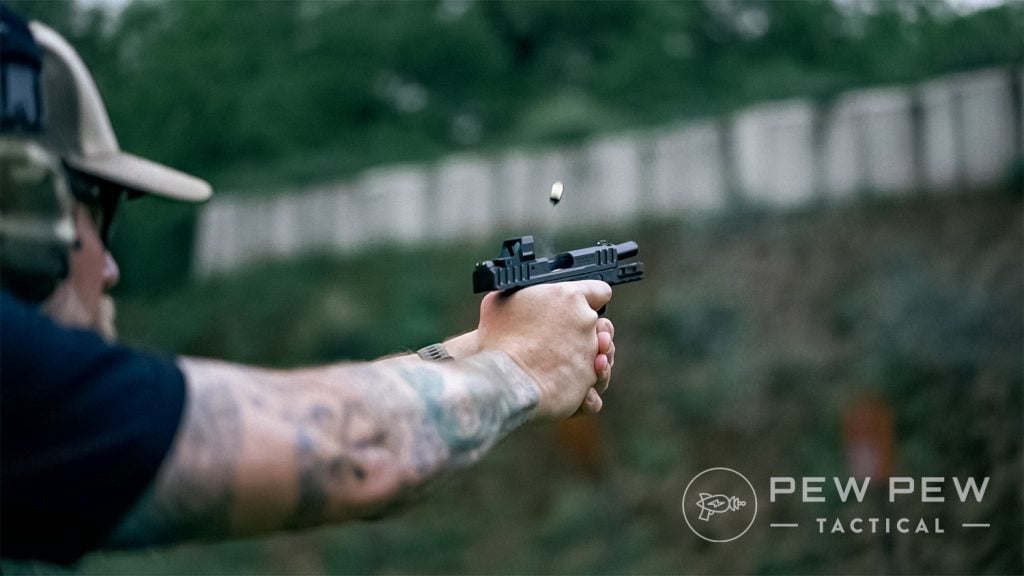
I’ve become a much more proficient shooter in such a short time that it’s been well worth the investment. Being able to shoot my drum-fed shotgun as fast as I want is no small downside, either.
Just remember safety first.
Who else has a home range with some tips and tricks? Share below! For suggestions on what gear you need at the range, check out our list of Essential Range Gear.



7 Leave a Reply
I bought 10 acres of rural land to build a range to do Concealed carry classes when Ohio enacted their law back in 2004. My berm was wide enough to handle 10 students at a time. In short order I added an overhead shelter as no one (including me) enjoyed shooting if it was raining. After 10 years of use, (and an added "novelty" range with steel targets and a 65 yard rifle range), the County decided this property was prime residential and raised my taxes by 86%. It's now cheaper to go (daily) to a public range than what the yearly taxes cost me but I can't shoot my submachineguns or even semi-auto rifles fast, so I am looking for a new much smaller piece of property to build again. Experience tells me that I can make do with 2-3 acres for a pistol range. Experience from building the first one, plus good tips from this article, will make range #2 much better.
Quit hiding behind a fake name, Chuck, or should I say, Cuck.
Be careful of any type of rock behind targets. I was messing aound in a man made pond on my tx ranch one day w ar chambered 7.62x39 when i got a call fromneighbor bu8lding grandson tree house. Lets say the ricochet traveled 500ish yards 45ish degrees off target
I agree, there's nothing like having your own range. I do miss the one we had on the family property. Unfortunately, the brother in law that lives closest to it, has turned into such an A-Hole about the property, neither my wife or her other brother can stand to be around him.
I am not an a-hole. You are!
signed,
Your brother in law
Get back in your mommy's basement and stay there!
"I am a NRA certified instructor and concealed carry trailer out of Florida."
Trailer? Do you mean Trainer?