We review products independently. When you buy through links on our site, we may earn a commission to help support our testing. Learn more.
Again, I’m not a gunsmith and the following has the potential for some bad stuff to happen if you do something wrong.
After I complete my pistol build as a single-shot (since I’m in California), I’m taking it to my local gunsmith for one final look through and test fire. Disclaimer.
Here’s my list of parts I’m using.
The majority of this post will be links to articles and YouTube videos since I’m definitely not the expert in fitting parts. I cannot stress how highly I recommend the following two resources. The DVD goes through everything clearly and covers a lot of safety checks after each part is fitted.
Going for a quick win first. No fitting was needed for my particular build. Really helps if you follow their tip of putting something into a vise and using it to push in the spring.
Trigger, Barrel Bushing, & Beavertail
Since I was waiting on the jig before, I fit all the above in a previous post. I leave the trigger in for the next steps.
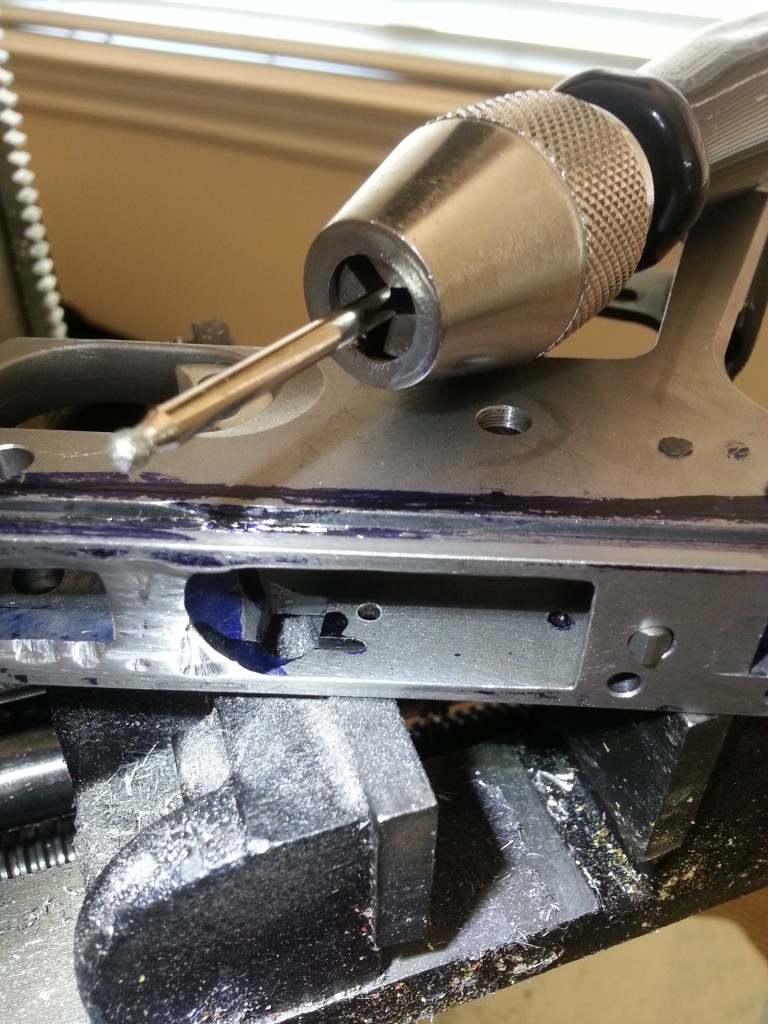
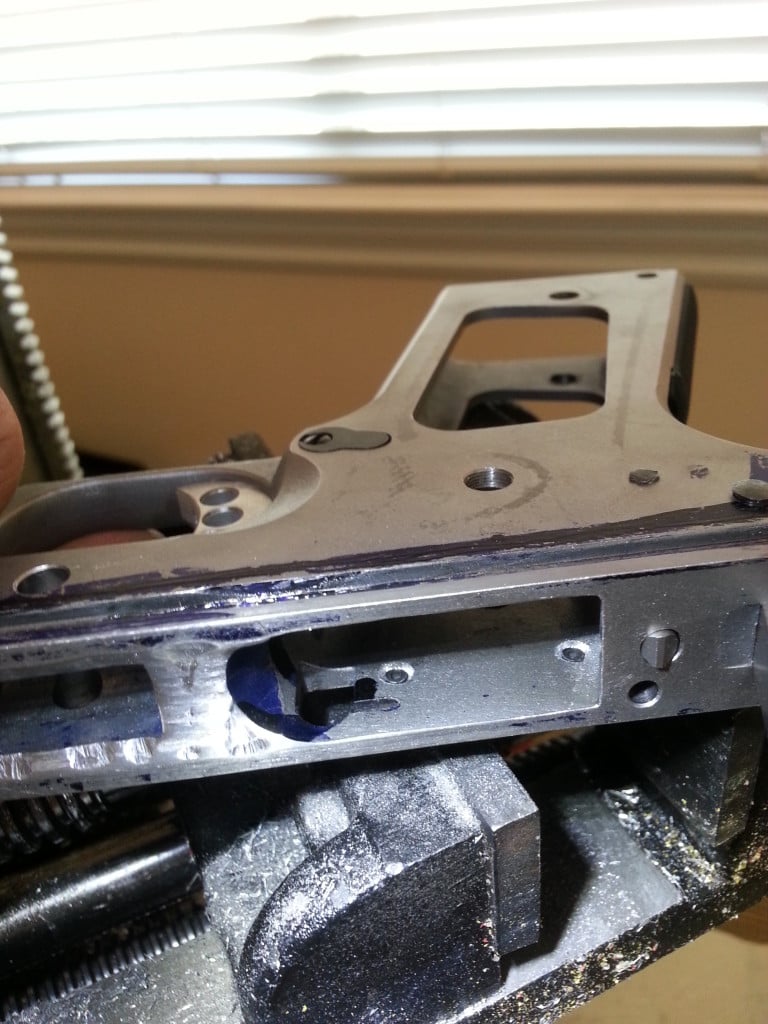
Hammer, Sear, & Disconnector
It required a bit of filing down inside the frame to remove some burrs during the sear/hammer hole drilling.
I also had to sand down the width of the sear and hammer to get them to fit inside the frame. The pins also took a little bit of force the first few times to fit. Once you know it probably won’t just drop in nicely, this video helped me put everything together:
You can add on the mainspring housing and leaf spring (easier if the hammer is not cocked), so you can check out if your gun cocks. If you press on the trigger, make sure to not let it hit against the frame. I usually just hold it with my finger and just feel it going down. If you try to remove the mainspring housing when the hammer is cocked, it’s going to have a lot of pressure.
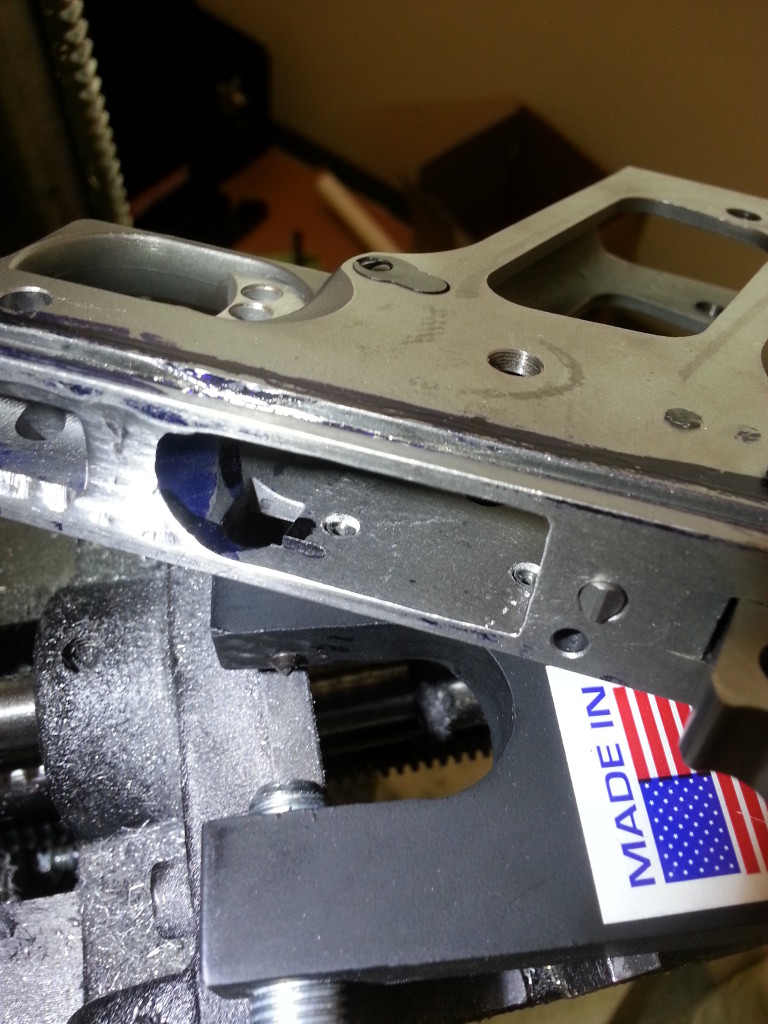
Beavertail
I went with a regular beavertail that requires fitting.
It turned out I had to shave quite a bit from the bottom of the beavertail since it was getting jammed against the mainspring housing. I also didn’t need to take anything off the frame since I think Tactical Machining went with the standard radius.
The beavertail also stayed in pretty much by itself, but you can use the thumb safety going in the opposite way to keep it in there. The reason we go opposite way is because we’ll have to fit the thumb safety next but just need the pin for now.
https://youtu.be/k-j3OXniH1Q
Thumb Safety
I actually ruined one thumb safety since I ground too much off. It’s an extra important part so go through it carefully with Dykem and light filing until you get it right. Took me about 90 minutes.
Plunger Tube
The TM receiver is not chamfered so you will have to do it yourself. I linked before to a burr set which has round bits perfect for a hand vise or Dremel. I went for a 1/3 of the total wall width chamfer.
Round Burr for Chamfering Plunger TubeCompleted Chamfering of Plunger Tube Hole
I then used a plunger tube staking tool like below:
Plunger Tube Staking
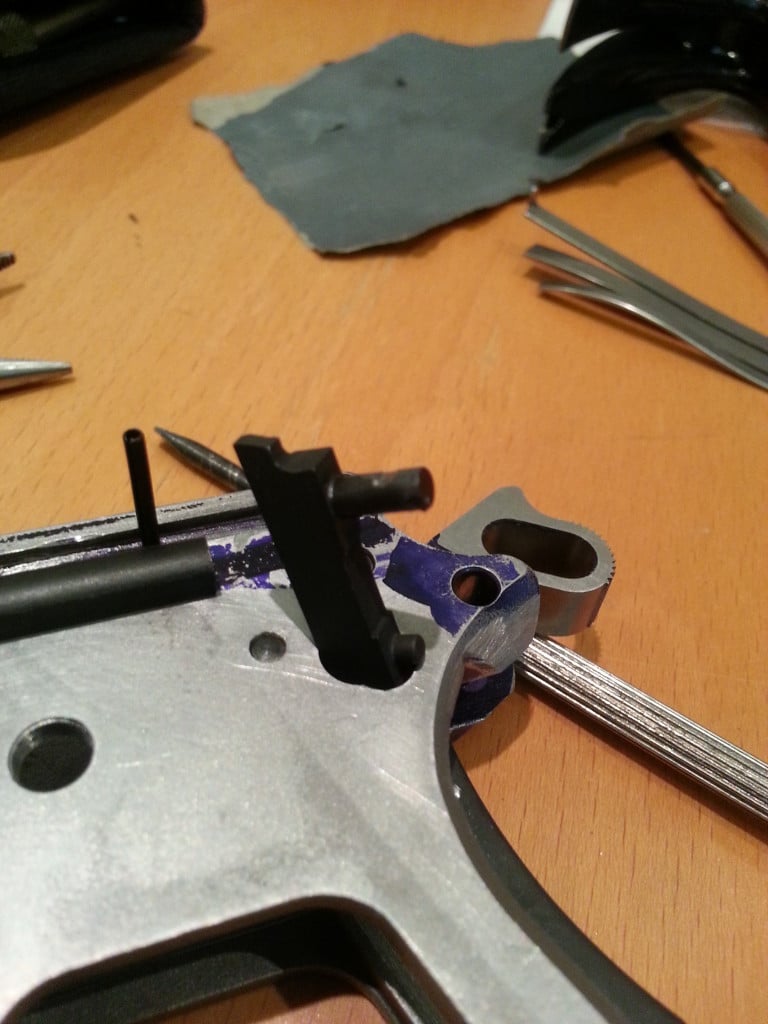
Ejector
The ejector is another annoying part since you will have to cut a groove into the long post of the ejector and run a small roll pin through it and the frame.
What I did was put the ejector in and used a small pin to etch where I would need to cut the groove. I took out the ejector and just filed a little off. I tried to file a little higher than the mark so when the roll pin goes in, it would pull down on the ejector.
Ejector Pin Fitting
Magazine Release
An easy one for a quick break from so much fitting. However, I did have to file the frame a little to fit my 8-round Wilson magazines with the extended rubber bottom.
Barrel Fitting
Potentially difficult if you did not get a drop-in barrel. I was lucky that my Storm Lake drop-in…dropped-in. Here the DVD above really shines since it goes through tons of tests for drop-ins and gunsmith-fit barrels, proper engagement, and how to avoid jams. Here’s a great tutorial though on YouTube:
https://youtu.be/rYSixCYcMuc
Extractor and Firing Pin
Pretty easy with this video:
Finishing
Time to put everything together including the recoil springs, recoil spring guide, and slide lock. I’m going to put on GunKote next and sights after the first test fire.