
Top 3 Shooting Stances: Isosceles vs Weaver vs Chapman

Quickly learn the pros/cons of the Isosceles, Weaver, and Chapman shooting stances through tons of pictures and videos.

PPT Editor. Marine vet, hunter, and long-range shooter. Articles in 10+ major publications
We review products independently. When you buy through links on our site, we may earn a commission to help support our testing. Learn more.
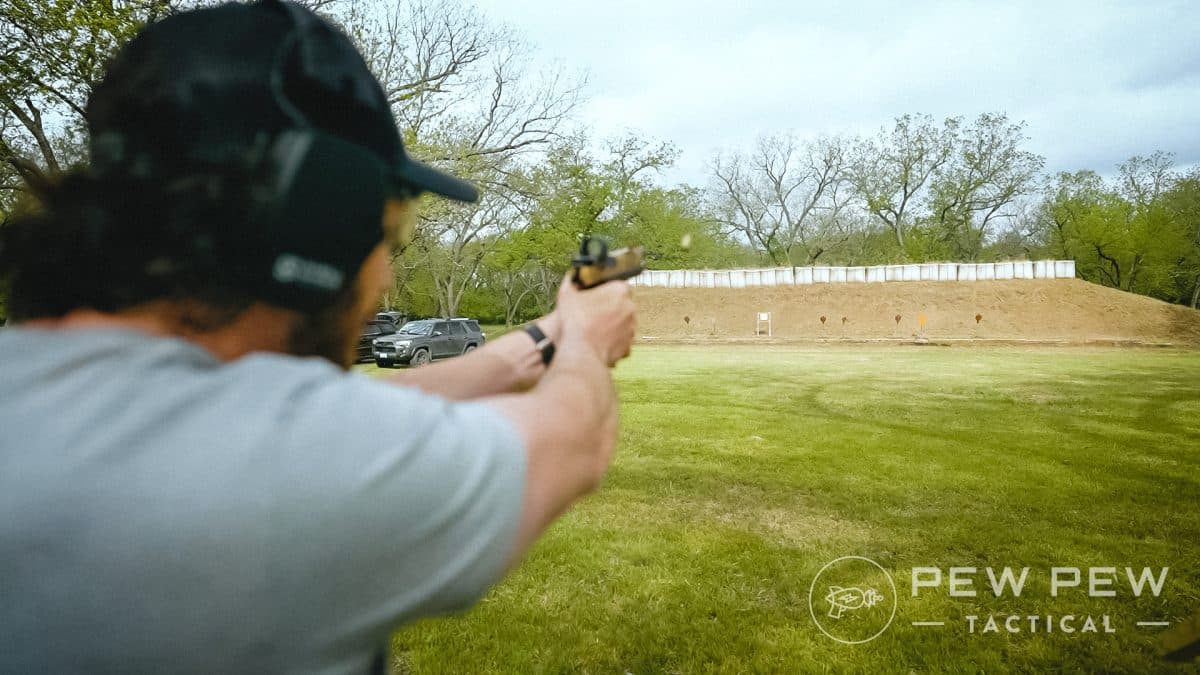
Shooting a pistol looks so easy when the pros do it. Why is it so hard for the rest of us?
You can make huge improvements by dialing in your shooting stance.
There are a few different ways to go about this, and we’ll cover the most common shooting stances – Weaver, Chapman, and Isosceles – so you know what to do and when to do it. Then we’ll touch on a few bonus stances and techniques.
Let’s roll!
Table of Contents
Trending: Best July 4th Gun Deals 2026
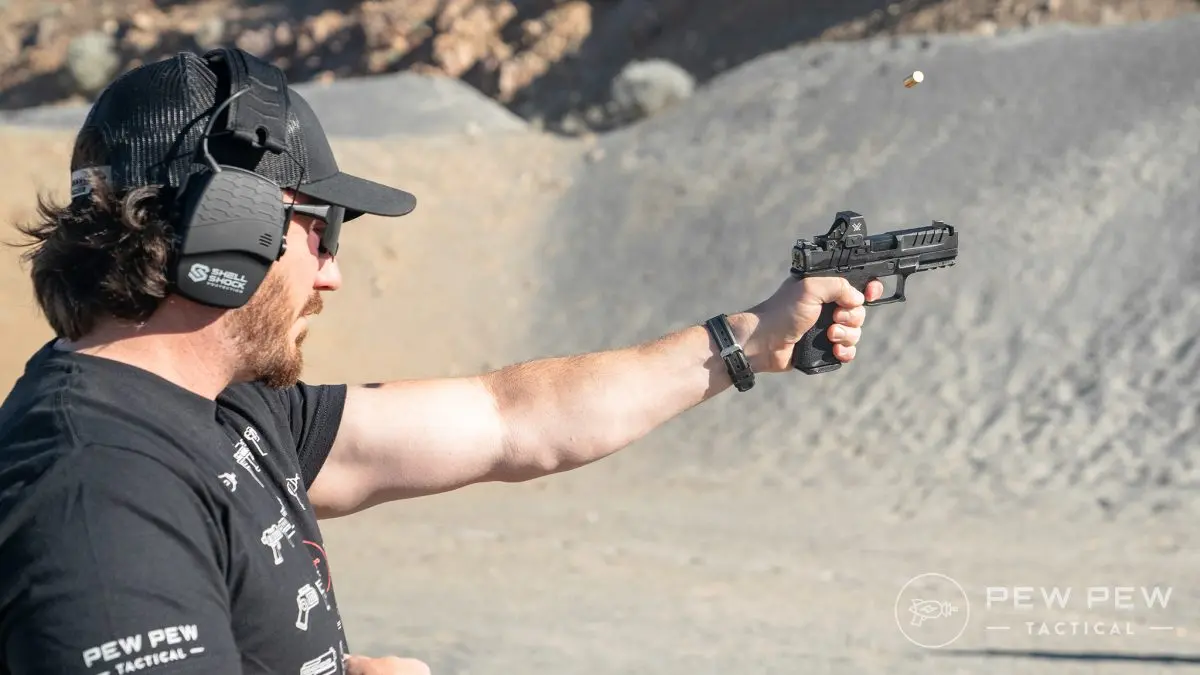
Shooting Stance 1: Weaver
Pros
- Mimics a natural athletic stance
- Decent recoil management
Cons
- Takes more effort to rotate to your non-dominant side
- Challenging for cross-eye-dominant shooters
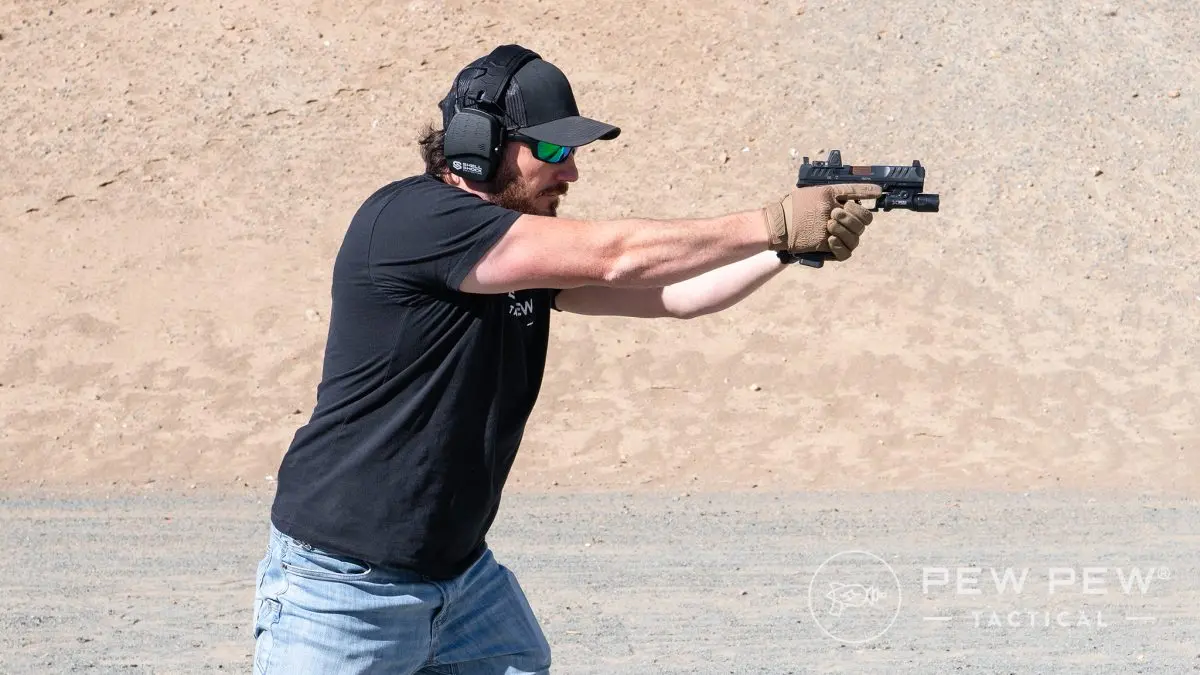
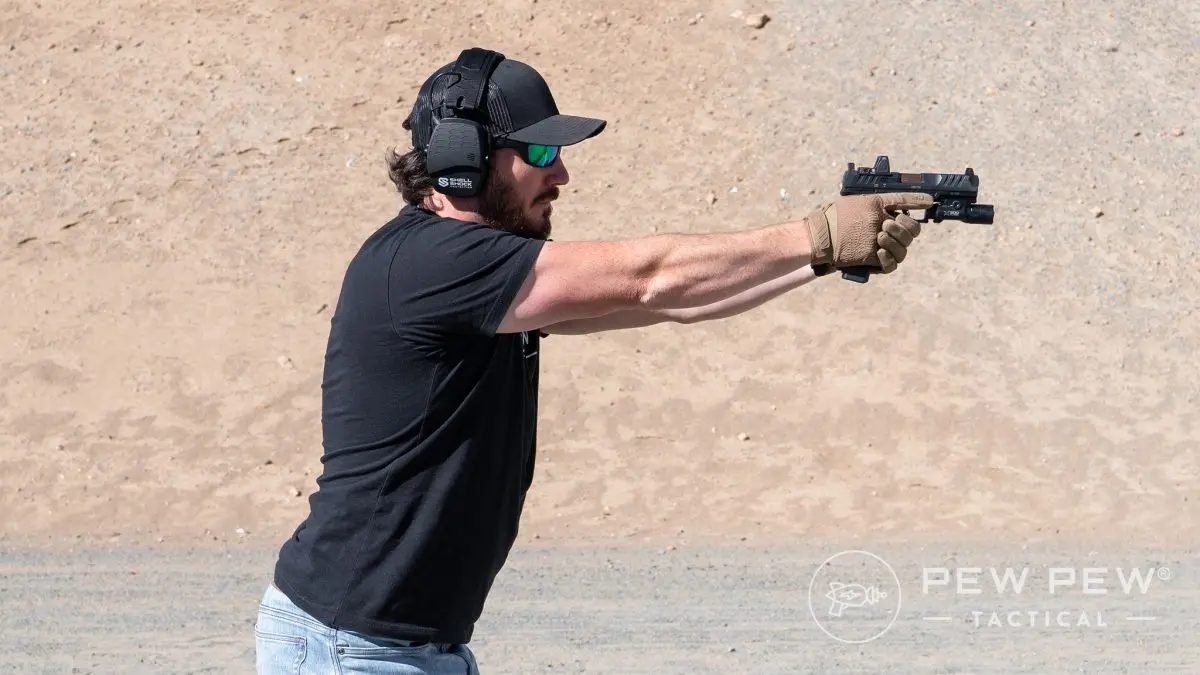
The Weaver stance that Los Angeles County Sheriff Jack Weaver developed in the 1950s is old-school. But as is the case with revolvers and 1911s, that doesn’t mean it’s outdated.
While facing your target, take a step forward with your non-dominant foot. Shift your weight forward over the ball of this foot – think, “Nose over toes.”
This will somewhat blade your torso to the target and minimize your target area if you’re not wearing body armor.
Present the pistol by fully extending your dominant hand, then finish your grip by supporting it with your non-dominant hand. You’ll need to bend your non-dominant arm to make this happen.
Think about pushing with your shooting hand, and pulling with your support hand.
This stance is good for managing recoil, and it mimics a natural fighting stance. If you were to step into a boxing ring, you’d probably assume something pretty close to the Weaver position.
While the Weaver position maintains good situational awareness to your front and strong side, your non-dominant or support side will become a blind spot. If you do need to rotate to that side, it will take some effort.
Maneuvering is also a little challenging from this position, because we aren’t used to walking with our torso twisted to one side. You can still make it work; it just takes some practice.
Shooting Stance 2: Chapman
Pros
- Repeatable and easy to master
- Great for recoil management
Cons
- Doesn’t allow easy movement or rotation
- Gets uncomfortable for your neck pretty quickly
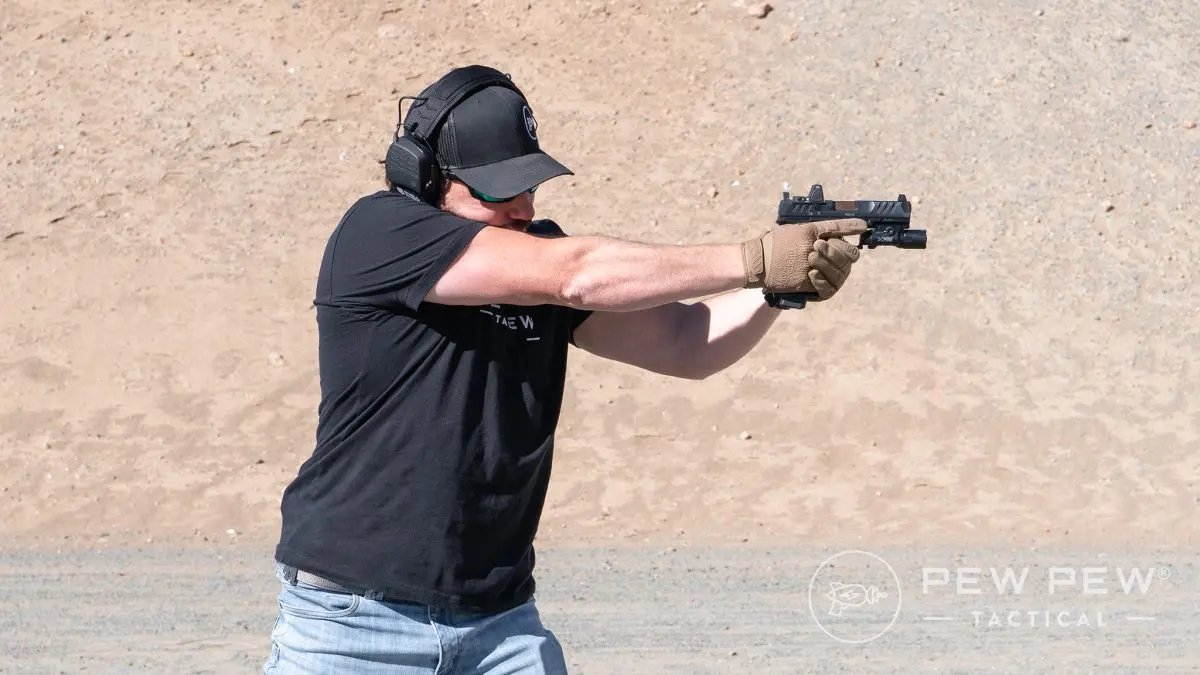
The Chapman stance created by competitive shooter Ray Chapman is also called the modified Weaver stance, and that will be our starting position.
This time, lock out that dominant arm and press your cheek into your bicep just like you’re using a rifle stock. Your dominant eye should fall right in line with your sights. If you’re cross eye-dominant, try turning your nose slightly outward over your arm to achieve a good sight picture.
Since you have one arm fully extended and more points of contact, this stance is extremely easy to implement consistently. It’s also fantastic for managing recoil.

Like the Weaver stance, this one minimizes your target area if you’re not wearing body armor. If you are, it turns the plates sideways and diminishes their ability to protect you.
Once you get used to it, shooting accurately with the Chapman stance is pretty easy. That comes at a price, though.
Tucking your face into your arm is lousy for situational awareness on both sides. If you need to move, you’ll have to completely break down this stance, get where you need to go, and build it from scratch again.
If you’re taking cover and aiming at a known, stationary target, this is a great way to make an accurate shot with a handgun. It’s not great for more dynamic environments.
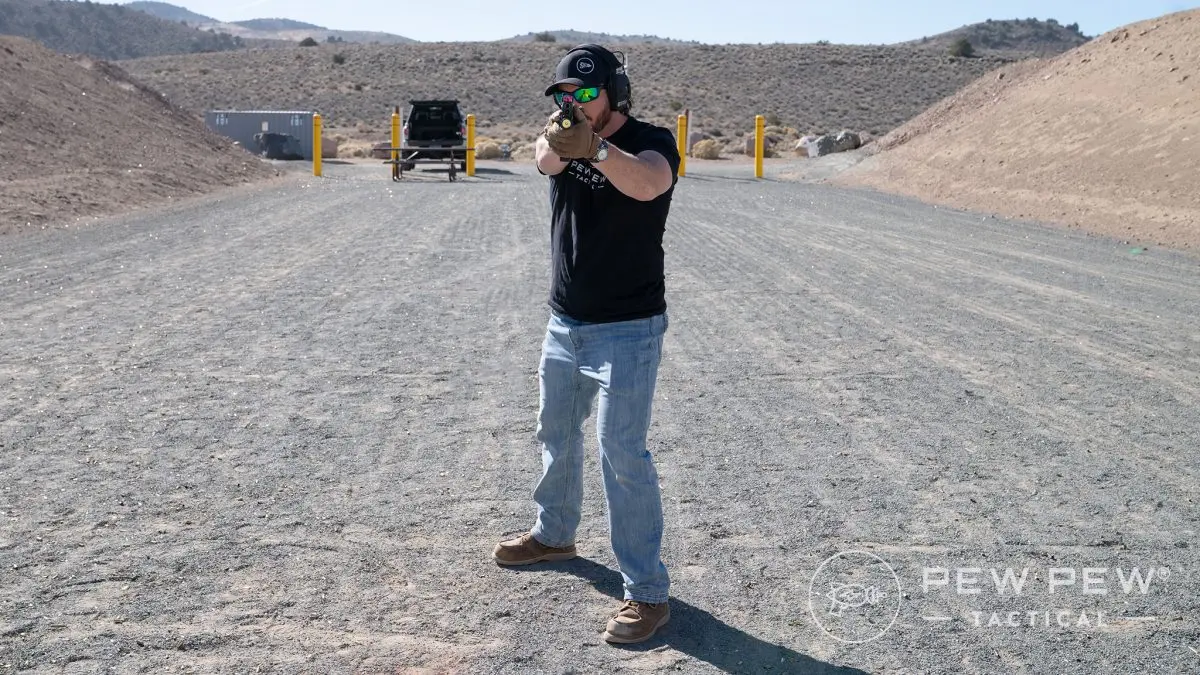
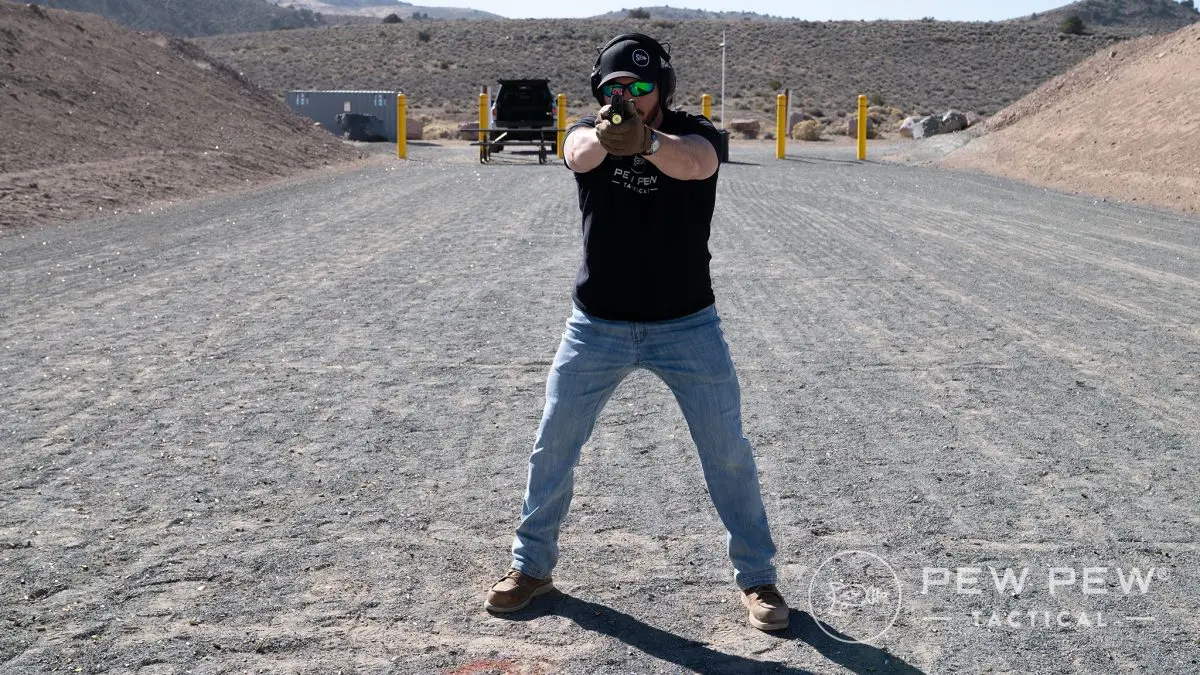
Shooting Stance 3: Isosceles
Pros
- Stable, balanced, and intuitive
- Maximizes body armor surface area
Cons
- Presents a large target area if you aren’t wearing body armor
- Feels a little stiff if you have to shoot and move
The Isosceles stance really took off popularity when body armor became common in the military and law enforcement, because it presents the most favorable surface area of armor in relation to exposed body parts.
To use the isosceles position, start by facing your target and standing normally.
Spread your feet shoulder width apart or wider, and put a slight bend in your knees. Allow your hips to move to the rear and your shoulders to push forward. Extend your arms equally (like an isosceles triangle) and present the pistol. You should feel a slight forward bias in your weight, with pressure on the balls of your feet.
When you fire, any unmanaged energy will actually nudge your weight into a more neutral position rather than knocking you backward.
This stance is great for shoot-and-move situations. We naturally square up to whatever we’re looking at, so you’re partly there automatically. The symmetrical arm position makes it easy to rotate to either side like a turret.
The isosceles position has a major drawback. If you aren’t wearing body armor, you end up maximizing your own target area – the exact opposite of what you want to do.
I’ve also seen new shooters get off-balance with this position since both feet are on the same plane. If you stand too upright or lean back at all, even a mild recoil impulse will push your weight onto your heels.
Bonus Shooting Stances
You have more than three options when it comes to shooting a pistol, so let’s briefly cover some of the other stances you might encounter.
One-Handed Shooting
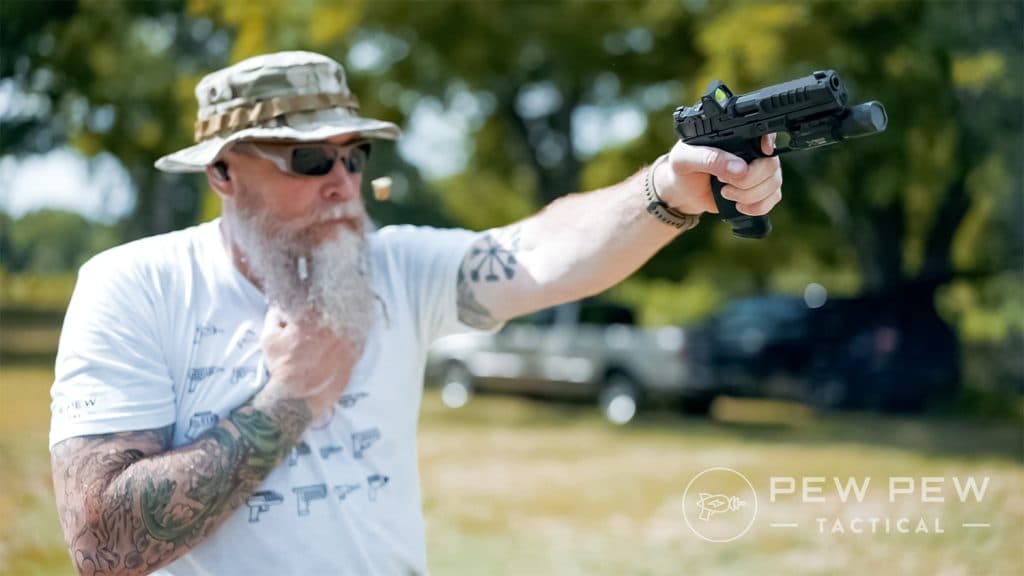
Pros
- Useful if one hand is injured or otherwise occupied
- Great for fine-tuning your technique
Cons
- Compromises stability
- Makes it difficult to manage recoil effectively
Think one-handed shooting is just for Hollywood cowboys and gangsters? No way; this is a perfectly viable way to shoot a pistol, and you need to practice it.
Practically speaking, one-handed shooting is useful if you sustain an arm injury, need to carry something, or need to use a door handle.
It’s also a brutally honest way to expose flaws in your grip. After humbling yourself and improving your technique, you’ll probably find two-handed shooting much, much easier.
I once spent several weeks doing nothing but one-handed shooting in preparation for a particular match, and going back to both hands afterward felt like unlocking easy mode.
The drawbacks of this technique are fairly obvious. You have to give up a lot in terms of grip strength and stability, so it takes a lot of practice to get close to what you could accomplish with two hands.
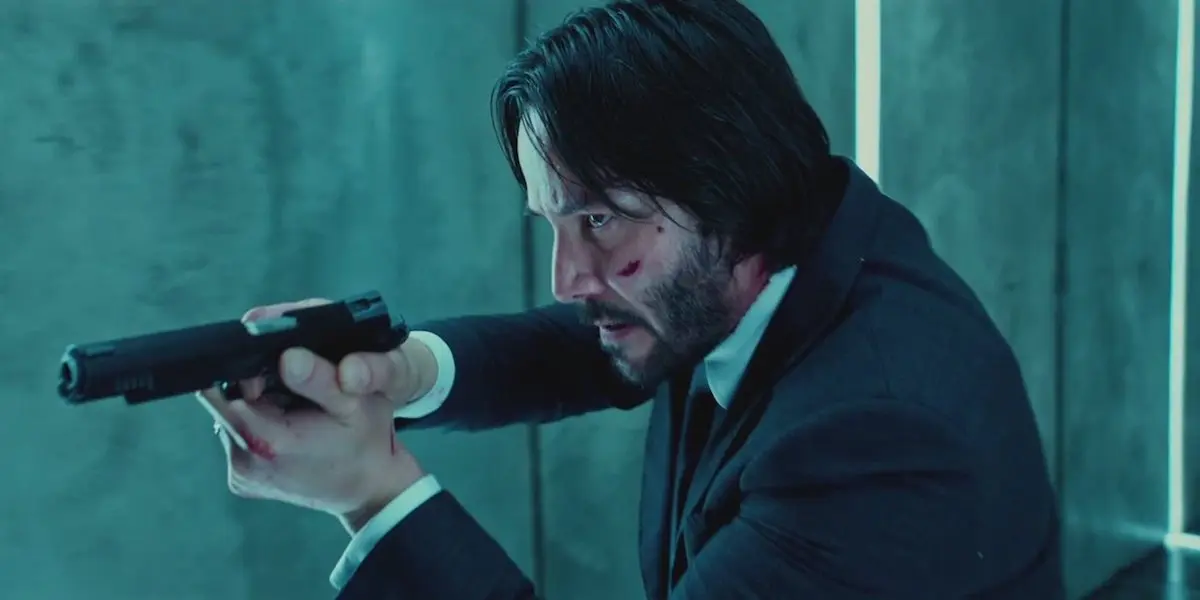
Center Axis Relock
Pros
- Very effective in confined spaces
- Allows excellent freedom of movement
Cons
- Not ideal for accuracy at distance
- Better for quick transitions than a full-time stance
Shooting guru Paul Castle created the center axis relock technique, but it’s probably best known for the modified center axis relock that appears frequently in the John Wick franchise.
This technique is all about close-quarters defense. The compressed posture makes it easy to maneuver in vehicles and other tight spaces without breaking the sighting line from your eye to the sights to the target.
You also have the ability to strike with the pistol, throw an elbow, or punch out into another shooting stance extremely easily from this position.
And it’s wildly entertaining.
Keep this one in your toolkit as a transitional posture. It’s not meant for accuracy beyond a few yards, and the skills it requires don’t necessarily transfer well to other types of shooting.
There’s more to learn, so check out our deep dive into center axis relock.
Training With Weaver, Chapman, & Isosceles
All of these stances are useful, and none of them are perfect. I recommend training with all of them.

If you ever need to defend yourself with a handgun, it probably won’t happen on a flat range with designated target areas and firing lines. The more skills you have to work with, the better off you’ll be.
It’s a lot easier to modify one of these stances to suit the present threat than it is to cook up something on our own in the heat of the moment.
Imagine being boxed in your vehicle by multiple threats at various distances.

A proper response might involve using the center axis relock to fire through your driver-side window, punching out to a modified Weaver position once the glass breaks, and stepping out of the vehicle to engage a more distant target with the isosceles or Chapman stance before making a run for it.
That scenario is pretty unlikely, but I’d regret being a one-stance guy if it were to happen to me.
Additional Resources to Improve Your Technique
There’s more to great pistol shooting than your stance, and we’re here to help! Check out these other guides to level up your shooting.
- The 4 Firearm Safety Rules
- How to Properly Shoot a Handgun or Pistol
- How to Shoot a Pistol Accurately
- How to Grip a Pistol
- Trigger Pull and Follow Through
- Safe and Effective Dry-Fire Training at Home
- 9 Best Shooting Drills
Verdict: The Very Best Shooting Stance
As with many things, I have to fall back on, “It depends.” There is no perfect shooting stance for every situation.
Are you shooting for maximum precision at distance, or maximum speed up close? Are you working in confined spaces? Do you even have the option to use both hands? How you answer those questions at any given moment will affect which shooting stance is most useful.
Your best bet is to train with all of them: Weaver, Chapman, isosceles, and even one-handed shooting. Don’t make one shooting stance your entire personality (that goes for any technique or piece of gear, by the way). Equip yourself with as many tools as possible, and know when to use each one.
Look at you; you're turning into a pro already.

What’s your favorite shooting stance -- Weaver, Chapman, or isosceles? Let us know in the comments. Just getting started? Check out our Gun Buddy Online Pistol Courseto go from gun noob to gun slinger!
Latest Updates
November 2025: Complete overhaul with new information and supporting content.