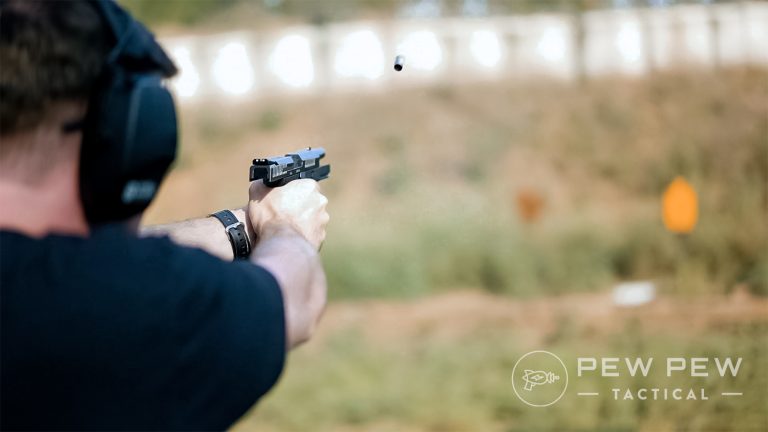
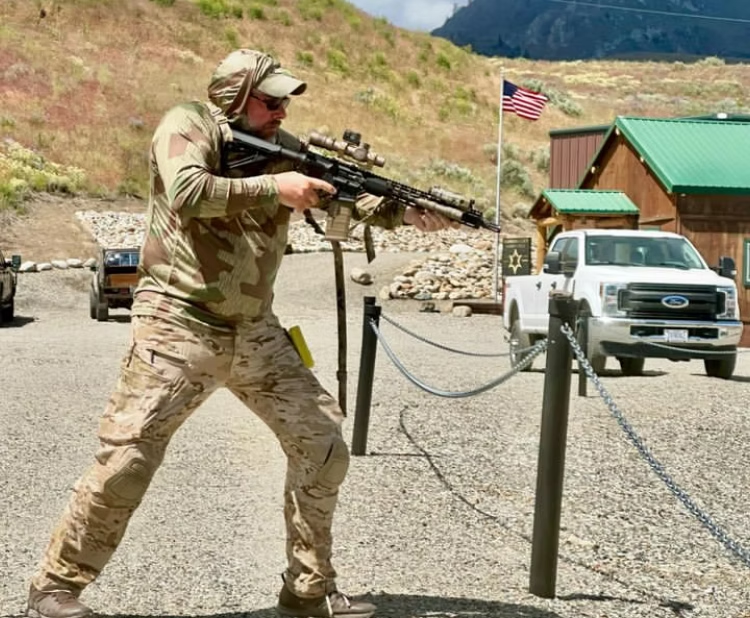
Ever gotten to the range and then… blank… no idea what to do?
We’ve all been there, but having a goal and specific drills to work on your skills is the only way to achieve measurable results.
To help you make use of your range time, I gathered drills from six pro-shooters, with backgrounds ranging from military to competition, to get some drill recommendations sure to up your shooting game.
Let’s shoot like the pros! (Or at least try to.)
Table of Contents
Loading…
Tools You’ll Need
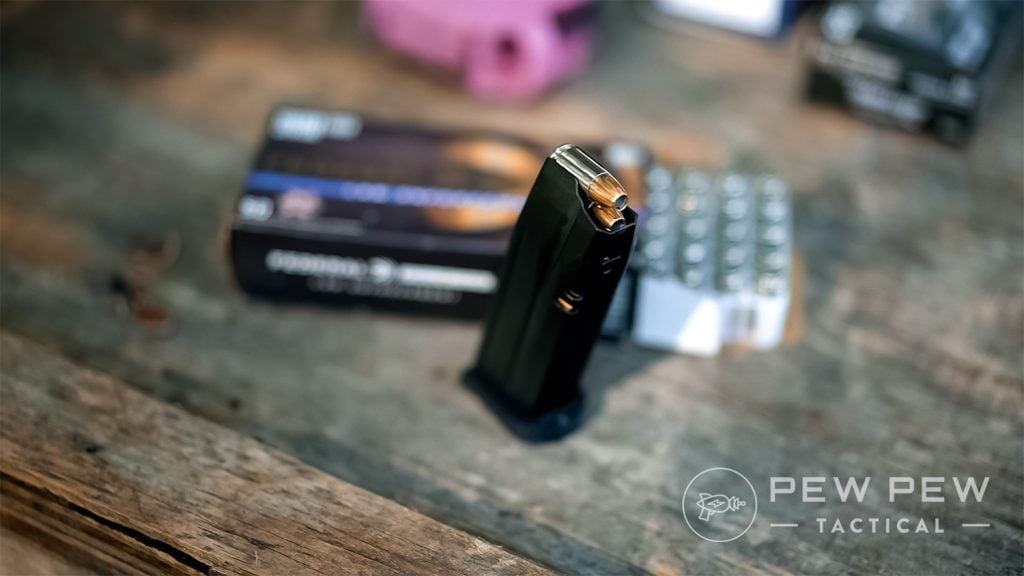
While each drill comes with its own requirements, every one of them requires the following tools:
- Pistol
- Ammunition
- Holster
- Shot Timer
- Targets (IPSC, USPSA, and B8)
Rob Leatham: Standard Controllability Test
Supplies
- IDPA-style silhouette target
- Ammunition – 5 rounds per run
- Holster
- Shot Timer
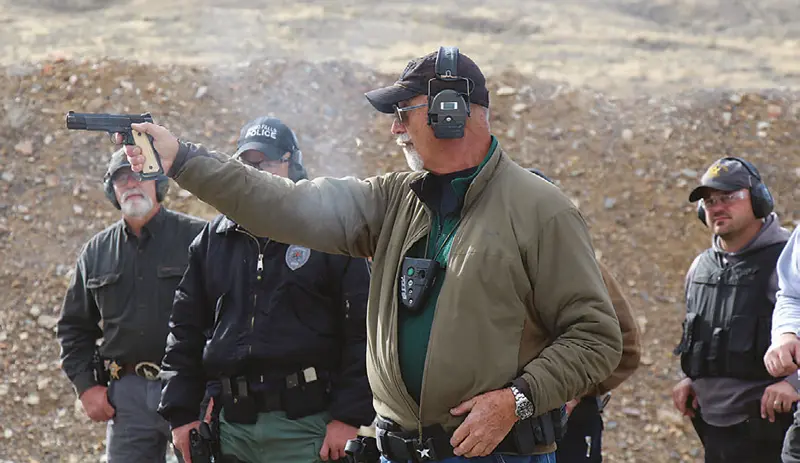
Rob Leatham is called “The Great One” for a reason.

He is the most-winning action pistol shooter in the world. A real shooter’s shooter, he has dozens of championship titles inside of IPSC, USPSA, Steel Challenge, and more to his name. He knows a thing or two about shooting is what I’m saying.
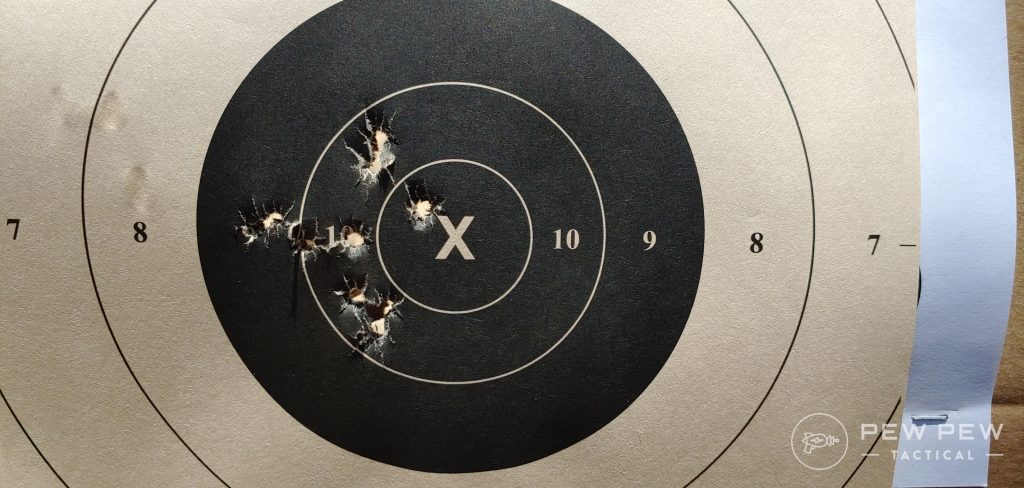
It should come as no surprise that his Standard Controllability Test is a fairly difficult test with high standards. This drill tests your ability to control your gun and put shots on target quickly and accurately from the draw.
Shooting the Standard Controllability Test
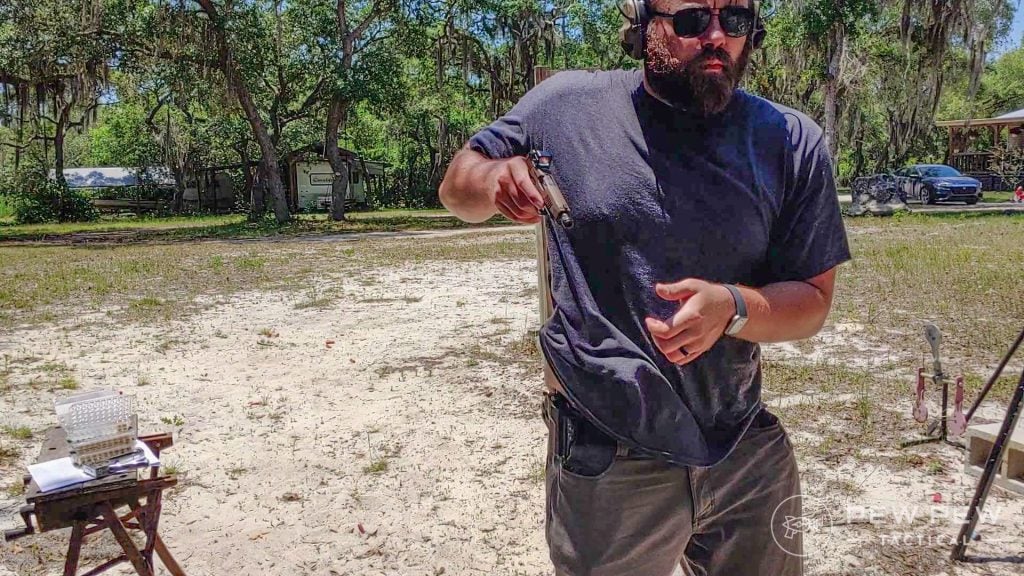
The test starts with your gun holstered at 25 yards and your shot timer nearby. At the beep, draw and fire five rounds in five seconds.
The standards are as follows:
- Marginal Control: All rounds are inside the silhouette.
- Acceptable Control: All shots in the Charlie Zone.
- Excellent Control: All rounds in the A-Zone on the torso.
- Exceptional Control: All shots in the Bravo head box.
- Total Control: All shots in the Alpha head box.
With a draw at that range, you have to move and shoot fast to pass. This is not an easy test, but one that allows you to start at the bottom and build your way up.
You can watch John Correia from Active Self Protection take this one on below!
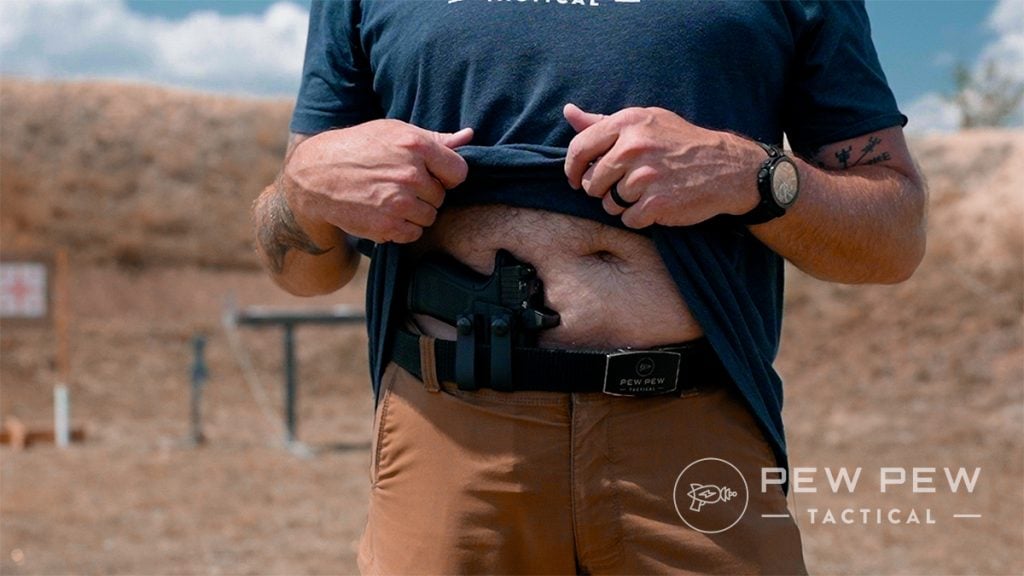
Bill Wilson: Bill Drill
Supplies
- IDPA or USPSA Target
- Holster
- Shot Timer
- Ammunition – 6 rounds per run
Bill Wilson is the man behind Wilson Combat, a company known for its high-end 1911s.

He’s a competitive shooter with over 35 years of experience, who has represented the USA in international competitions and shot his fair share of championships.
His Bill Drill is simple, but a test of real-world skills — perfect for self-defense.
Shooting the Bill Drill
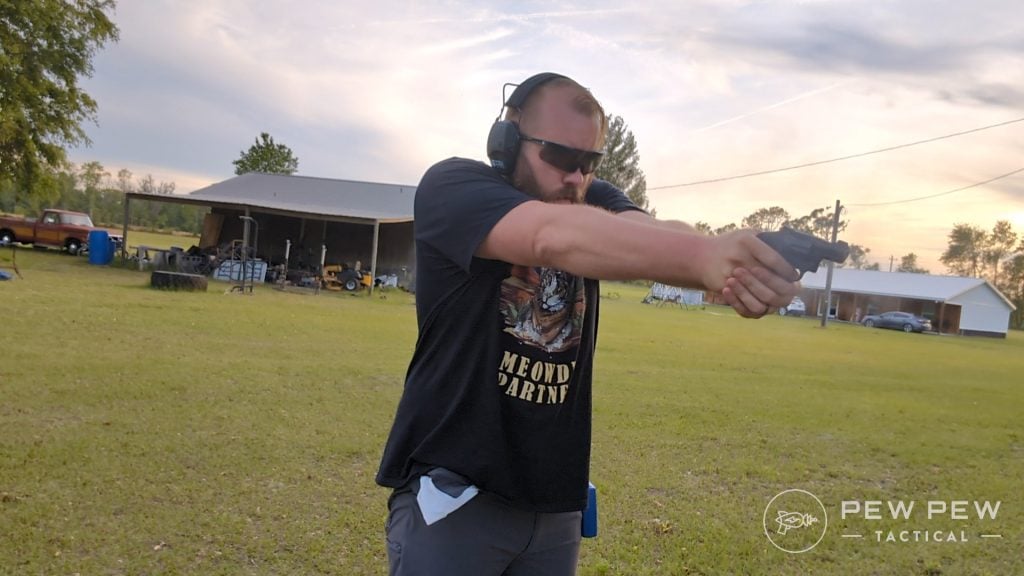
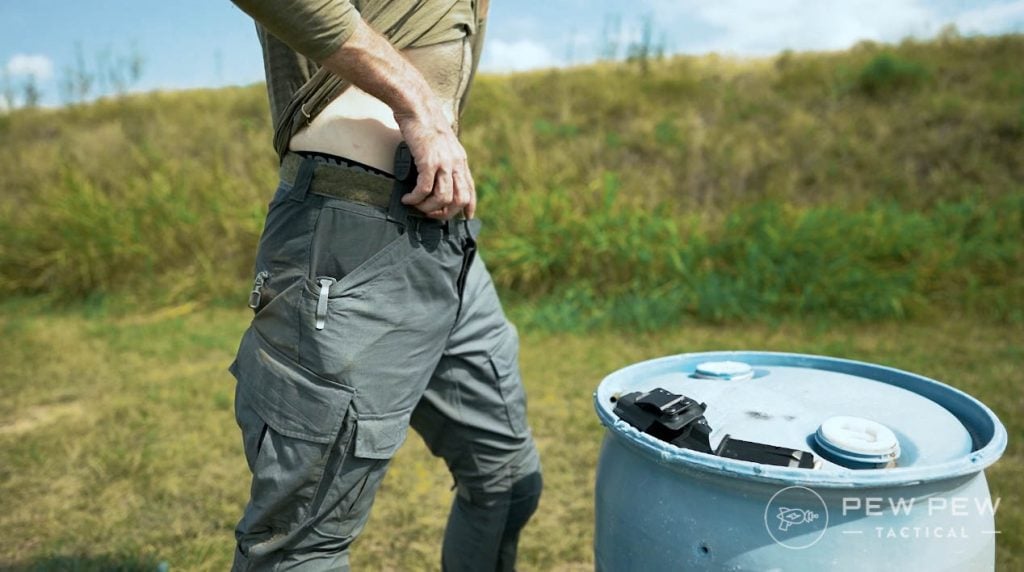
Start at 7 yards from the target with the firearm holstered, preferably concealed.
At the beep, the shooter draws from the holster and fires six rounds as fast as possible. The only shots that count are inside the A-zone of the target.
Master class shooters will be able to accomplish this drill in less than two seconds. That’s the goal, but the Bill Drill has gone viral, and several different instructors have adapted various times to denote various skill levels.
I’ve collected a few from around the internet.
- Master: 2 seconds
- Expert: 2.1 to 2.5 seconds
- Good: 2.6 to 3.5 seconds
- Average: 3.6 to 4.0 seconds
Check out Bill Wilson talking about the Bill Drill below.
Tim Herron: Bang Click Drill
Supplies
- Handgun
- 2 Magazines
- 2 Targets
- Ammunition
- Shot Timer (nice to have, but not essential)
Tim Herron is a USPSA Grand Master in four divisions, a Master in IDPA, and has years of experience as a pro shooter. (Honestly, if I copied/pasted his accomplishments, we’d be here all day.)
He’s a top 0.1% shooter, but even better, he’s an instructor who often posts videos of invaluable training drills. The Bang Click Drill is one of those drills.
Shooting the Bang Click Drill
This drill has two phases.
For the first phase, load a full magazine into the handgun. At the go signal, fire a set of doubles with the most accuracy and control you can accomplish. Pause, then fire another, then another, until the full magazine is depleted.
Grab that spare mag, insert it into your gun, and load a round. Now remove the magazine and pocket it. Aim and pull the trigger twice; you’ll fire one round, but simulate a double with the second shot being a click.
That click is where we derive the value.
Muscle memory will expect that second shot, and you can observe what you are doing when you fire that second shot. Look for pre-ignition movement or grip changes when you fire that second shot.
This drill is more about diagnosing weaknesses than accomplishing a particular goal, but that can be extremely valuable.
Tim goes through the drill in the video below!
Ken Hackathorn: The Wizard Drill
Supplies
- Holster
- Ammunition – 5 rounds per run
- Shot Timer
- Head & Torso Target
Ken Hackathorn is a highly respected and internationally recognized firearms instructor. He served in the U.S. Army as a Special Forces Small Arms Instructor, an instructor at Gunsite under Jeff Cooper, an FBI Certified Firearms Instructor, and a police officer. He’s trained numerous special operations forces and elite police units.
On top of all that, he helped form both IDPA and IPSC and has written countless articles on firearms use. He’s been there, he’s done that, and he has the T-shirt to prove it.
As a pocket pistol enthusiast, I’m a big fan of Mr. Hackathorn’s Wizard Drill.
The Wizard Drill isn’t necessarily a pocket pistol-only drill, but it is exceptional for training with pocket pistols and snub-nose revolvers.
Shooting the Wizard Drill
The Wizard Drill includes four stages of fire at 3, 5, 7, and 10 yards.
Shooters start close and work back to the 10-yard line, with a par time of 2.5 seconds for each stage.
- 3 Yards: At the beep, draw and fire one round to the head using only your dominant hand.
- 5 Yards: At the beep, draw and fire a headshot with both hands.
- 7 Yards: At the beep, draw and fire a headshot with both hands.
- 10 Yards: At the beep, draw and fire two rounds to the torso of the target with two hands.
A complete miss is a failure of the drill. Any shot fired that doesn’t hit the head or torso is a dropped point, and two dropped points is a failure.
This simple drill is perfect for a snub nose or pocket pistol!
Check out Ken take on the Wizard Drill below!
Mike Seeklander: Shooting & Moving Multi-Direction Live Fire Drill
Supplies
- 2 Obstacles (blue barrels, trash cans, cones, etc.)
- Ammunition – 4 rounds per run
- Man-sized target
Mike Seeklander combines military and police experience with a long history of competitive shooting. He served as a Marine, a police officer, and as a Senior Instructor at the Federal Law Enforcement Training Center.
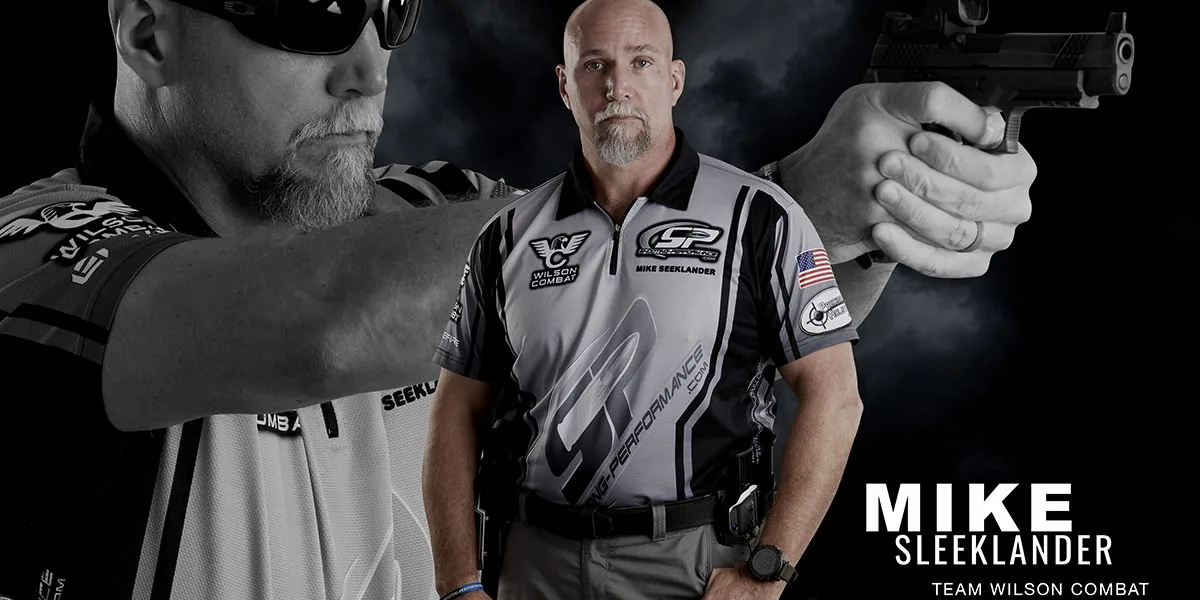
His competitive experience includes numerous IPSC, IDPA, and Steel Challenge Championships and top-five finishes in USPSA National Championships. He was even an OG on the History Channel’s Top Shot.
He’s also written numerous instructional books that are a wonderful source of information. I took this drill from Your Defensive Rifle Training Program. It’s a fantastic book and a great educational resource.
As the name implies, you’ll be shooting and moving. You can use a rifle or a handgun, or even a shotgun if you are feeling frisky. Ammo count is up to you, and so is the use of holsters, slings, and reloads. You generally want enough ammo to fire four rounds per run.
Shooting the Shooting and Moving Multidirection Live Fire Drill
To accomplish this drill, you’ll need two obstacles. You can use blue barrels, trash cans, cones, or even just stick two shovels into the ground.
Obstacles should be roughly 5 feet apart, and a man-sized target should be positioned about 7 yards from the center of the obstacles.
Shooters start between the two obstacles, and at the go signal, walk in a figure eight around the two obstacles.
As you move, you’ll shoot the target. Aim to shoot at least four rounds per lap. Alternate the direction you’re walking every few laps.
The goal is to be able to navigate obstacles while maintaining situational awareness and a target focus as you move and shoot.
Go slow, be safe, and note how your control changes as you move and make sure you are maintaining the basics of stance, grip, and focus as you move.
This drill isn’t pass or fail; it’s built to be something you learn from.
Chuck Pressburg: No-Fail Pistol Drill
Supplies
- Holster
- Shot Timer
- Class B8 Target
- Ammunition – 10 rounds
Chuck Pressburg is a retired U.S. Army Sergeant Major and founder of Presscheck Training and Consulting LLC. His military career is extensive, with time in the 82nd Airborne, the 75th Ranger Regiment, and the Asymmetric Warfare Group.
Chuck offers instruction to military units, police departments, and the average Joe. He’s a subject matter expert on Close Quarters Combat, Urban Operations, Night Vision, and more.
One of his most commonly known shooting drills is the No-Fail Pistol Drill.
Shooting the No-Fail Pistol Drill
Set the B8 target at the 25-yard line (yep, that B8 looks awfully small from 25 yards away).
Start with the weapon holstered and loaded. At the beep, draw and fire one shot. You have 3.5 seconds per shot.
Repeat the drill for a total of 10 reps. If any shot exceeds 3.5 seconds, you fail. If any shot lands outside the 9-ring of the B8, you fail.
This is a test of your drawing proficiency and general accuracy. If you have flaws in your draw, you’ll see them at 25 yards on a B8 target.
It’s called the No Fail Pistol drill, but be prepared to fail it a time or two, or 10. It’s simple, but sinister.
Final Thoughts
If you plan to shoot all of these drills, then you’re in for a long but fruitful day. Hit the range, shoot fast, shoot straight, and build those skills.
These are some of my favorite drills, but I want you to sound off and share some of your favorite drills with us in the comments below. Want to work on some dryfire training at home? We got you! Check out our guide to Safe & Effective Dryfire at Home!

Leave a Reply