Drawing a pistol is simple enough: grab it and pull it out of the holster.
But why does it seem so difficult to do it right? Professional shooters make it look easy by practicing over and over with excellent form every time – and you can, too.
Today, I’ll break it down into simple steps that you can work on at your own pace to build a clean, efficient, drawstroke that will get significantly faster in time.

Table of Contents
Loading…
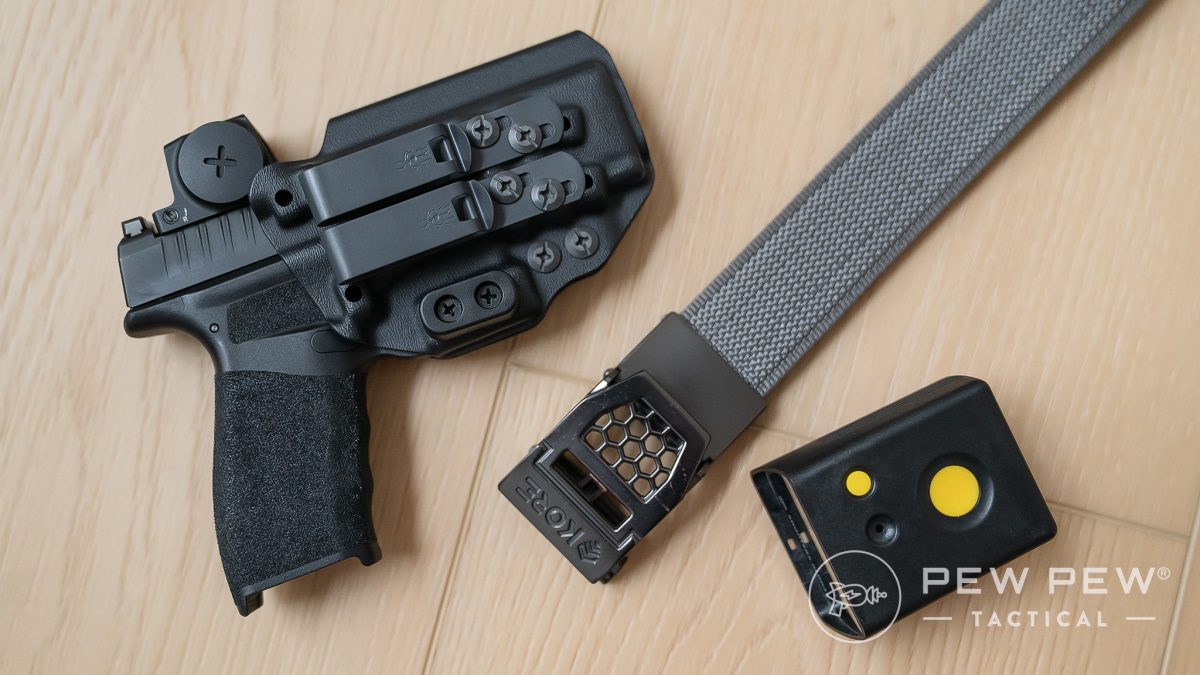
What You Need Before You Start
Must-Have Tools
Nice-to-Have Tools
- Full-length mirror
- Unloaded spare magazine
- Magazine holder
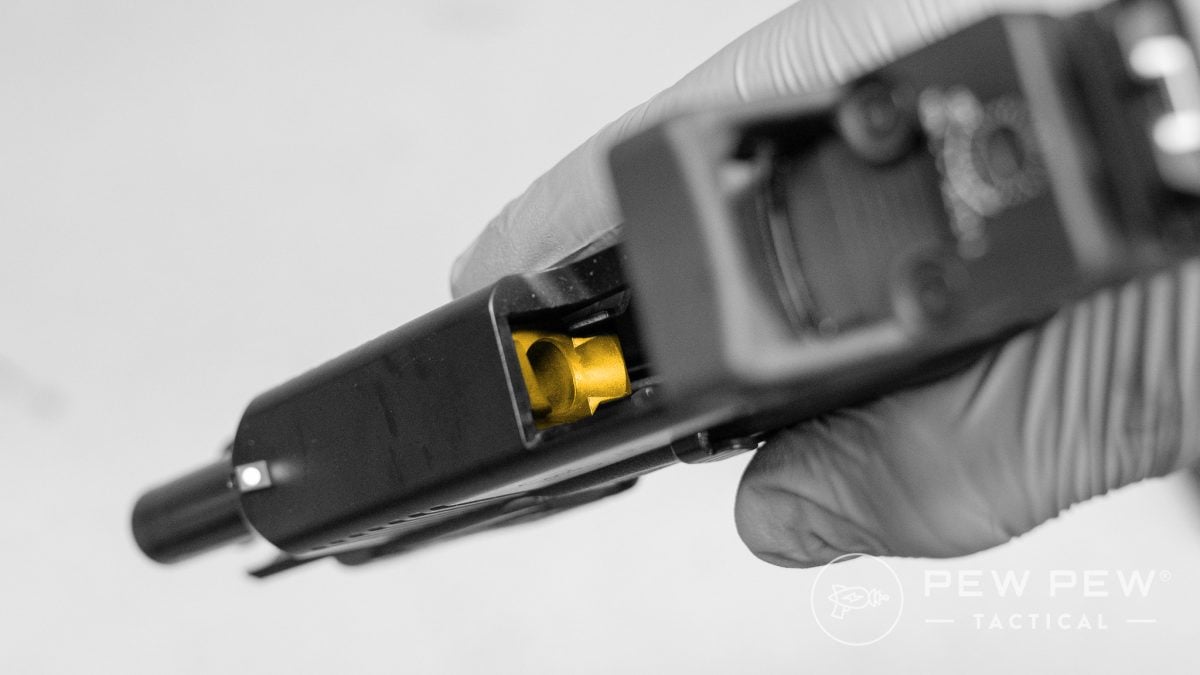
- Snap caps
- SG Timer GO
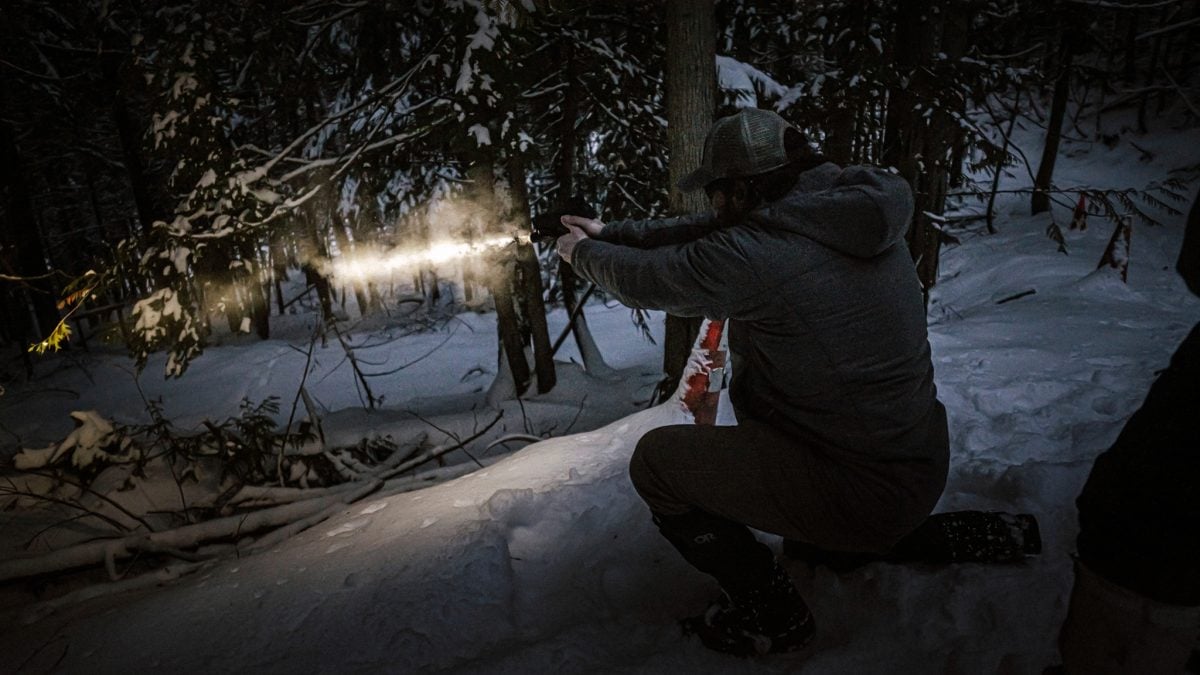
How to Practice Drawing From a Holster
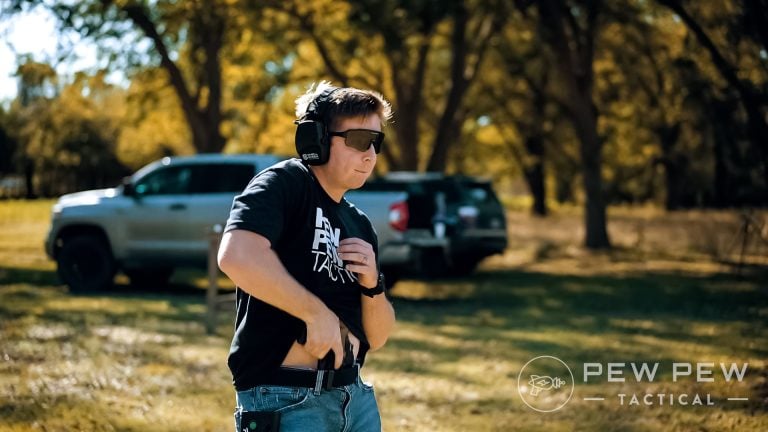
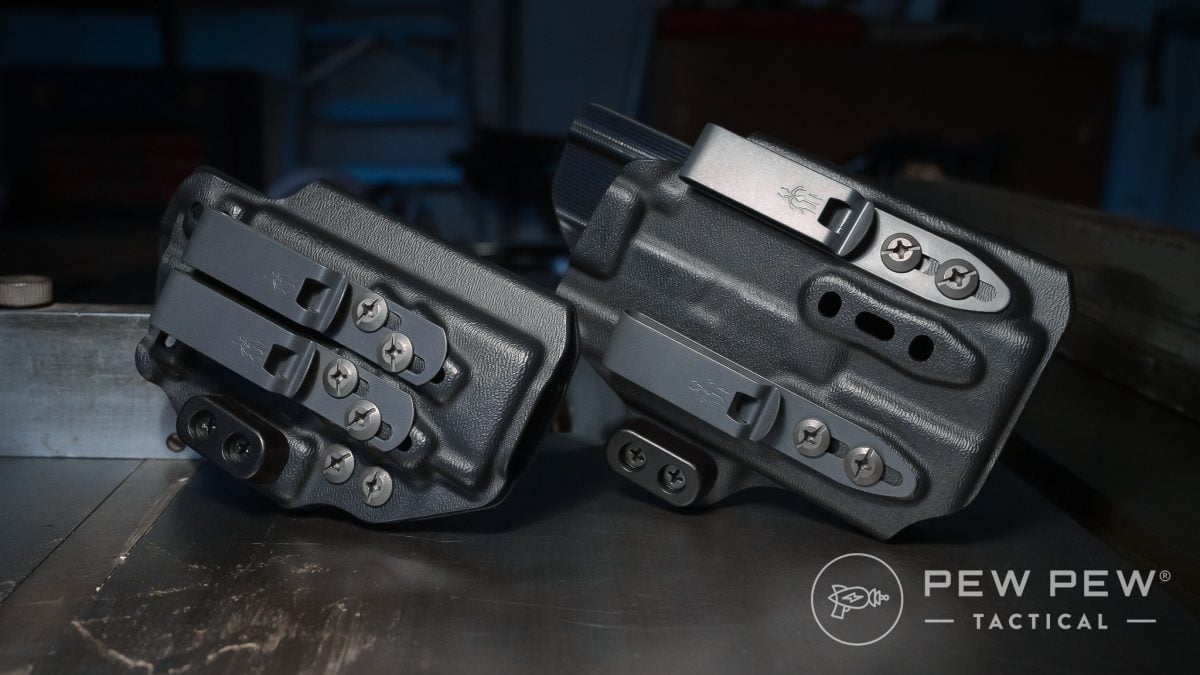
There are lots of different types of holsters and styles of shooting, but I’m going to focus on concealed carry this time. That means we’ll be talking about inside the waistband or IWB holsters instead of OWB holsters or duty holsters.
While some shooting ranges allow drawing and firing from a holster (consider yourself very fortunate if you found one), most do not. I’ll keep this article focused on dry fire training because it’s accessible to everyone, and we should all be doing it to build our skills in between range sessions.
Step 1: Unload and Show Clear
As always, let’s start with the four firearm safety rules. Take your firearm and any magazines you plan on using to a room that does not contain live ammunition. You can’t grab the wrong mag if the wrong mag isn’t there.
Make sure your firearm is unloaded. Visually and physically check the magazine well, chamber, and breech face if you’re working with a semi-automatic pistol. Check each chamber in the cylinder if you’re handling a revolver.
If you’re going to practice reloads, make sure any magazines you’ll use are empty.
All clear? Good; you’re ready to start!
Step 2: Follow the Dress Code
You’ve probably heard the expression, “Train like you fight.” In this case, that means using the same holster and belt that you use for concealed carry.

Prices accurate at time of writing
Prices accurate at time of writing
-
25% off all OAKLEY products - OAKLEY25
Copied! Visit Merchant
The same goes for your clothing. Dress like you normally do when you leave the house to make your training as realistic as possible.
I actually have specific shirts that I like to wear when I’m wearing an IWB holster. Maybe it’s the fit, maybe it’s the pattern, but they all contribute to concealing comfortably and drawing quickly.
Every once in a while, throw on an outer garment for good measure. Your hoodie, rain jacket, and winter coat will all affect your draw differently so you need to train with each of them.
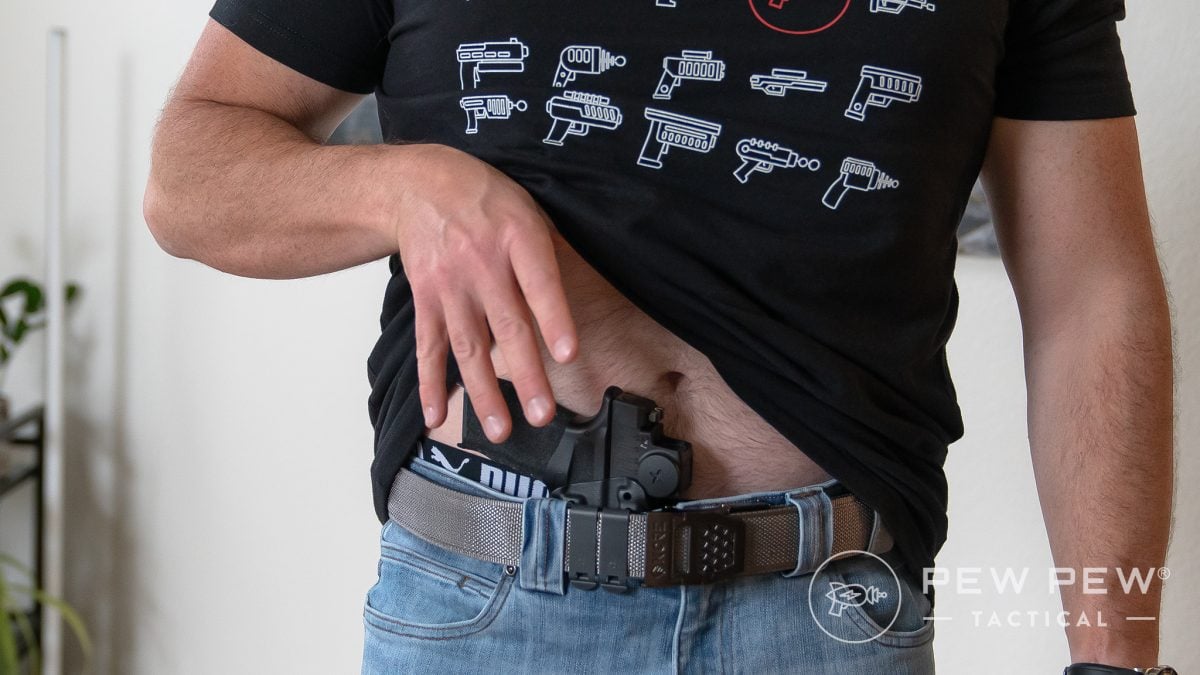
Step 3: Clear Your Garment
The first step of the draw process is getting your clothes out of the way. I’ll use a basic T-shirt as an example.
Support-Hand Method
The fastest way to clear your garment is to grab your shirt with your support hand.
Don’t be shy; grab a big fistful of fabric right below your ribcage and bunch it up in your fist. Gross motor skills are more trustworthy than fine motor skills.
Lift your shirt nice and high. The goal is to make room for your pistol to get all the way out of the holster without running into the bottom hem of the shirt.
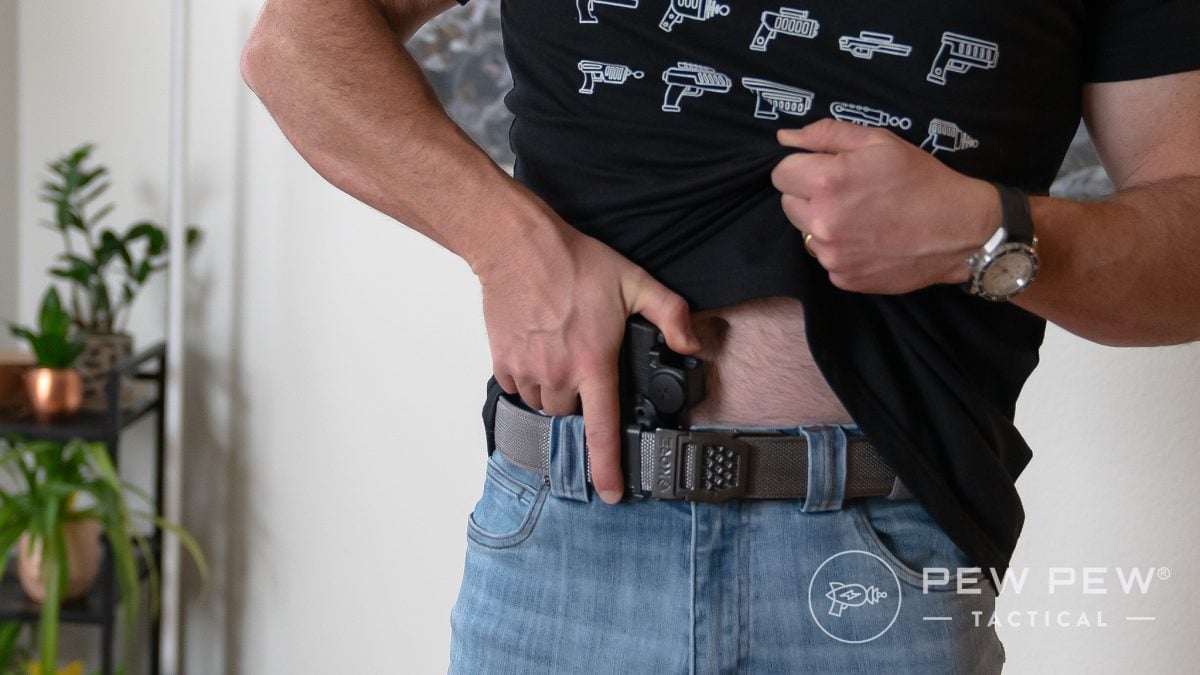
Shooting-Hand Method
You can also complete the entire draw process with one hand. This becomes incredibly important if one hand is injured or otherwise occupied.
Bill Rapier at AMTAC Shooting taught me how to do this quickly, smoothly, and – most importantly – effectively.
Start by slipping your strong-hand thumb under the hem of your shirt. Use the web of your hand to lift the shirt and trace a big arc back to your pistol in one quick, deliberate motion.
When you reach for your pistol, it’s a race against gravity. Get to it before your shirt does.
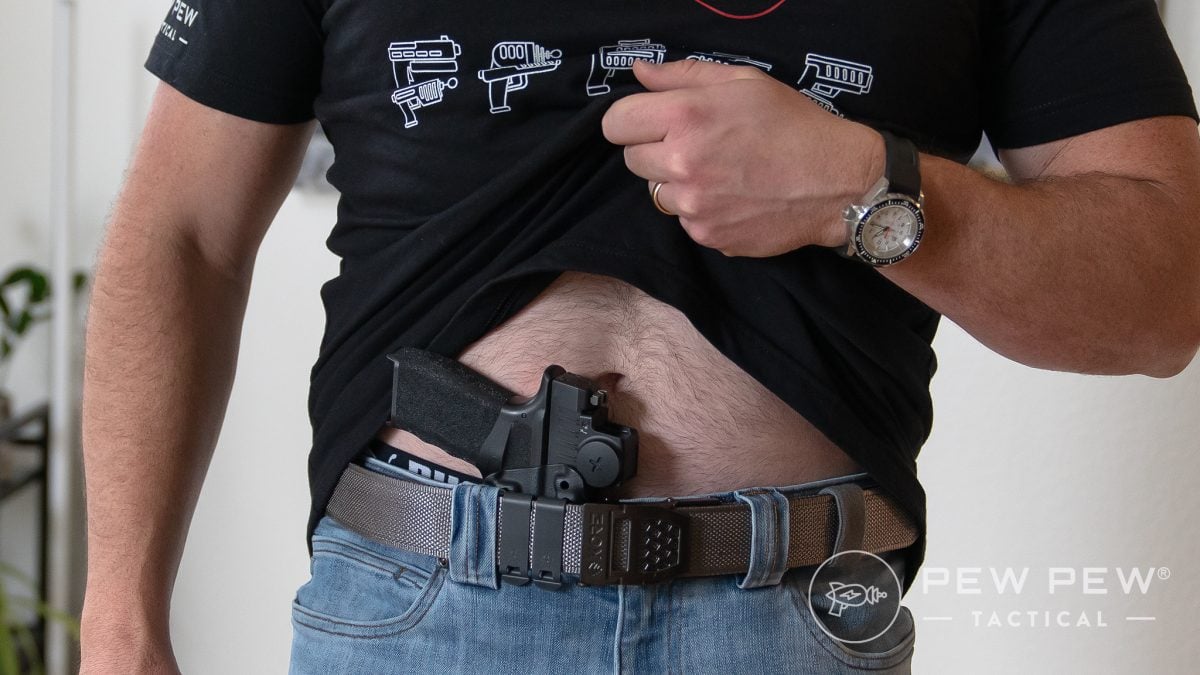
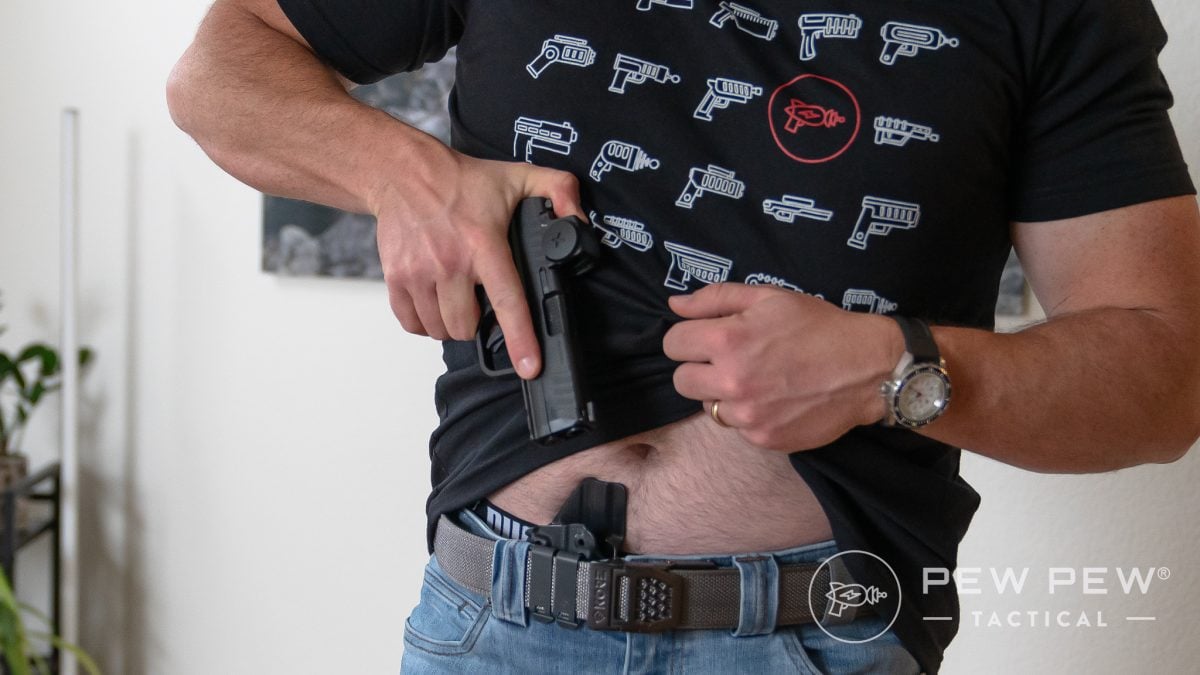
Step 4: Establish Your Shooting-Hand Grip
With your clothing out of the way, you can finally reach for that pistol. Don’t just snatch it, though; this is the time to lay the foundation for your shooting position.
Start by finding a touchpoint. Try to put the outer edge of your palm on the middle of the pistol grip. This gives you the biggest margin for error if you’re a little off (and you will be because nobody’s perfect).
Slide your hand onto the grip and hook your thumb over the back of the slide. Wrap your fingers around the grip nice and high, with the top of your middle finger pressing into the bottom of the trigger guard.
You might even want to apply a little downward pressure during this step to make sure you’re gripping the pistol, not dragging it out of the holster with your fingertips.
Step 5: Draw
Now you’re ready to draw or, for the Tombstone fans, skin that smoke-wagon.
Pull the pistol straight out of the holster.
As you do this, move your thumb into its normal position on the side of the pistol. See how your grip is naturally high and tight against the beavertail? Starting with your thumb over the back of the slide ensures that this happens every time.

Prices accurate at time of writing
Prices accurate at time of writing
-
25% off all OAKLEY products - OAKLEY25
Copied! Visit Merchant
Step 6: Establish Your Support-Hand Grip
Whenever possible, get your support hand involved for better accuracy and recoil control.
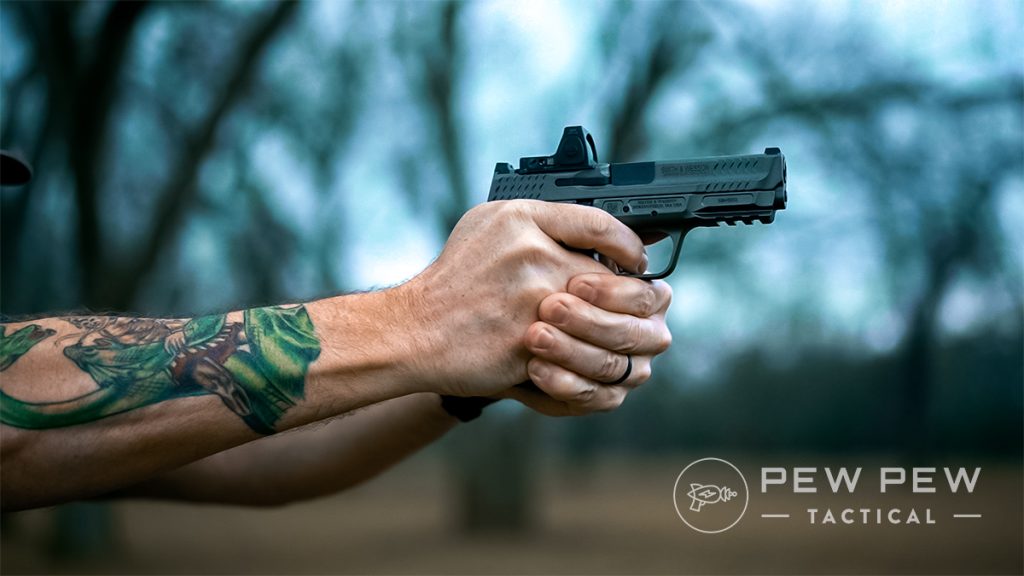
We have a full guide on how to grip a pistol, which I recommend reading.
Long story short: get that pistol pointed at the target and wrap your support hand around your dominant hand to establish a strong shooting grip as you move into a firing position, not after you get there.
Step 7: Present Your Pistol
With your grip established, you can push your hands outward to present the pistol and complete your shooting stance.

When you practice this, focus on your grip rather than your sights. If you find all your touchpoints and have a solid grip, your sights or red dot will show up right on target.
If you present your pistol and then have to wiggle it around to correct your sight picture, your grip probably got messed up in the last step. Getting it right is always faster than fixing it.
Step 8: Reholster
People a lot smarter than me have pointed out that holstering is just drawing in reverse (it works the other way around, too). Don’t overthink it.
Unlike drawing, there’s no need to do this quickly.
One of the ways firearm-related accidents happen is when people try to holster a handgun too quickly, get a piece of clothing caught on the trigger, and slam it home before realizing they’re about to fire a live round.
And yes, using your eyes in this process is fine. If something requires you to keep your eyes downrange, you probably shouldn’t be putting your pistol away.
Step 9: Work Your Draw Into Your Dryfire Training
You’re not obligated to fire every time you draw your pistol. You don’t have to draw between shots. We train these skills on their own, but it’s also useful to put the building blocks together sometimes.

Prices accurate at time of writing
Prices accurate at time of writing
-
25% off all OAKLEY products - OAKLEY25
Copied! Visit Merchant
I use an SG Timer GO to give me a start command, signal par times, and record my first trigger press if that’s part of the drill. Its dry fire mode lets me do this without ammo in my own home, which results in hundreds of quality reps for every shot I’m actually able to fire at the range.
Vortex Edge has a fantastic, in-depth video that breaks this all down. Check it out!
One of my favorite drills for improving your draw is Travis Haley’s Delorean Drill. This tempo-based exercise forces you to slow down, master the fundamentals, and break a shot as close to a predetermined time as possible – outright speed is not the goal.
This exercise is all about control and awareness. If you can perfect those aspects, your draw will improve by leaps and bounds. Remember, drawing efficiently is a mental game as much as a physical one.
Common Mistakes to Avoid
- Safety violations: I can’t stress this one enough. Obey the safety rules. Anytime you’re going to train with your firearm, you need to know its status. Unload and show clear. Double and triple check. Practice in a completely different room from any live ammunition.
- Going too fast: I know you want to go fast – that’s why you’re here! But speed will come with training. If you rip your pistol out of the holster as fast as you can every time, you’ll just reinforce bad habits. Give yourself permission to slow down for now.
- Expecting perfection: It’s good to strive for perfection, but things happen. Once you have the mechanics dialed, allow yourself to fight through obstacles as they appear. Did you fail to clear your garment completely? That’s ok, solve the problem! You won’t get to start over in the real world, so learn to deal with adversity in a safe learning environment.
- Wearing the wrong clothes: If you’re practicing drawing from a holster because you carry concealed, use your concealed carry holster and handgun. I know you can go faster with a competition rig, but that’s not the point right now.
- Not practicing enough: Most gun owners never dry fire or practice drawing from a holster. Many that do probably try it a few times or train sporadically. Make this part of your daily routine if you want to build high-level proficiency and impress the instructors at your next shooting course.
Meet the Experts
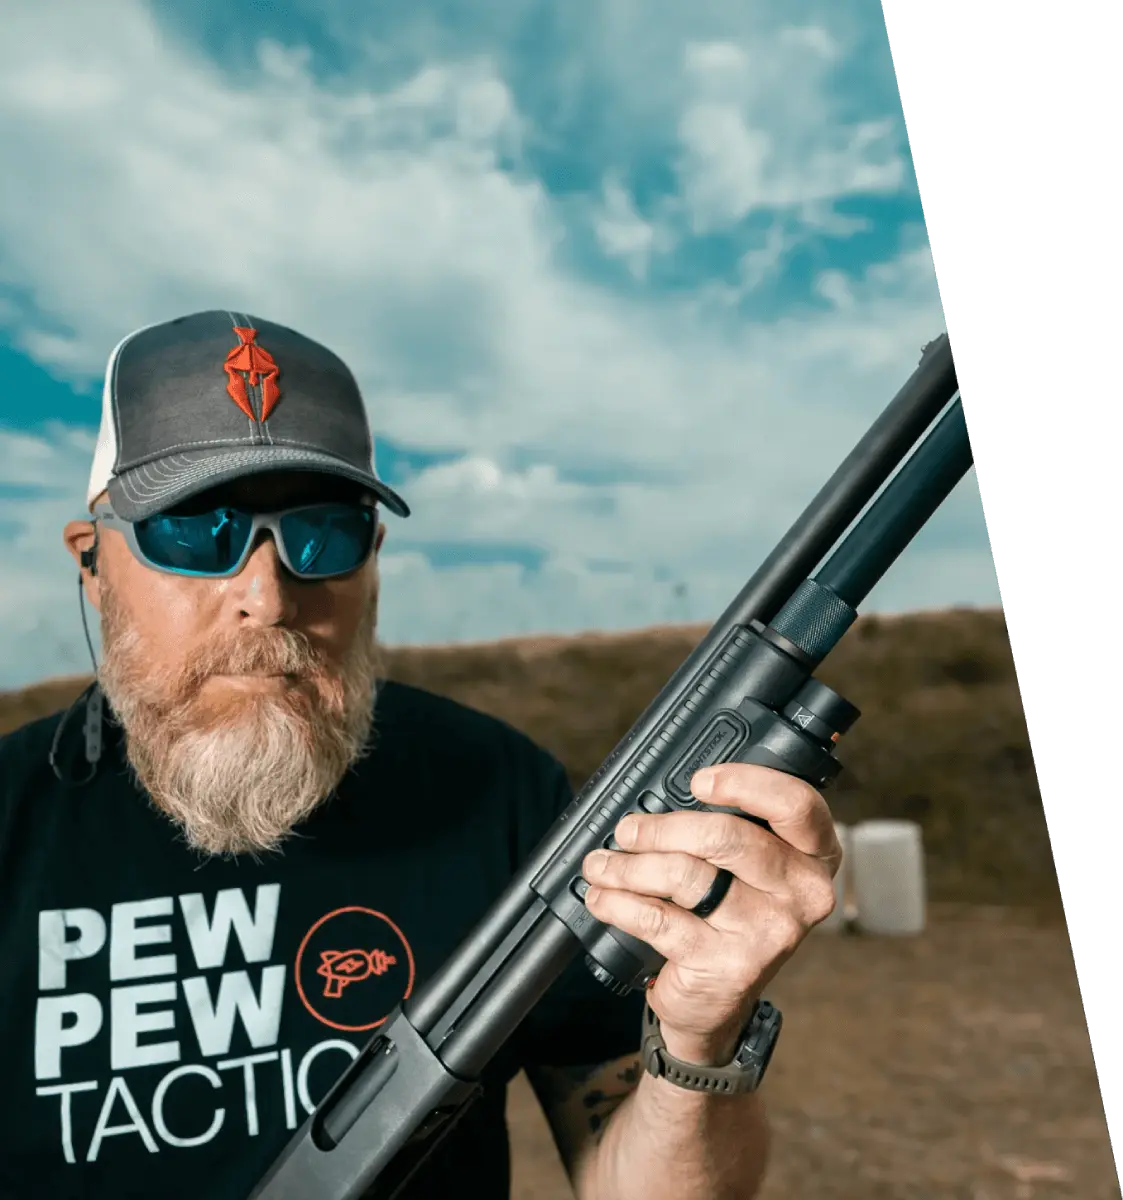
This article comes to you from Scott Murdock, an editor and senior review analyst for Pew Pew Tactical. In addition to carrying concealed on a daily basis, Scott has completed many handgun training events in the Marine Corps and civilian life.
Final Thoughts
Drawing from a holster is simple, but not necessarily easy. It takes a lot of practice and you’ll get rusty if you don’t make training a habit.
A little discipline is all it takes, fortunately. Break your draw stroke down into individual movements, practice slowly to build muscle memory, and allow yourself to get faster over time.
Remember, slow is smooth and smooth is fast!
How often do you train your draw? Let us know in the comments. Looking for more ways to become a better shooter at home? Check out our guide to Safe and Effective Dry Fire Training!
Latest Updates
- November 2025: Complete overhaul with new instructions, photos, and supporting content.

6 Leave a Reply
I practice a lot from concealment with several types of holsters. But when I try to draw fast the gun always seems to be canted slightly to the left. Consequently, I must compensate by aiming right. How do I fix this problem?
You can get at least 1 practice draw in every day. At the end of the day, when it's time to take your gun off, instead of just taking your gun out of the holster, get in a practice draw.
Don't do this! Assuming you are carrying loaded, you are just asking for a negligent discharge.
NO! NO! NO! Never never never ever practice draw with a weapon with live ammo.
One day, after practicing my draw, it occurred to me how important it is to keep my right (strong-side) hand free and I started carrying groceries and umbrellas with my left hand whenever possible. I've done this long enough that it is second nature This allows my right hand to always be free should I need to draw my weapon.
I disagree, if you carry concealed you have to clear/sweep your cover garment before you can begin your actual draw so keeping your weak side free has always