
How to Install Glock Night Sights (Without a Sight Pusher Tool)

Want to install Glock night sights? But don't want to go to the gunsmith or get expensive tools? We've got you covered with the most cost effective options.

PPT Founder. NRA Pistol Instructor. USPSA/3-Gun/NRL22 Competitor. 250+ articles
We review products independently. When you buy through links on our site, we may earn a commission to help support our testing. Learn more.
Upgrading your Glock can sometimes be as simple as dropping in a new part.
But other times, it can be a little more involved, such as when you are trying to change out your iron sights.
And that brings us to the topic of today's article --- how to install Glock sights without the use of a specialized sight pusher tool.
We've got you covered with a step-by-step guide and an instructional video to help you ditch those stock plastic sights for something better!
Table of Contents
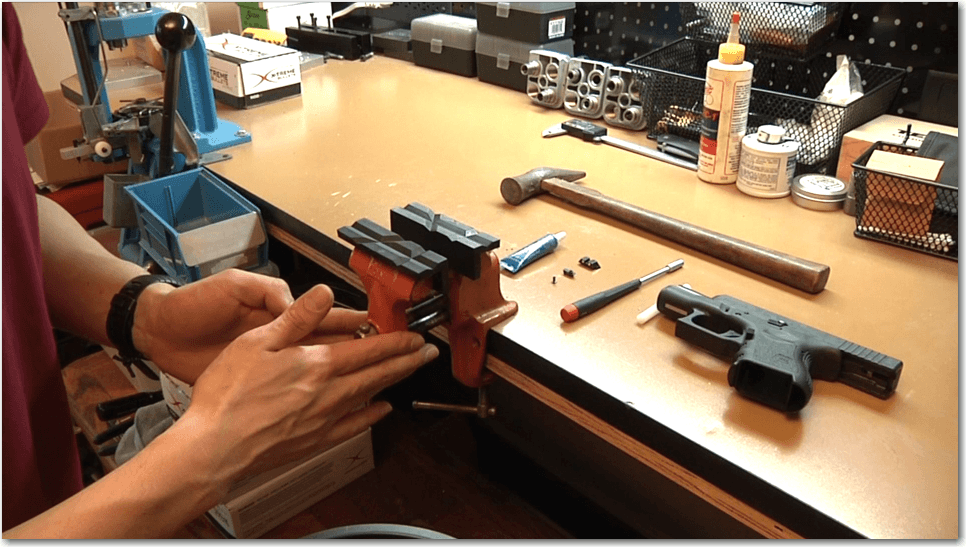
What You Need Before You Start
- Your Glock
- Your choice of aftermarket sights (Check out our Best Glock Sights article for recommendations!)
- Nylon Punch: Helps prevent marring of your slide and sights when compared to a regular brass punch.
- 3/16" Nut Driver: For removing and installing the front sight.
- Thread Locker (Medium): Prevents the front sight from loosening due to vibration.
- Hammer
- Vise
- Nylon Vise Jaws: Prevents marring of your slide.
Step-by-Step Instructions
Step 1: Field Strip Your Glock
Ensure the gun is unloaded and pointed in a safe direction, and then remove the slide from the frame.
If you are unsure of how to disassemble your Glock, check out our handy-dandy video below!
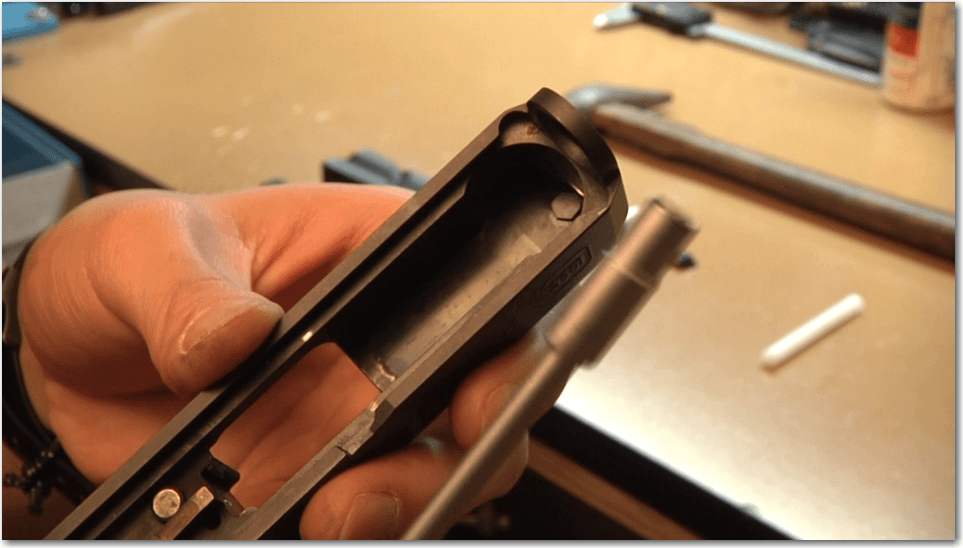
Once the slide is off, remove both the barrel and the recoil spring until you are left with an empty slide.
Step 2: Remove the Front Sight
Flip the slide upside-down, and using your 3/16" nut driver, remove the front sight by unscrewing the hex screw near the front of the slide.
Once you screw it out, the front sight should fall free. I like to screw the old screw back into the sight for safekeeping.
Step 3: Install Your New Front Sight
Place your new sight in the old slot and ensure it is facing the correct direction.
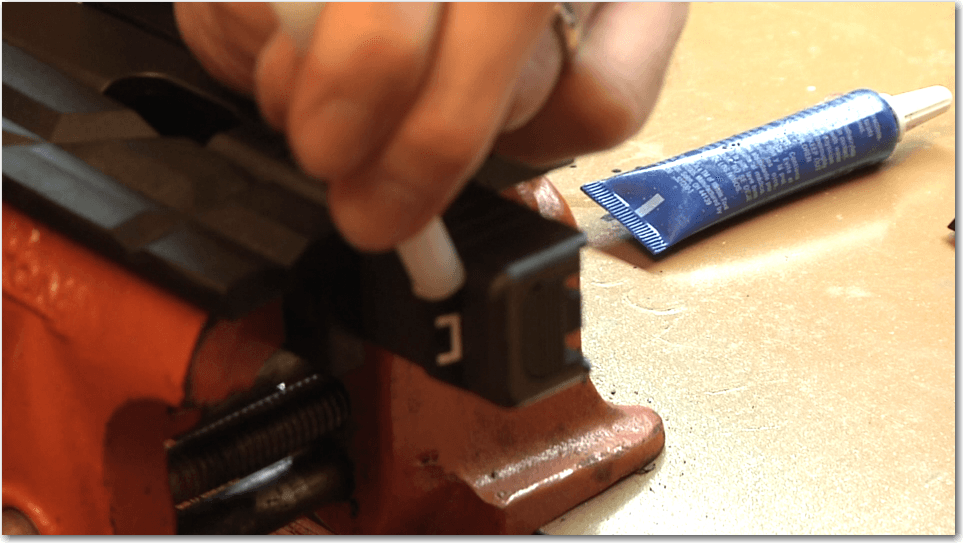
Apply a small amount of medium-strength thread locker to the new screw. I like to place the screw first into the nut driver first and then line it up with the hole in the slide.
Then hold the front sight so it doesn't pop out, and screw it in. Don't torque it too much, as the screw is small and can break if you apply too much pressure.
When you tighten the front sight, it likes to twist off-center at the very last second. You may need to slightly loosen the screw and adjust the sight a few times until it is perfectly straight.
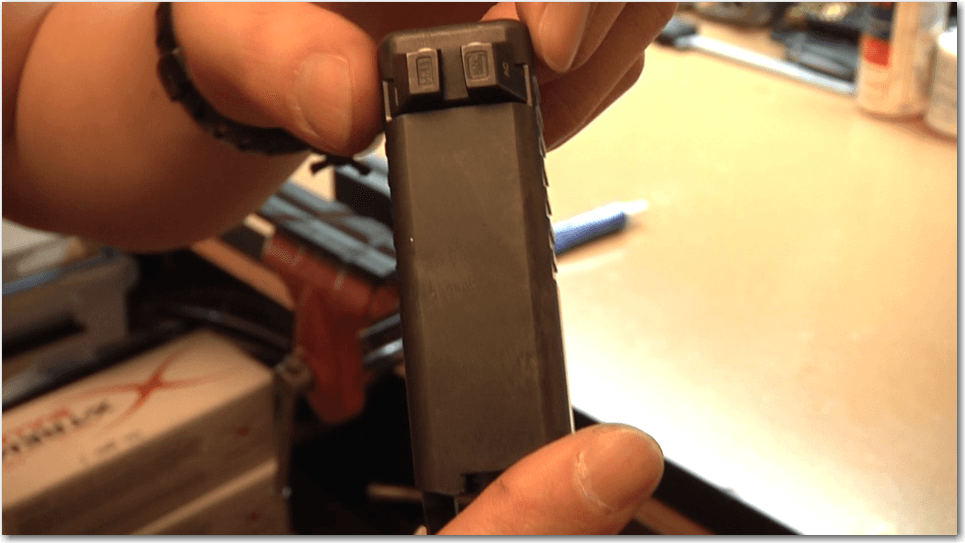
Step 4: Remove the Rear Sight
Put the nylon jaws inside your vise and secure your Glock slide into the vise sideways, so that you are hammering down instead of across.
If you do not have a vise, you can use a C-clamp on the edge of a very sturdy and flat table instead. Make sure you leave enough room for the sight to be able to freely move once it is punched out.
Using hockey tape or medical tape on the sides of your slide in place of rubber vise jaws can help prevent marring.
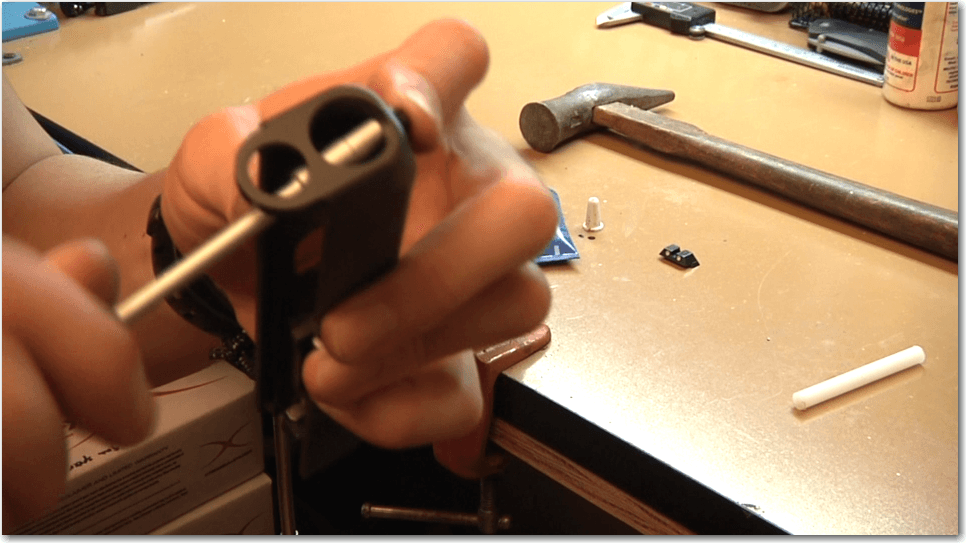
Take your nylon punch and hammer and start hammering down on the rear sight. I prefer to hammer towards the base of the rear sight.
Many Glock sights have angled sides, so you should tilt the punch to match the angle of the sight so that the surface of the punch and sight are flat against each other.
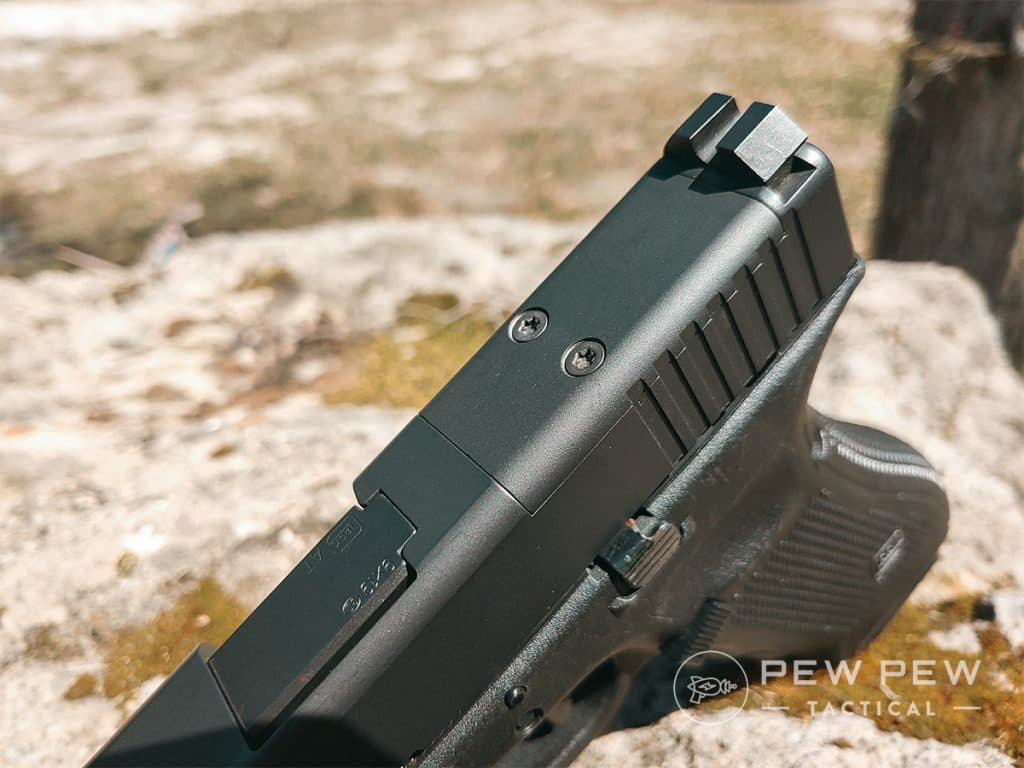
Step 5: Install Your New Rear Sight
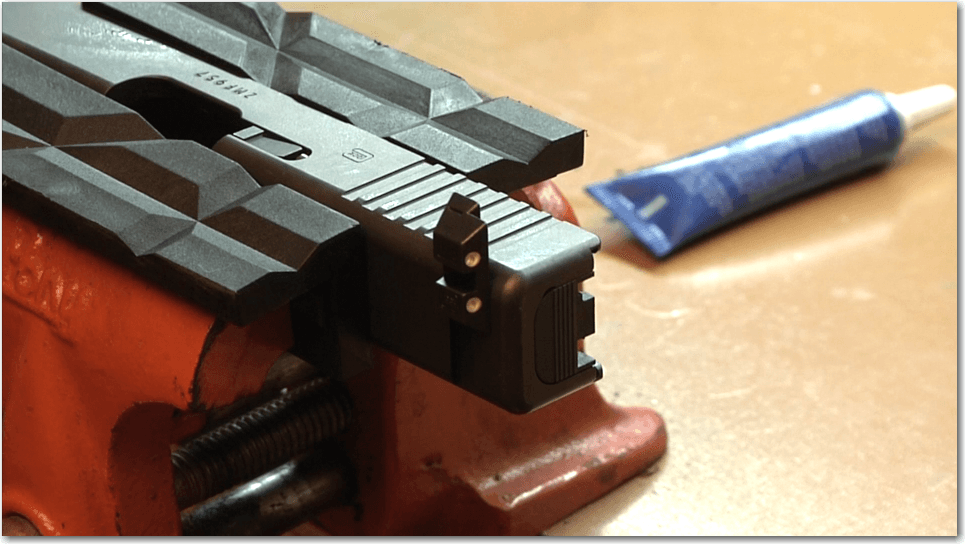
Get your new rear sight started into the rear dovetail by hand, and make sure it is oriented the right way (I've actually seen people put them in backwards).
Different brands of sights will have slightly different tolerances. Some may drop in about halfway on their own, others might barely drop in at all before needing to be hammered.
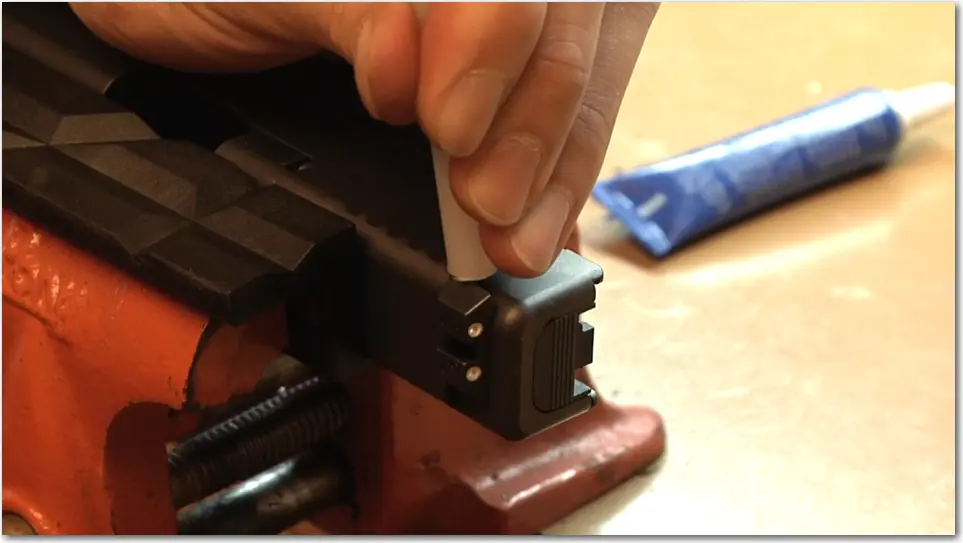
Ensure your slide is still tight in the vise. Once the rear sight is started in the rear dovetail slot, start hammering it in with the nylon punch.
When it looks pretty close to the center, remove the slide from the vise and inspect it from the top. You want to look at the spaces on both sides of the rear sight and make sure they are perfectly even.
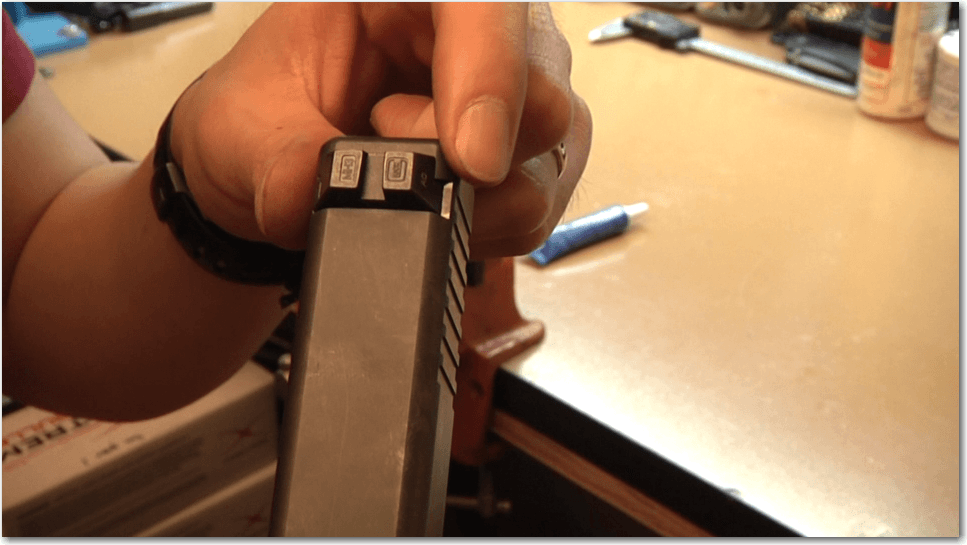
Continue with small taps as needed until the rear sight is perfectly centered. If you go too far in one direction, simply flip the slide over and tap the rear sight the other way.
I sometimes use a micrometer to double-check, but your eyes will tell you if something is off for the most part.
Why Upgrade Your Glock Sights?
Stock Glock sights leave much to be desired for many shooters.
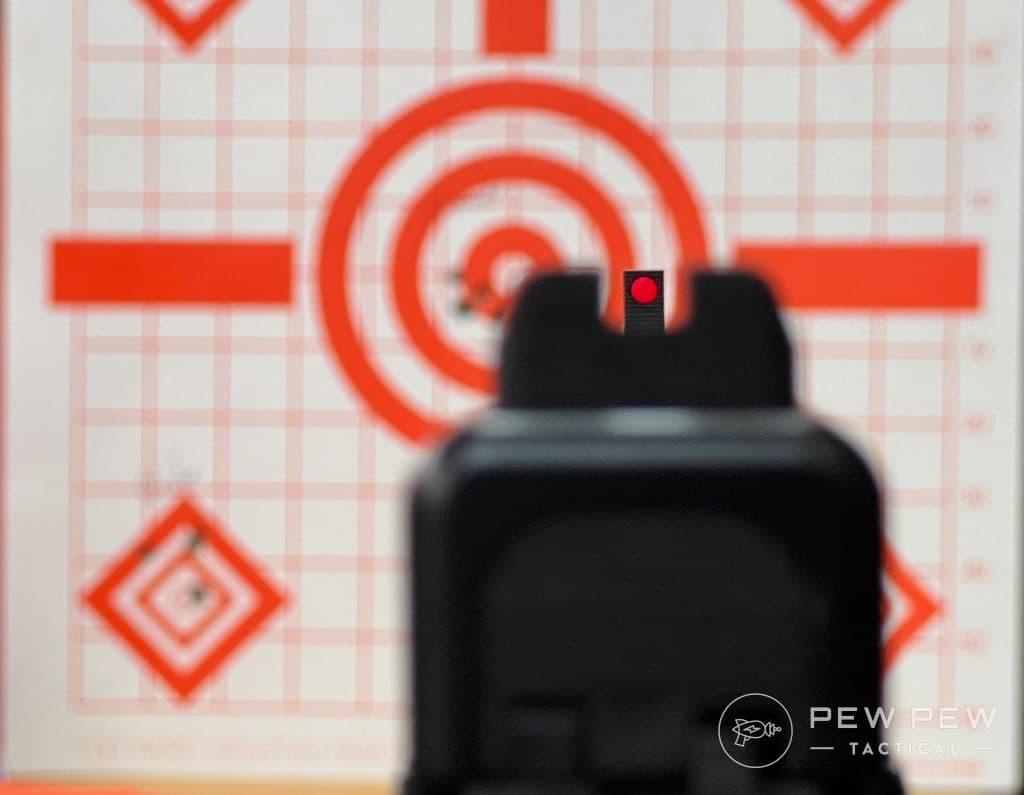
Whether it is the unappealing "ball in the bucket" sight picture or the fact that they are made from relatively soft plastic, people want to upgrade.
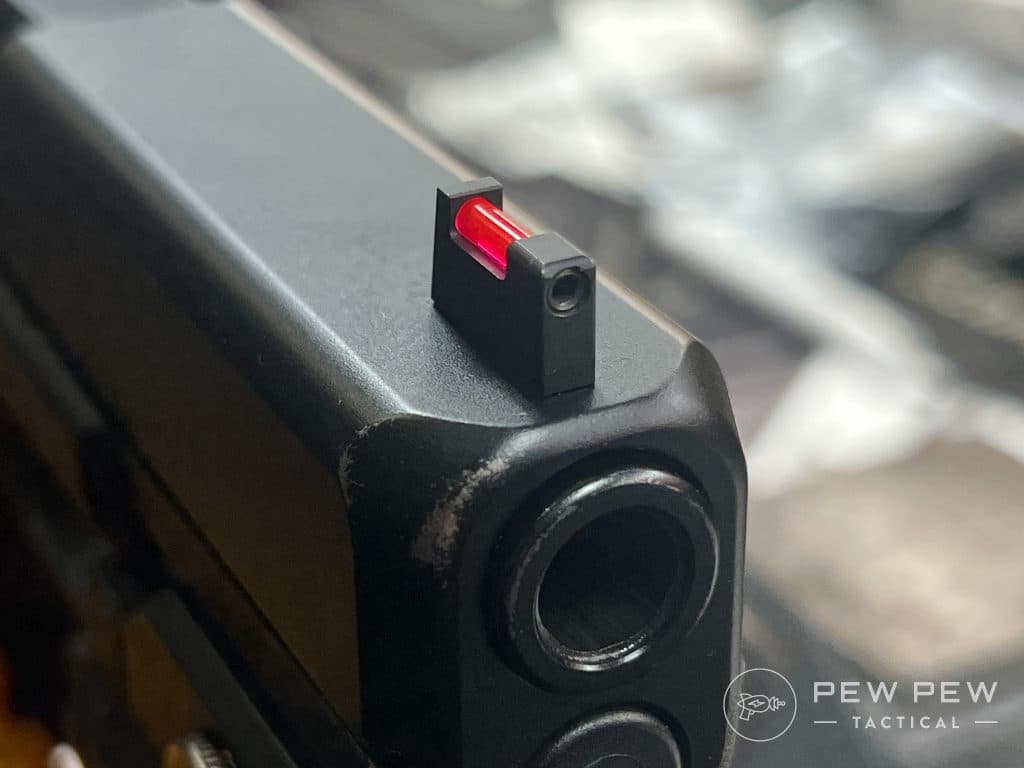
Many people look for night sights to aid in low-light shooting situations, while others seek competition-oriented sight pictures with blacked-out rear sights and high-visibility fiber optic front sights.
If you don't know which sights to get, check out our article on Best Aftermarket Glock Sights!
Common Mistakes to Avoid
- Marring your slide or sights: Many people use steel or brass punches directly on their sights. This will invetiably lead to scratching your sights, or worse, the slide itself. A nylon or delrin punch will prevent this. If you have to use a brass or steel punch, put a piece of tape on the end of the punch to prevent any metal on metal contact.
- Breaking the rear sight: Hammer near the base of the sight. If you hammer too high on the sight, you can risk breaking the top of the rear sight, especially on the stock plastic sights.
- Not securing the slide enough: Nothing should be moving at all when you are tapping on the sights except the sight itself. Check the tightness of your vise or clamp every once is a while during the whole process.
Meet the Experts
The lead writer for this article is Pew Pew Tactical CEO and Founder Eric Hung. As founder of PPT, he has researched and written over 250 articles on firearms and gear and has installed hundreds of different products on various firearms platforms. Eric is also an NRA-certified pistol instructor and a USPSA/3-Gun/NRL22 competitor.

Editing this article is Wyatt Sloan, Editor. Wyatt is an NRA-certified instructor, former competitive shooter, and avid hunter. Wyatt personally owns over 200 firearms, half a dozen Glocks included, and has 10 years of home-based FFL firearm sales. He has used his extensive experience with firearms at large to test guns and gear for Pew Pew Tactical — evaluating them based on our standards and metrics.

Final Thoughts
That wasn't too hard, right? Hopefully your install went smoothly and you are ready to hit the range with your new sights.
Do you have any tips and tricks for installing sights? Do you have a sight setup that you prefer? Sound off in the comments below! If all that hammering was getting too annoying, you can take a look at our list of the Best Sight Pusher Tools for your next project.