
How to Mount a Scope (And Not Screw It Up)

Correctly mounting your scope doesn't need to be scary. We cover the essential tools and walk you through the entire process.

PPT Editor. NRA & USCCA instructor. Hunter, former competitive shooter, collector (200+ firearms)
We review products independently. When you buy through links on our site, we may earn a commission to help support our testing. Learn more.
Updated 9.27.23 with newer information and photos.
So you got a new piece of glass for your rifle. But before you head to the range, you need to get everything mounted up.
Scope mounting is one of those things that is easier than it seems while also being a task where permanently damaging something is fairly easy.
Today, we will cover the basic steps of how to properly and safely mount a scope. No frills here, just a basic rundown.
Table of Contents
Trending: Best AR-15s & CCW Guns Under $400
Steps for Mounting Your Scope
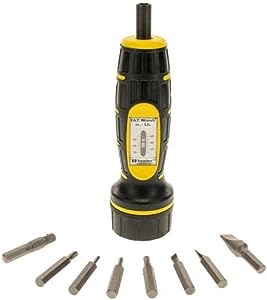
Get the Proper Tools
This first step is the part most people skip, which can easily lead to improper installation and potentially cause permanent damage to the scope, rings, or other parts.
We highly recommend two things — a torque wrench and a set of gunsmith bits.

The torque wrench allows you to set the wrench to stop at a specific number of inch-pounds, preventing you from over-torquing or under-torquing the screws.
Screws that are too tight can strip threads or even crush the body of the scope, while ones that are too loose can cause you to lose zero.
Getting proper bits is also essential. Using cheap or wrong-sized bits can cause you to strip the screw heads and risk things getting stuck or being unable to tighten them.

Lastly, grab a small bottle of blue Loctite. The scope ring manufacturer should specify whether Loctite is required or not, but it is cheap and good to have on hand.

Mount Your Scope Bases
Some rifles do not have scope bases already on the gun and require bases to be installed separately.
The torque spec for the base is almost always different than it is for the rings. You can usually find the torque spec for the base in either the manual for the base, on the manufacturer's website, or sometimes in the manual for the rifle itself.

Ensure you have the correct bases to mount to your receiver, line the holes up, apply a small dab of Loctite (if specified), set your torque wrench to the correct spec, and screw the base(s) into the receiver.
Once the bases are mounted, check the firearm by cycling the bolt or action to ensure the screws in the receiver are not contacting the bolt at all or causing the action to seize up. If there is any binding, shorter screws will be required.

For rings with integrated bases, the mounting process is still the same.
Mount Your Rings to Your Scope Base
If your rings and bases are not integrated, you will need to mount the bottom half of your scope rings to the scope base.
Loosen the bottom portion of your scope rings and seat them in the slots of the scope base.

Use the recommended torque value to secure the scope rings to the base. This is typically around 30-45 inch-pounds.
Install Your Optic
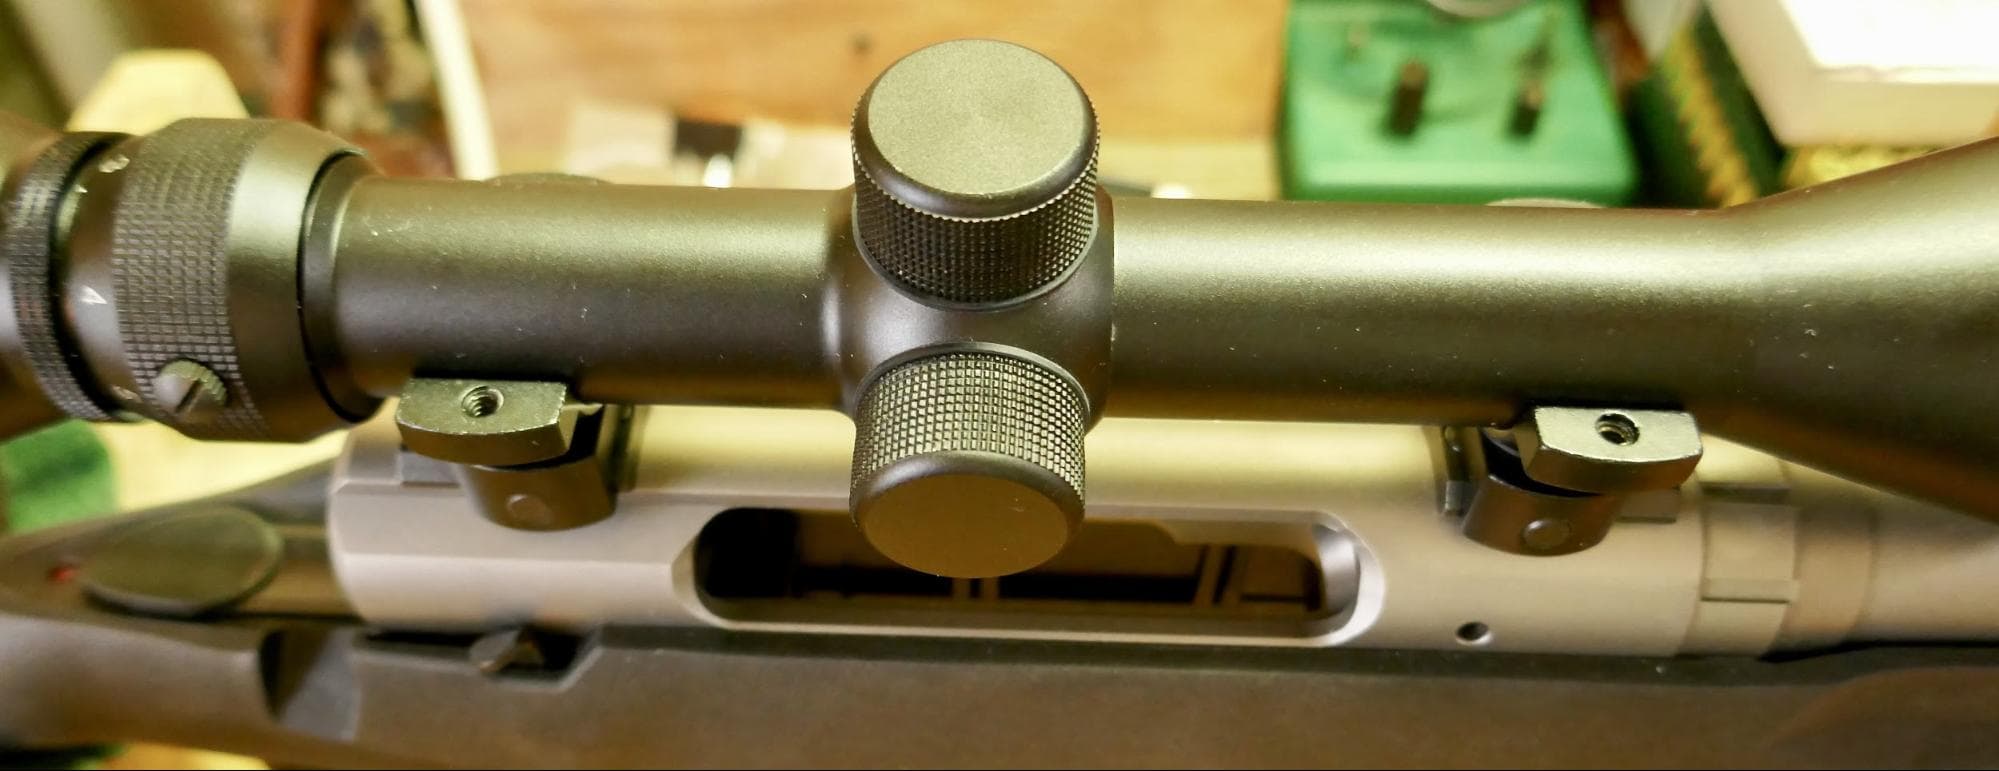
Place your optic in the scope rings and then put the top half of the scope rings on and install the ring screws, but do not tighten them all the way.
You want to tighten them very lightly until it is barely holding the scope in place while still allowing you to move the scope back and forth and tilt it left and right.
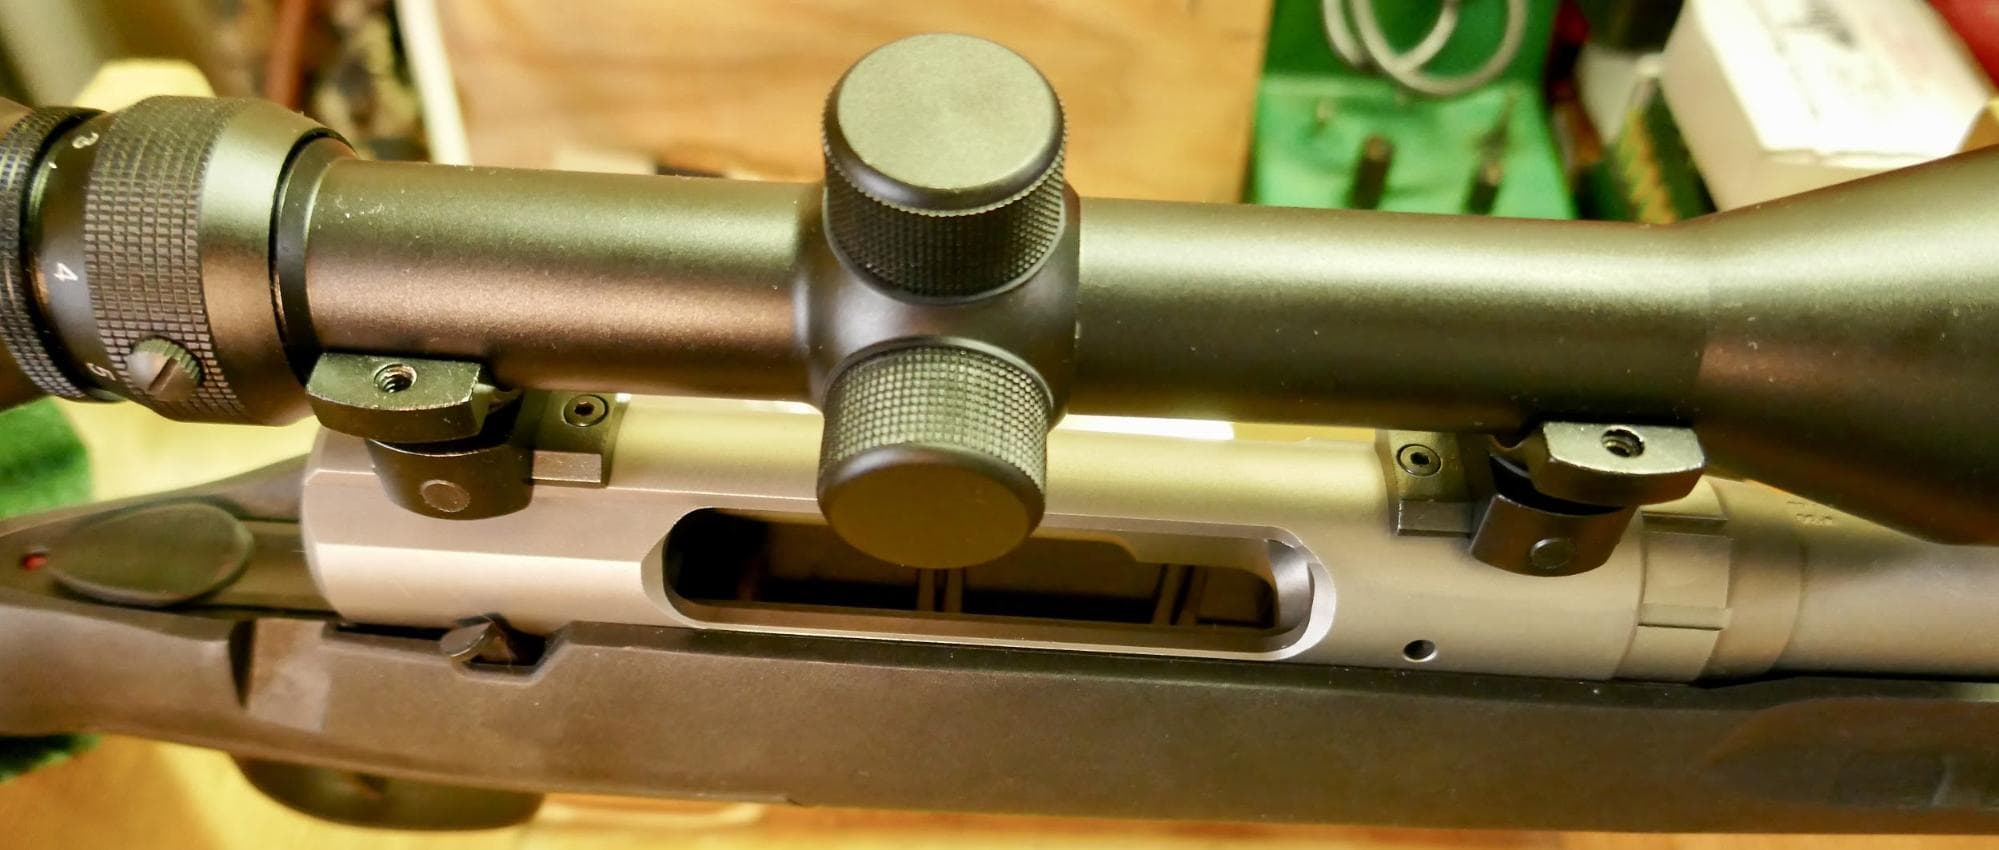
The scope rings should not touch the magnification ring, the turret saddle, or the objective bell.
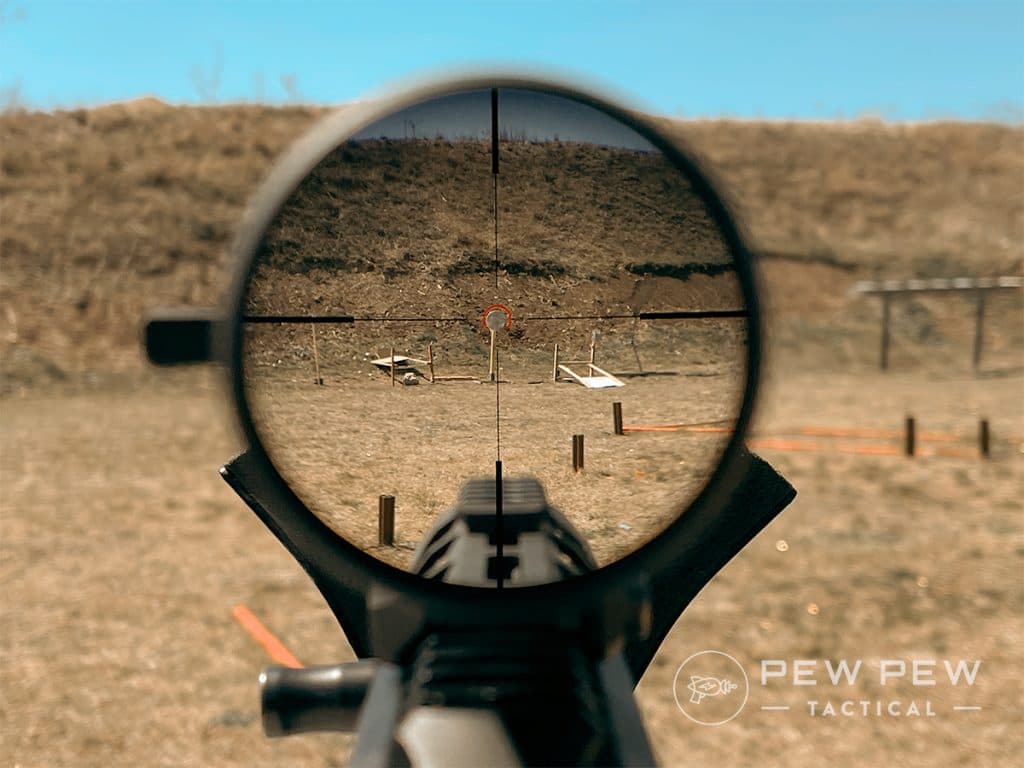
Shouldering your rifle with a natural head position should yield a complete sight picture with no black edges. Set your scope to maximum magnification and move the scope back and forth until this is achieved.
You can also level your scope during this time, making sure the reticle is aligned perfectly. You can read more about scope leveling in next week’s article.
Tightening Your Rings
Once your eye relief is set and the scope is leveled, you must tighten the scope rings.

Set your torque wrench to the appropriate number and tighten each screw a little bit at a time. Do not completely tighten each screw before moving on.
The goal is to maintain even spacing of the gaps on both sides of the scope rings during the tightening process. We recommend gradually tightening each screw in a criss-cross pattern, as shown below.

If the gaps on both sides of the rings look even, continue tightening to the specified torque spec, and you are all done!

Final Thoughts
Mounting a scope is fairly straightforward, especially with the right tools.
However, there are a ton of different types of rings and mounts, each of which installs a little differently. Our goal was to create a general guide for some of the more common types of rings. If you are unsure, always check the manufacturer's website for manuals or FAQs.

Tell us about your mounting experiences below! Have a red dot you that mounted but haven’t zeroed? Check out our guide on How to Zero a Red Dot!