
How to Zero a Red Dot on a Rifle

In this article, we go over the basics of how to zero a red dot on a rifle or carbine, including adjustment values and point of impact.

PPT Editor. NRA & USCCA instructor. Hunter, former competitive shooter, collector (200+ firearms)
We review products independently. When you buy through links on our site, we may earn a commission to help support our testing. Learn more.
You finally got your new red dot mounted up and are ready for range! But to get the most out of your shooting experience, you first need to zero your red dot.
Today, we will cover the basic steps of how to zero a red dot on a rifle or carbine. No frills here, just a basic rundown.
Table of Contents
Steps for Zeroing a Red Dot
1. Check Your Adjustment Values
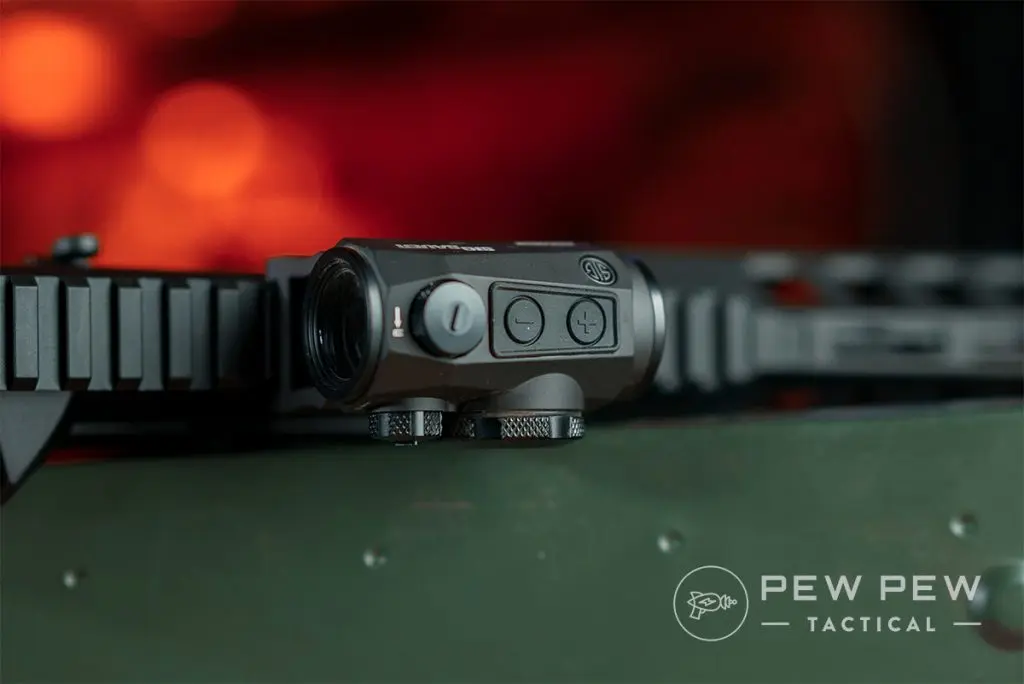
The dials on the top and sides of your red dot allow you to move the dot up and down (elevation) and left and right (windage).

When you rotate these dials or knobs, they will click. Each individual click will move the dot a specific amount in that direction.
The most common adjustment values for these clicks are ¼ MOA, ½ MOA, and 1 MOA.
For those that are unfamiliar, MOA stands for Minute of Angle. In layman’s terms, 1 MOA equals almost 1 inch at 100 yards.

This means if your red dot has ½ MOA adjustments. Moving the dial one click will move the dot ½ an inch at 100 yards.
Most red dots will be either ½ or ¼ MOA adjustments. You can find this information in the manual for the optic, online, or sometimes the dial itself.
2. Get on Paper
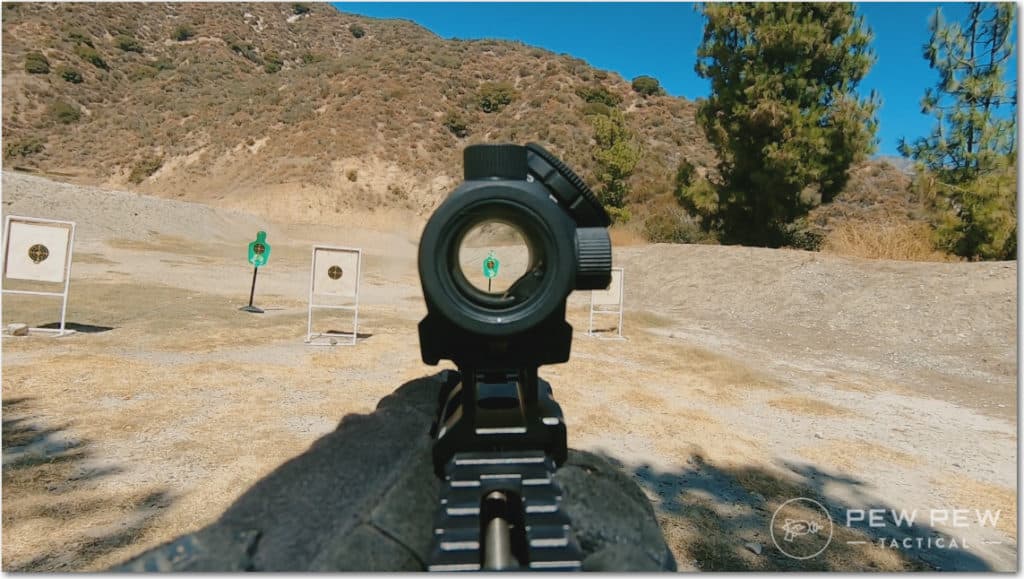
Depending on how your optic is mounted, the optics itself, and the gun, you might find yourself shooting at 100 yards and not hitting the target at all.

We recommend starting at 25 yards to get a rough zero to ensure that you will be “on paper” at 100 yards.
Remember that the closer you are to the target, the more clicks you need to move the dot one inch.
We hate math just as much as you do, so here is a handy dandy chart to help you figure out how much each click moves your dot.

3. Shoot a Group
Once you get your rifle on paper, you will want to set up at 50 or 100 yards (typically).
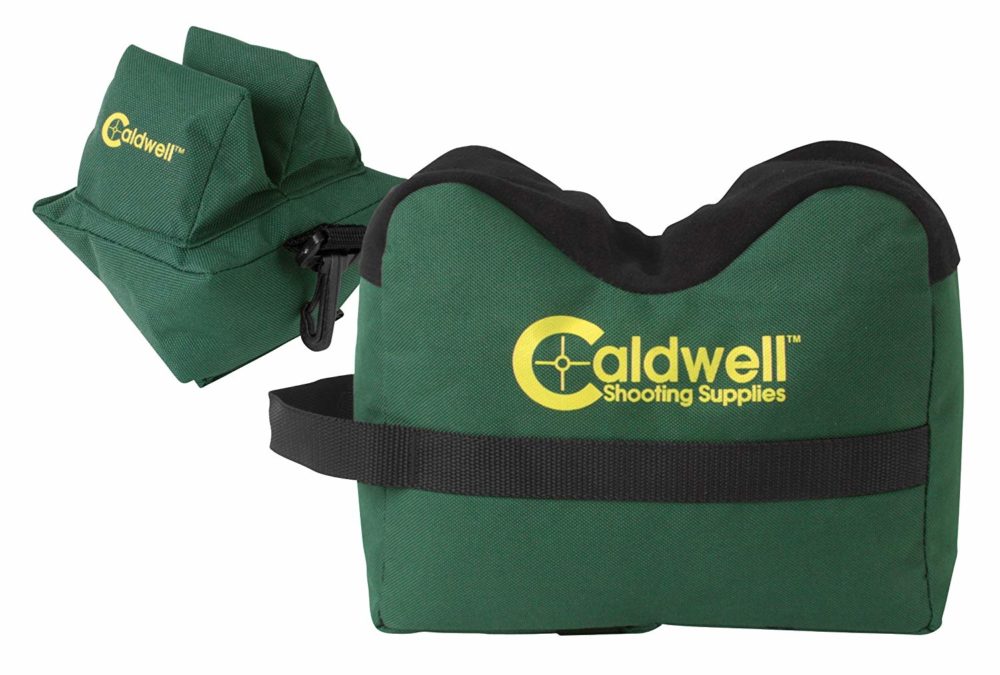
It is best to use a rifle rest, shooting bags, or other stabilization aids to help take out as much human error as possible during this process.
Fire three to five rounds, and observe where your shots are landing on the paper. I really like using targets with 1-inch square grids to help me measure exactly how far off my impact is from my point of aim.

4. Adjust Your Windage and Elevation
Once you have a multi-shot group on the paper, it is time to adjust your red dot so that your point of impact matches your point of aim.
Measure how far left or right and how far up or down the center of your group was from your point of aim. Using the chart provided earlier, adjust your windage and elevation using the appropriate amount of clicks.
For example, if your red dot uses ½ MOA adjustments and you are off three inches to the left at 100 yards, you will need six clicks to move the dot over three inches.
In many cases, there will be an arrow letting you know which direction you are moving the dot on or near the adjustment knob. If there isn't, check the user manual.
5. Repeat
Repeat the process as needed until your point of aim matches your point of impact.
Be sure to let your rifle cool off in between groups to prevent the barrel from heating up too much and throwing your groups off.
Useful Tips
Before sighting in your red dot, ensure you have the right tool to adjust the knobs.
Some can be adjusted by hand, but others require a flat-head screwdriver or a similar device. In a pinch, a penny or the rim of a shell casing can be used in most cases.

Many knobs have covers which need to be unscrewed to access them. Don’t forget to put these covers back on when you are done! They are very easy to misplace.
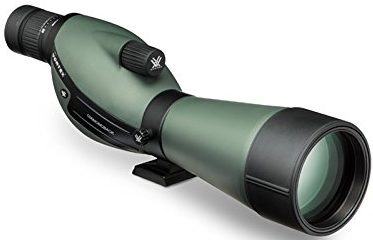
Pack binoculars or a spotting scope if you have them. This will allow you to see where you are hitting without having to walk down to your target after each group.
Final Thoughts
Hopefully, this will help you get started when it comes to zeroing your red dot. Remember, this is just a basic introduction.
It is ultimately up to you to decide what distance to zero your gun at based on your needs and your specific setup.

Tell us about your zeroing experiences below! Have a pistol dot you need to sight in? Check out our Beginner’s Guide to Pistol Red Dot Training!