
Best Hunting Rifles [Tested]
We take a look at some of our favorite hunting rifles to get you ready for the hunting season. Come see which models we recommend.
We review products independently. When you buy through links on our site, we may earn a commission to help support our testing. Learn more.
Hunting season is upon us, and that means it’s time to get your first rifle or start thinking about upgrading.
Whether you're new and getting your feet under you or you want to see some other options available, we’ve got you covered.
In this article, we’re going to look at some of our recommended hunting rifles to help you stock your freezer this season.
The Quick List
- Editor's Pick: Tikka T3x LiteJump to Details ↓
- Best Multi-Purpose Rifle: Bergara B-14 HMRJump to Details ↓
- Best Budget Option: Ruger American RifleJump to Details ↓
- Best Classic-Style: CZ 600 LuxJump to Details ↓
- Best Straight-Pull: Savage Arms ImpulseJump to Details ↓
- Best Overall Hunting Rifle: Benelli LupoJump to Details ↓
Table of Contents
Trending: Best AR-15s & CCW Guns Under $400
How We Tested the Best Hunting Rifles
Input from this article comes from a combination of writers and full-time members of the Pew Pew Tactical team.
These are all rifles we have tested, shot, or hunted with at some point in the last several years. We know how important that big shot is, so we included rifles in this list that we trust to get the job done.
But as always, we also kept the budget in mind, so you'll see quite a few options under $1,000.
Best Hunting Rifles
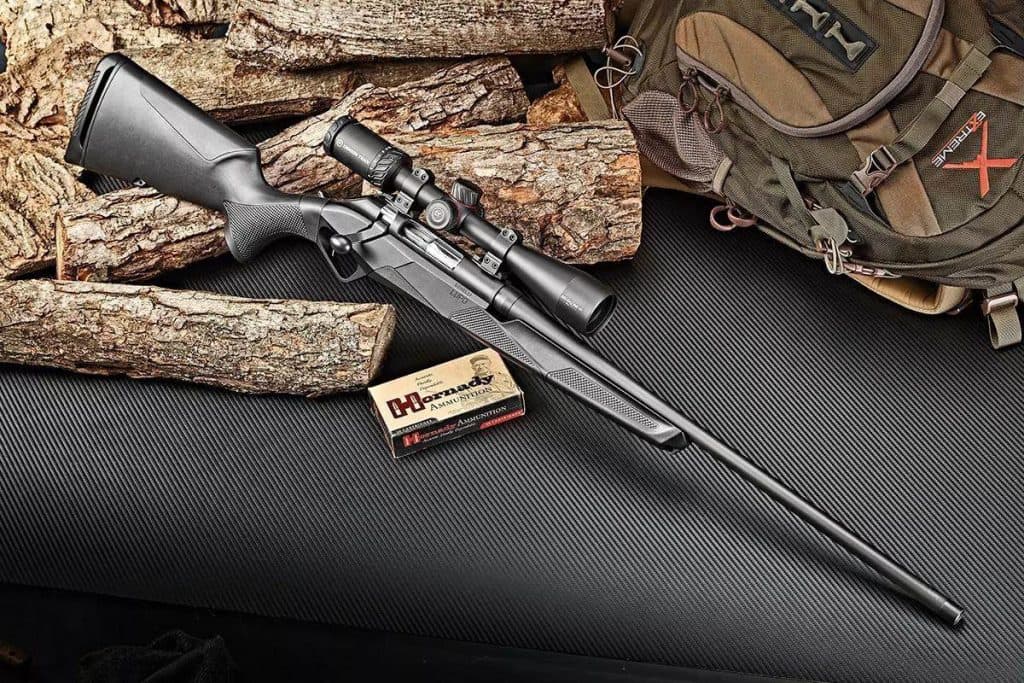
1. Tikka T3X Lite - Editor's Pick

Pros
- Lightweight
- Smooth action
- Accurate
Cons
- No scope base included
Specs
- Caliber: 22-250 Rem, .223 Rem, .243 Win, 6.5 Creedmoor, 6.5x55 SE, 6.5 PRC, .270 Win, .270 WSM, 7mm-08 Rem, 7mm Mag, .308 Win, .30-06 Springfield, .300 Win Mag, .300 WSM
- Action:
- Barrel Length: 20" - 24.3"
- Overall Length: 40.2" - 44.5"
- Weight: 6.2 lbs - 7.3 lbs
- Magazine Type: Detachable box
- Capacity: 3 - 4 rounds
The Tikka T3x series of rifles has become quite popular over the last few years.
Tikka is a subsidiary of Sako, who is well known for high-end rifles, and the craftsmanship and quality of these Finnish rifles are finally being appreciated by American audiences.
The T3x Lite lives up to its name, coming in at a mere 6.2 pounds in the 20-inch .308 configuration. Many hunters appreciate a light and handy platform for their adventures in the bush.
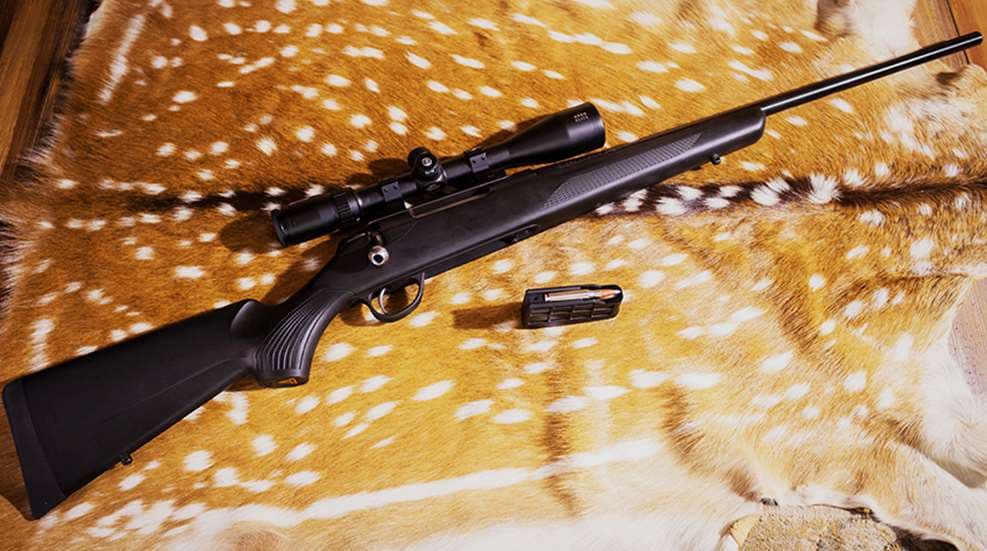
This series uses a lightweight synthetic stock that offers swappable pistol grips and forend modules to help you customize the rifle fit.
Sub-moa accuracy is guaranteed, and the excellent trigger of the T3x makes getting those groups pretty easy.
Anyone who owns a T3x or has shot one, us included, will talk about how smooth the action is. The rifles also feature a large ejection port for reliable cycling.
Smooth, lightweight, and accurate are all hallmarks of the T3x. If you are looking for a nice mid-tier field rifle with no frills, this is your guy
2. Bergara B-14 HMR - Best Multi-Purpose Rifle

Pros
- Great "do-all" rifle
- Excellent stock adjustability and features
- Accurate
Cons
- Heavy for pure field-use
Specs
- Caliber: 22-250 Rem, 6.5 Creedmoor, 6.5 PRC, 7mm PRC, .308 Win, .300 Win Mag, .300 PRC, .450 Bushmaster
- Action: Bolt-action
- Barrel Length: 20" - 26"
- Overall Length: 40" - 47.5"
- Weight: 9.5 lbs - 9.9 lbs
- Magazine Type: AICS detachable
- Capacity: 3 - 5 rounds
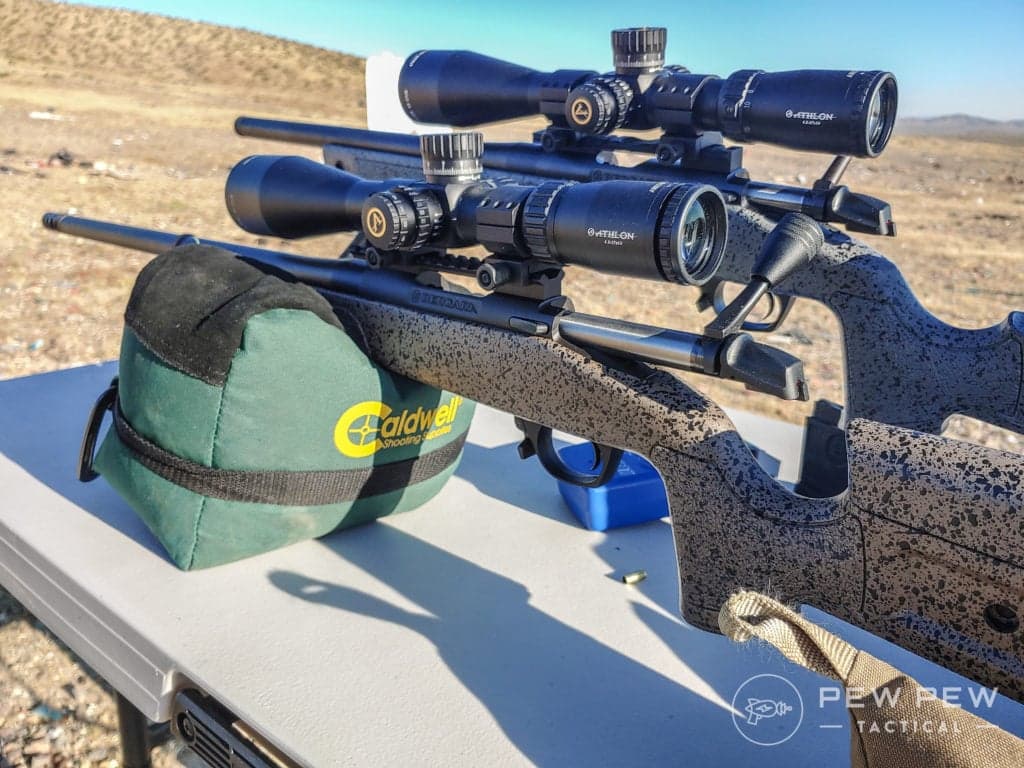
The Bergara B-14 HMR is a favorite around the Pew Pew Tactical office. HMR stands for Hunting and Match Rifle, designating its intention to be a dual-purpose rifle.
Utilizing the ever-popular Remington 700-style action means that the B-14 HMR has plenty of options when it comes to heavy customization.

Bergara started off as a high-quality barrel manufacturer, and that still shows in their rifles. They guarantee sub-moa accuracy with match-grade ammunition.
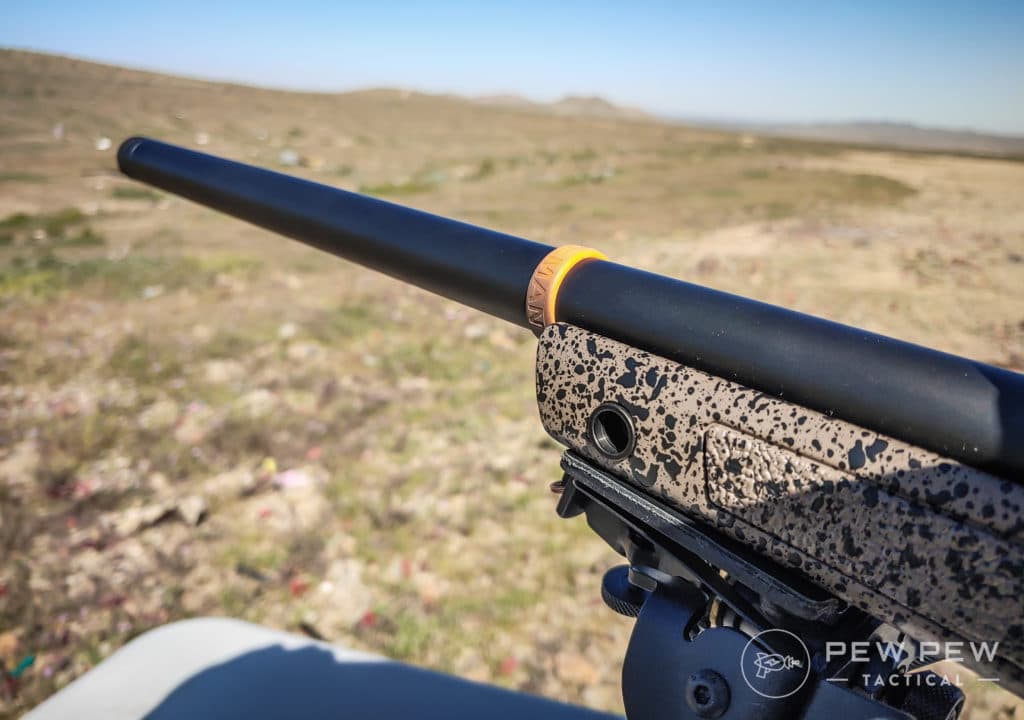
The barrel itself is free-floated and threaded, and the stock uses an aluminum inner chassis for rigidity. Multiple sling swivels and QD cup mounts and an easily adjustable cheekpiece height and length of pull really put this stock above a lot of competitors.
We shot this off a bipod, a bag, and prone, and we’re happy to report it shoots extremely well. The groups were great, the bolt was smooth, and the rifle worked with various ammunition.
While it is a little heavy for full-blown field use, this gun is a great option if you are looking for a gun that can tackle both hunting and target shooting with confidence.
You can read more about the Bergara B-14 HMR in our review!
3. Ruger American - Best Budget Option

Pros
- Affordable
- Accurate
- Integrated scope base
Cons
- Action isn't the smoothest
- Synthetic stock just feels okay
Specs
- Caliber: .204 Ruger, .223 Rem, 5.56 NATO, 22-250 Rem, .243 Win, 6mm Creedmoor, 6.5 Grendel, 6.5 Creedmoor, 6.5 PRC, .25-06 Rem, .270 Win, 7mm-08 Rem, 7mm PRC, .300 BLK, 7.62x39mm, .308 Win, .30-06 Springfield, .300 WM, .350 Legend, .450 Bushmaster
- Action: Bolt-action
- Barrel Length: 16.1" - 26"
- Overall Length: 36" - 46"
- Weight: 5.9 lbs - 9.3 lbs
- Magazine Type: Detachable box, AICS, AR-Style
- Capacity: 3 - 20 rounds
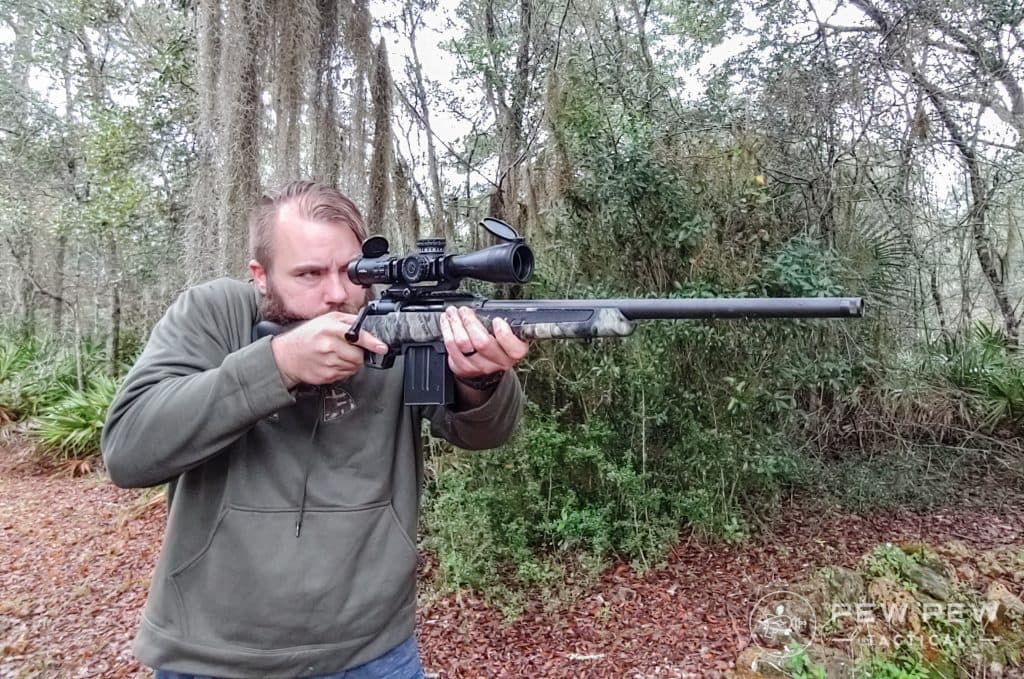
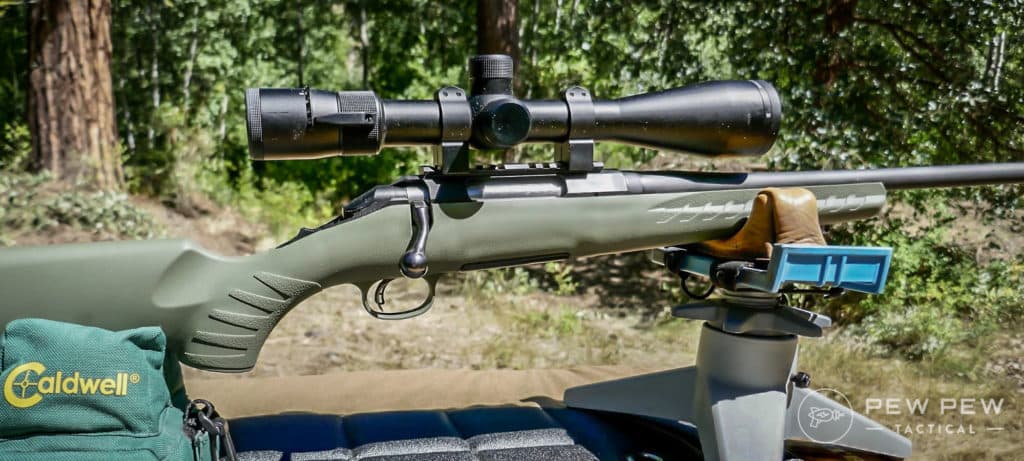
Whether money is tight or you just don't want to spend a huge chunk of change for a rifle you might use for hunting once or twice, Ruger has you covered with the American rifle.
The Ruger American was developed as an affordable alternative to the company's venerable M77 rifle. But just because it is cheaper doesn't mean you are sacrificing performance.
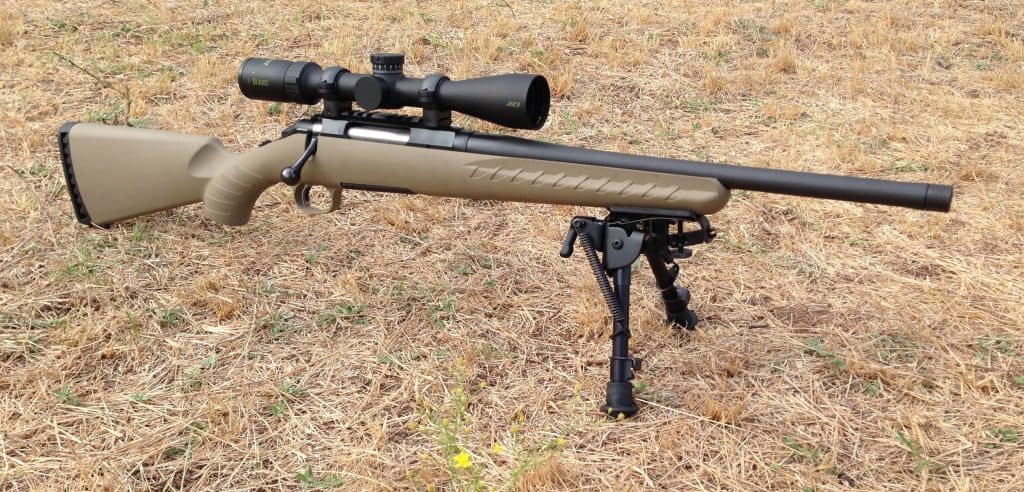
You get niceties such as an integral bedding block, a Picatinny scope base, a 3-lug action, and a free-floated cold hammer-forged barrel.
Topping everything off is Ruger's Marksman Adjustable Trigger. While this trigger isn't quite as good as something like the Savage AccuTrigger to us, it is pretty darn close.
Ruger has a metric ton of models and caliber options for the American with varying features --- including the brand new Gen II. There is a little something for everyone in the American lineup.
Our editor has a night-vision-equipped Ruger American Ranch in .450 Bushmaster that has served him well on his hog hunts. We also have a hands-on review of the Ruger American Predator.
4. CZ 600 Lux - Best Classic-Style
Pros
- Classic styling and good looks
- Accurate
- Iron sights included
Cons
- Non-existant aftermarket
Specs
- Caliber: .223 Rem, .308 Win, .30-06 Springfield, .300 WM
- Action: Bolt-action
- Barrel Length: 20", 24" (.300 WM)
- Overall Length: 39.3" - 45.5"
- Weight: 6.8 lbs - 8.6 lbs
- Magazine Type: Detachable box
- Capacity: 5 rounds, 3 rounds (.300 WM)
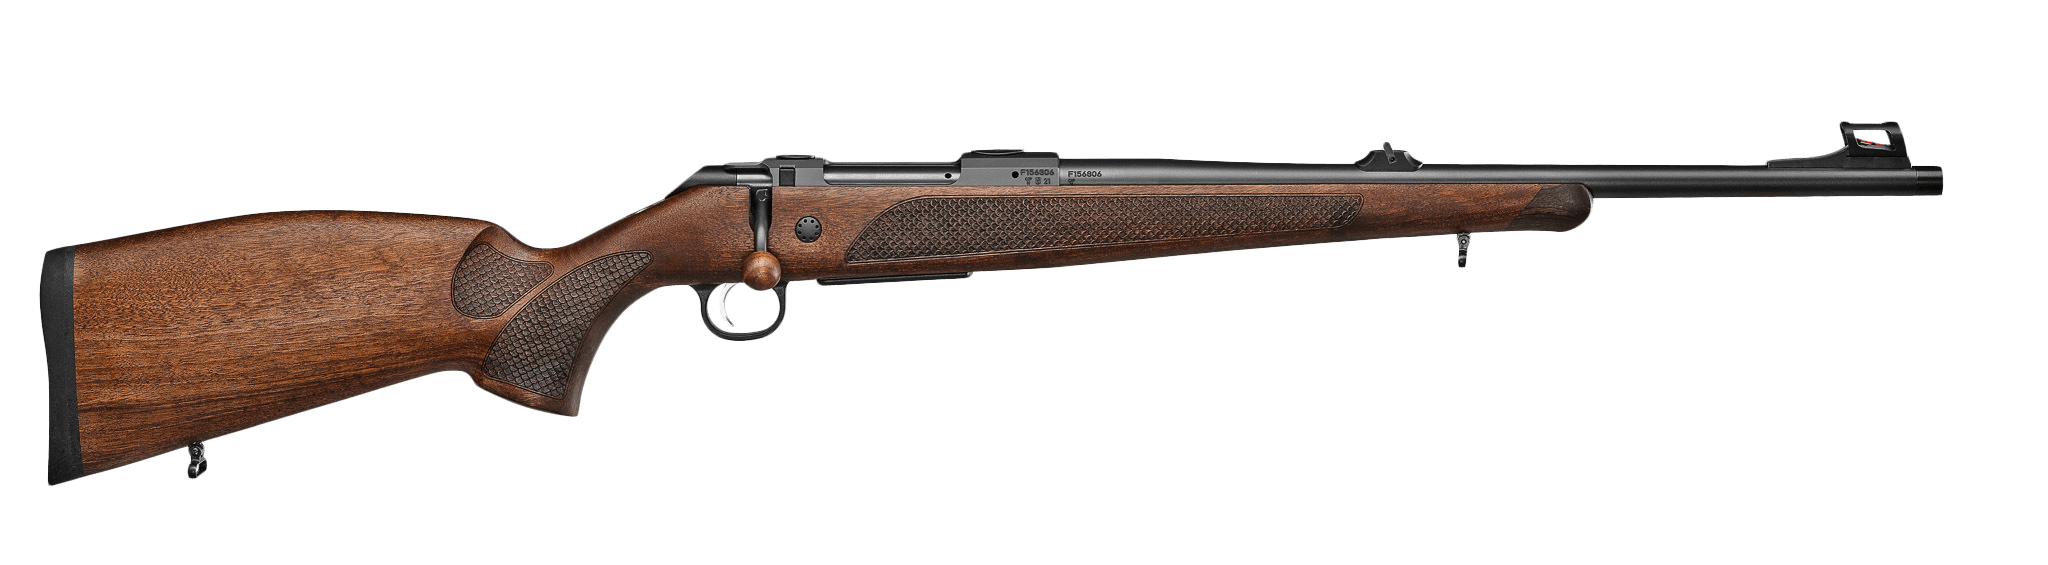
The CZ 600 Lux series of rifles is what happens when you want to channel your inner aristocrat when you go hunting. I joke, but CZ did find a great way to combine function and form with the 600 Lux series.
CZ's 600 series rifles are the latest in their bolt-action line, with the Lux variant being the higher-end option.
These rifles feature a built-in set of open iron sights similar to the safari sights of old. They use a European-style stock with a very pronounced pistol grip and accommodating stock for a nice cheek weld.
CZ uses some gorgeous wood to outfit these rifles. Fish scale checkering provides excellent grip while looking good, and even the bolt knob is wood!
Our experience with CZ's previous 400 and 500-series rifles has been great. We have gotten excellent accuracy on everything from their rimfire rifles up to their magnum offerings.
From front to rear, the CZ 600 has serious curb appeal, comes with a sub-MOA guarantee, and can hunt anything in North America.
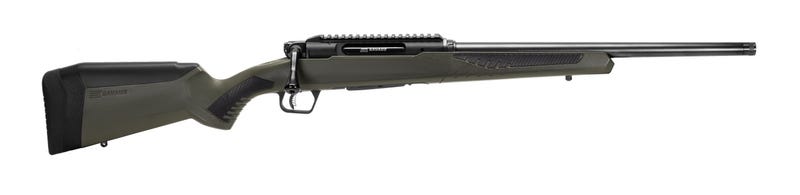
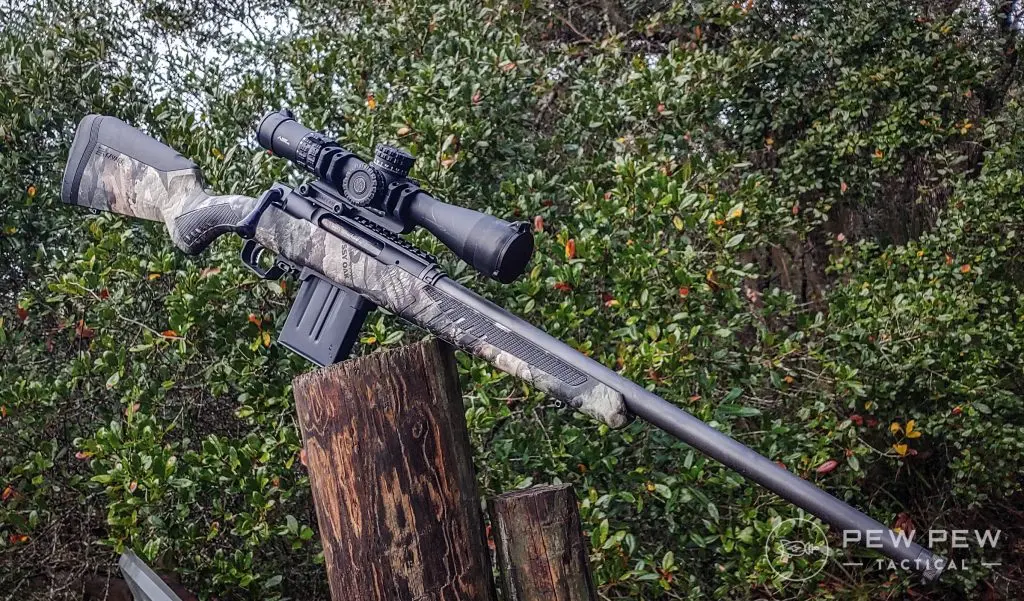
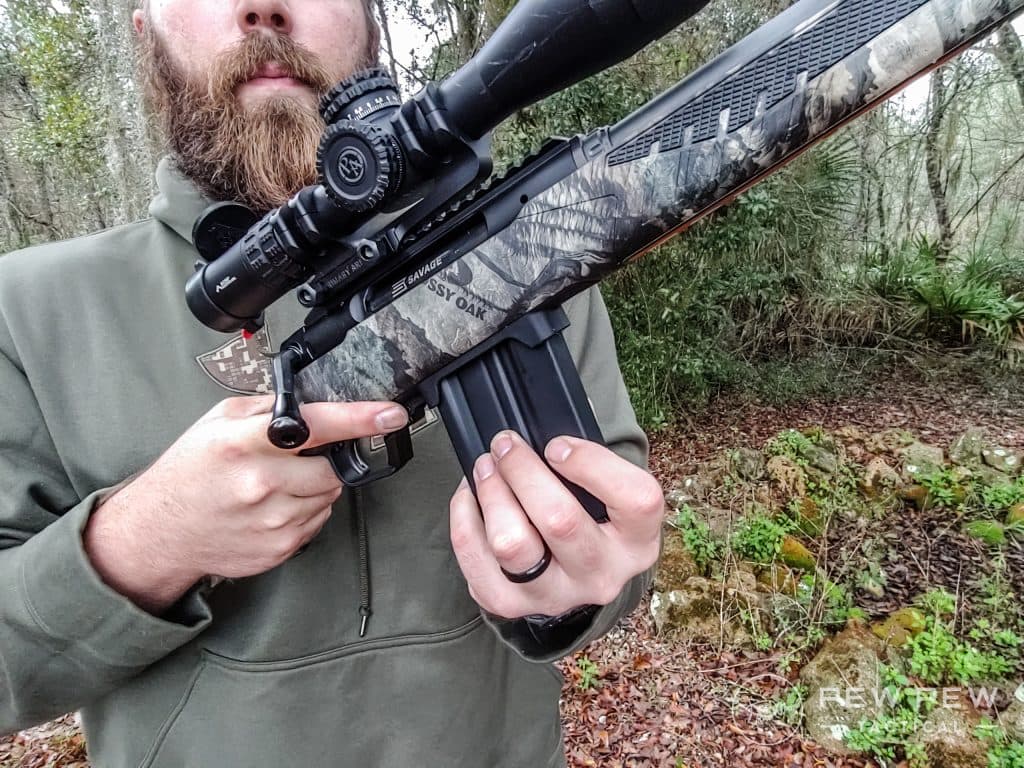
5. Savage Impulse - Best Straight-Pull
Pros
- Fast and smooth straight-pull action
- Wide variety of models and calibers
- Accurate
Cons
- Certain models can get expensive
Specs
- Caliber: 22-250 Rem, .243 Win, 6mm Creedmoor, 6.5 Creedmoor, 6.5 PRC, .270 Win, 28 Nosler, 7mm Mag, 7mm PRC, .308 Win, .30-06 Springfield, .300 WM, .300 WSM, .300 PRC, .338 Lapua
- Action: Straight-pull bolt-action
- Barrel Length: 18" - 30"
- Overall Length: 39.25" - 51"
- Weight: 6.7 lbs - 14.9 lbs
- Magazine Type: Detachable box, AICS-style
- Capacity: 3 - 10 rounds
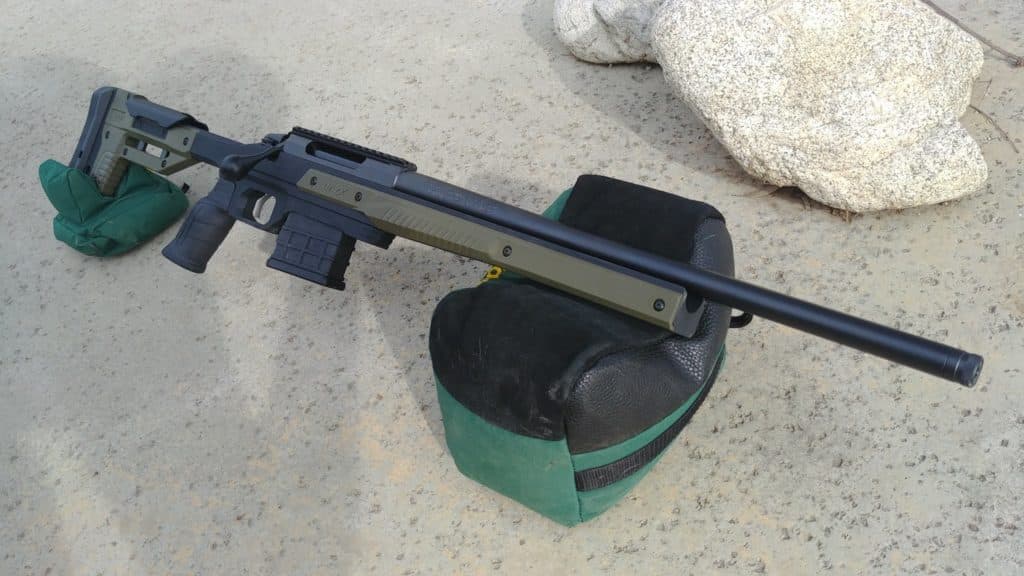
The Savage Impulse does things a little differently than most bolt-action rifles we are used to. It uses a straight-pull action rather than a standard turn-bolt action.
While straight-pulls tend to be fairly popular in Europe, they never really caught on much in the United States. These types of bolt action rifles make follow-up shots quick. A simple rearward pull followed by a forward press makes them super easy and fast to cycle.
Non-milsurp straight-pulls have been uncommon here, with most of the small commercial market straight-pulls being ludicrously expensive guns like Blaser and Heym rifles that fetch well over $4000.
However, Savage recently decided to produce a straight-pull that was more affordable, modern, and feature-rich.
The Impulse uses a ball bearing system in lieu of typical locking lugs, giving the bolt an extra smooth feel. It is available in all sorts of calibers and barrel lengths, and some even offer higher-capacity detachable mags.
As with most other Savage rifles, the Impulse has a great trigger thanks to the time-tested Accu-Trigger system. Length of pull and cheekpiece height are easily adjusted for user-specific fitment. All models come equipped with an integrated optics rail.
There are lightweight models, precision models, big game models, versions with carbon fiber barrels, and more. They have a little something for everyone, and whether you are looking for an ultra-fast action or just something different, the Impulse has you covered.
Be sure to check out our full hands-on and our thoughts on the Savage Impulse!
What do you think of the Savage Impulse? Rate it below.
Readers’ Ratings
5.00/5 (1091 Votes)Your Rating
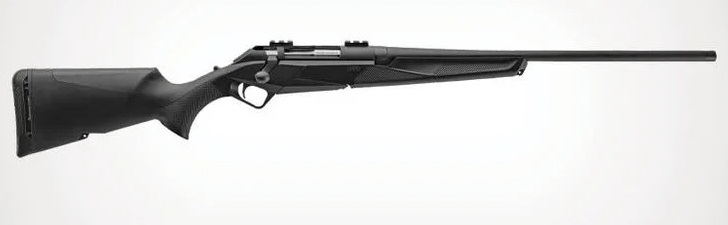
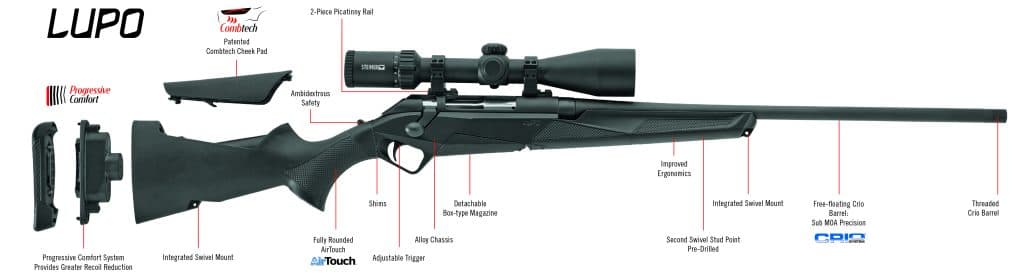
6. Benelli Lupo - Best Overall Hunting Rifle
Pros
- Extremely ergonomic
- Great accuracy
- Smooth action
Cons
- More expensive
- Less aftermarket
Specs
- Caliber: .243 Win, 6mm Creedmoor, 6.5 Creedmoor, .270 Win, 7mm Mag, .308 Win, .30-06 Springfield, .300 WM
- Action: Bolt-action
- Barrel Length: 22" - 24"
- Overall Length: 44.2" - 46.6"
- Weight: 6.9 lbs - 7.1 lbs
- Magazine Type: Detachable box
- Capacity: 4 - 5 rounds
When you think of Benelli, you probably think of shotguns, and with good reason. But in 2020, the company announced their first-ever bolt-action rifle, the Lupo.
Benelli adapted a few things from their outstanding shotguns to give the Lupo a leg up. These features include their Progressive Comfort System, which provides recoil reduction, a set of shims that allow you to adjust drop and cast to achieve up to 36 different positions for the right fit, and a Crio-treated free-float barrel.
The interchangeable cheekpiece, grip, and forend have all been painstakingly engineered for maximum comfort and ergonomics. Benelli also guarantees sub-MOA accuracy on all Lupo models.
Our editor, Wyatt, was able to get trigger time behind a Lupo and was thoroughly impressed. His experience was a buttery smooth action, superb balance, and half-MOA groups were easily achieved with factory ammunition.
While the price tag is higher than the other guns on the list, the Lupo is well worth it. Think of it like driving a fine Italian sports car; it feels that good.
How to Choose the Right Hunting Rifle
When it comes to selecting a hunting rifle, there are three questions you want to ask yourself. What type of game are you hunting? What distances are you planning on hunting at? And what kind of terrain and or traveling will you have to deal with when hunting?
You want to make sure you select a caliber with enough energy, expansion, and penetration to ethically harvest game. However, you want to avoid having "too much gun".
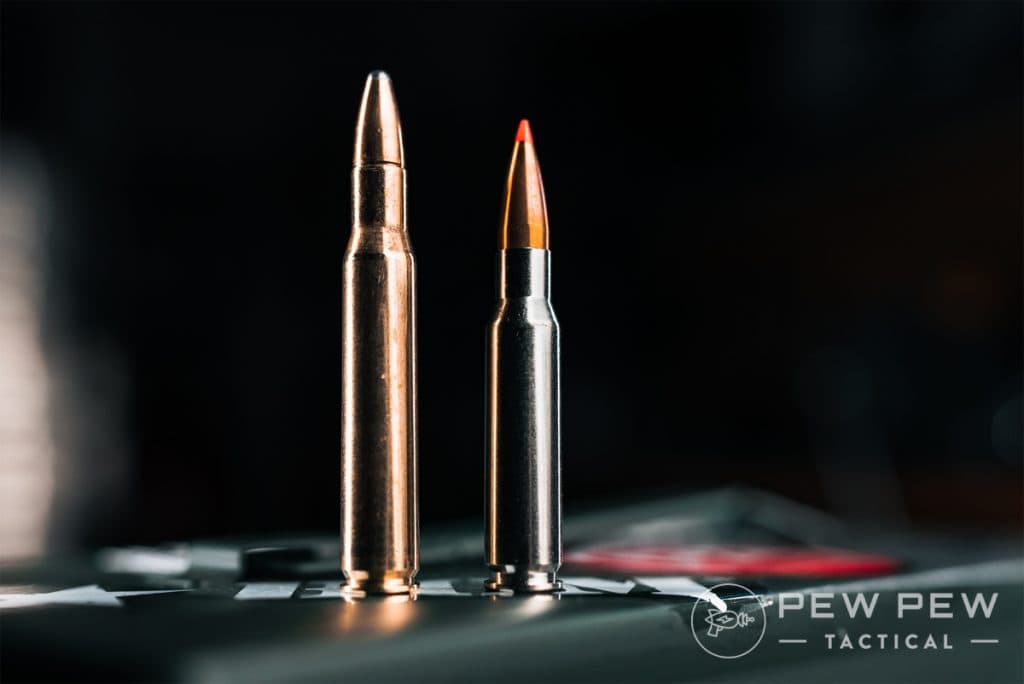
A .300 Win Mag might sound cool, but if you are shooting Southern whitetail at 100 yards, you may very well poke a clean .30 caliber hole through both sides and end up having to track the animal a long distance.
Conversely, you may want to avoid taking your fancy 6.5 Creedmoor rifle on a bull Elk hunt and risk not having enough oomph to get a clean and efficient kill. There are exceptions to these rules with both projectile choice and hunting experience, but it is important to do your research and know your limits as a shooter.
Weight is pretty straightforward. Are you going to be trekking long distances or across difficult terrain and possibly shooting from standing positions? If so, a light rifle is your friend to help avoid fatigue, and the chance of missing that comes with it.
If you only have to walk a few hundred yards to a deer stand or blind, then you can opt for a heavier gun that will help lessen recoil and also provide more stability when shooting off a rest.
Final Thoughts
There are plenty of rifles on the market, and though we favor these, that doesn’t mean there aren’t others to choose from. But hopefully, we’ve given you a good starting point.

What’s your go-to hunting gun? Let us know in the comments below. For more rifle recommendations, check out the Best Rifles. Need glass for that rifle? Head over to the Best Rifle Scopes.
Latest Updates
May 1, 2024: Removed the Weatherby Vanguard and Christensen Arms Mesa. Added the Ruger American and Benelli Lupo. Added information to how we test hunting rifles as well as supplemental data to each product.