When you think of home canning, it might conjure images of grandmothers with the sleeves of their frontier dresses rolled up to their elbows, slaving away over hot wood-burning stoves to preserve the bounty of their homestead gardens so their children wouldn’t starve during the long, bleak winter months.
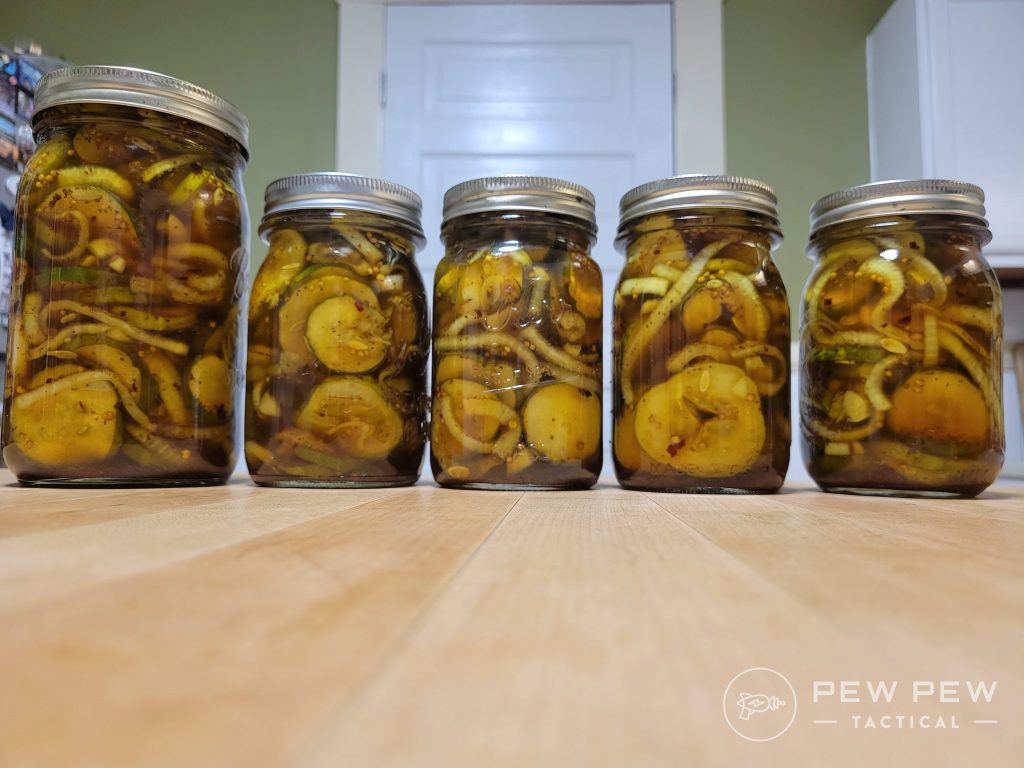
While home canning has been around for hundreds of years, it is no longer relegated to off-grid homesteading types. In fact, it’s super trendy right now, especially since those bleak days of 2020 with its empty grocery store shelves and toilet-paper-shortage mob mentality.
If you’ve ever had a hankering to preserve your own food and ensure you can preserve the ripest tomatoes and sassiest cucumbers from your summer garden (or your most recent trip to the farmer’s market), we’ve got you covered.
Cue the folk music and hold onto your aprons because we are about to roll up our modern sleeves and delve into the hipster of food preservation with this guide to the basics of home canning.
We’ll explore the essential techniques, equipment, and safety measures for successful, satisfying, delicious pickles and preserves.
Table of Contents
Loading…
What is Home Canning?
Home canning is a food preservation method that involves sealing and heating food in jars to destroy or inactivate microorganisms to prevent spoilage.
When done correctly, the process extends the product’s shelf life, even without refrigeration.
Prepping for Canning
Before diving headfirst into the pool, putting on your bathing suit first is always a good idea. You should do a few things before firing up the canner.

Choose Fresh, High-Quality Ingredients
If your starting ingredients aren’t top-notch, your canned goods will be about as appealing as a trip to the shooting range without ammo.

For best results, select fresh, ripe produce free from blemishes or signs of decay. High-quality ingredients contribute to the flavor and texture of the final product, so opt for fresh, ripe produce without bruises, blemishes, or signs of decay.
Clean and Sterilize
Cleanliness is one of the things that separates us from the animals (except for raccoons, Who also like to wash their food).

Sterilizing your canning gear is non-negotiable. Nobody wants a side of bacteria with their canned peaches.
Thoroughly wash and sterilize all equipment before starting the canning process. Jars, lids, and utensils can be sterilized by boiling them in water or running them through a dishwasher.
Prepare the Recipe
While improv can be hilarious when it comes to stand-up comedy, canning isn’t the place you want to wing it. This is not the kitchen version of Whose Line Is It Anyway? Improvising or altering ingredient ratios can impact the safety and quality of the final product.
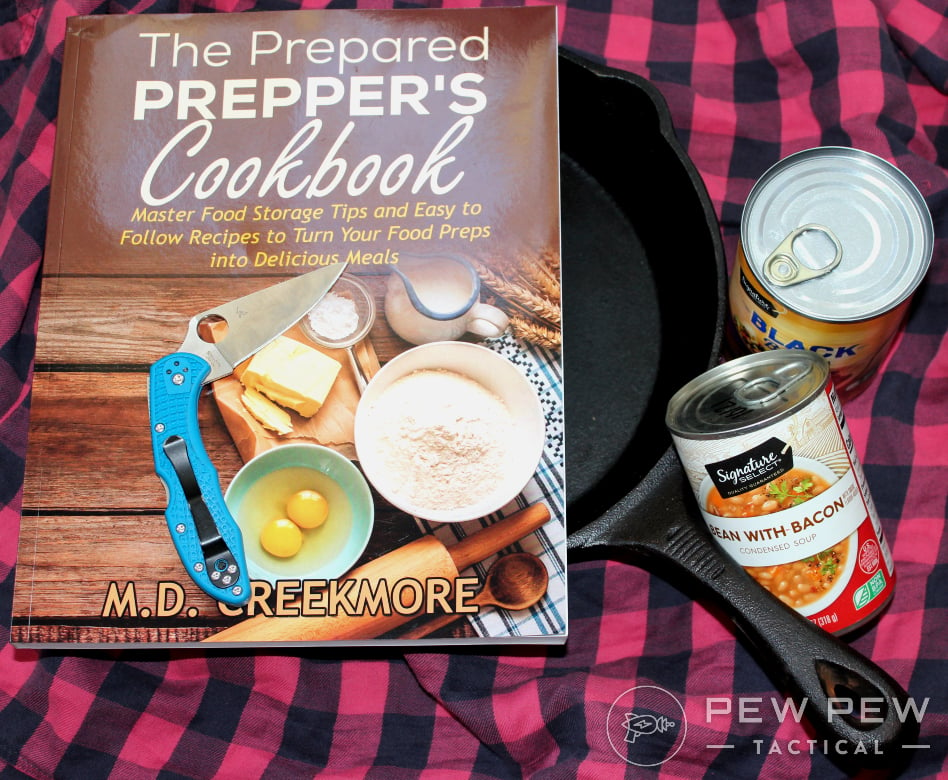
Stick to the script and follow a trusted and tested canning recipe from a reliable source, such as the USDA, the National Center for Home Food Preservation, or reputable canning guides and cookbooks.
Hot Pack vs. Raw Pack
In the world of food preservation, the hot pack vs. raw pack debate can get about as spicy as the Glock vs. 1911 dispute.
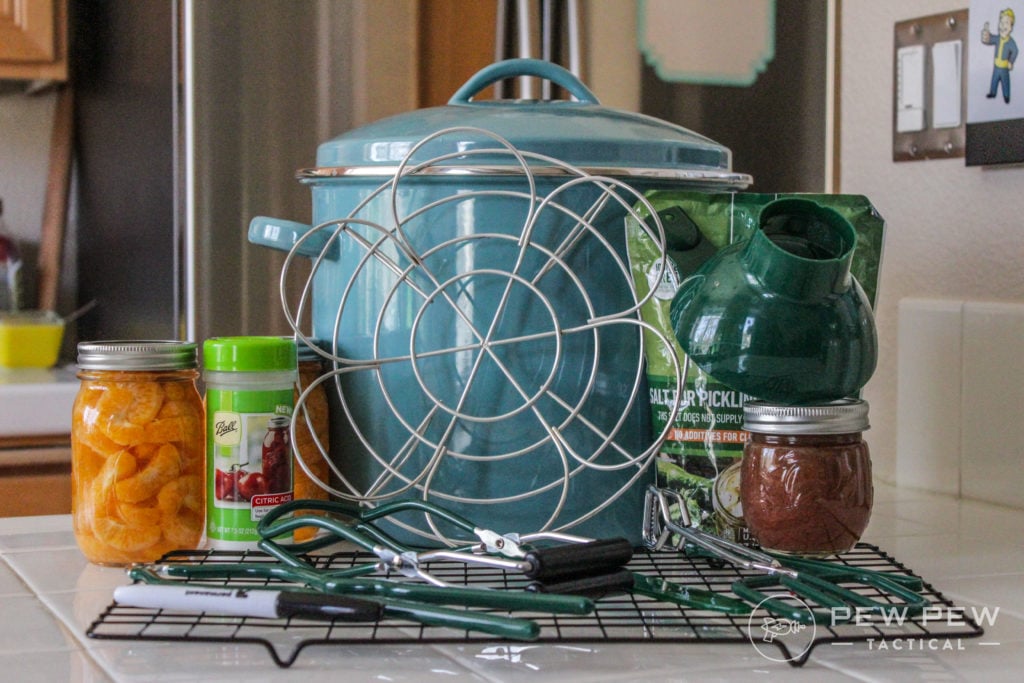
Hot packing involves cooking before canning, while raw packing is the minimalist approach where you place uncooked food directly into the jars. Although hot packing requires more work, it is often recommended for better color, flavor, and texture in the final product.
Must-Have Canning Equipment
Jars
Although the contents get all the glory when it comes to canning, the jars significantly affect the quality of the victuals inside. Think of them as the unsung heroes of home canning.
-
25% off all OAKLEY products - OAKLEY25
Copied! Visit Merchant
Mason jars with two-piece metal lids are the most popular choice. Ensure that the jars are free from cracks or chips since imperfections in the jars could compromise the sealing process.
Lids and Rings
The lids and rings work together like a dynamic duo in the canning process. The flat metal lid contains a sealing compound that softens during processing, creating a seal tighter than your cheap Aunt Diane’s purse strings as the jar cools.
-
25% off all OAKLEY products - OAKLEY25
Copied! Visit Merchant
The screw-on ring helps keep the lid in place and prevents the seal from breaking during storage.
Bands are reusable, but lids should be replaced for each canning session.
Canning Pot or Pressure Canner
The canner (a boiling water bath for high-acid foods or a pressure canner for low-acid masterpieces) is where the magic happens in the canning process. The boiling, bubbling, and steam make a sort of day spa for your preserves that helps kill bacteria and softens the sealing compound on your lids.
A large pot will work for water bath canning. It should be deep enough so your jars can be fully submerged.
-
25% off all OAKLEY products - OAKLEY25
Copied! Visit Merchant
Pressure canners must accommodate the jars’ height and the pressure canner lid.
-
25% off all OAKLEY products - OAKLEY25
Copied! Visit Merchant
Canning Rack
This nifty gadget is the elevator that ensures your jars aren’t stuck in the basement of the canner. It keeps them elevated, letting the boiling water swirl around like a fancy jacuzzi for Mason jars.
The canning rack keeps jars from sitting directly on the heat source and ensures even heat distribution during the canning process.
-
25% off all OAKLEY products - OAKLEY25
Copied! Visit Merchant
Can you use a water bath canner without a canning rack? Yes. I’ve done it. But it’s a gamble. Without a rack, the jars are more likely to rattle together, and with them sitting right on the bottom of the pot, you could easily end up with broken jars and a water bath full of homemade jelly. Not fun.
You can improvise with a folded terry-cloth dish towel if you don’t have a rack. Place it in the bottom of the pot and place your jars on top of the towel.
Funnel
A canning funnel helps fill jars with hot liquids, preventing spills that would make the kitchen floor look like a jam and jelly crime scene.
-
25% off all OAKLEY products - OAKLEY25
Copied! Visit Merchant
Jar Lifter
A jar lifter is a specialized tool designed to safely lift hot jars in and out of the canner, minimizing the chances of needing to bust out the IFAK to treat a bad burn.
-
25% off all OAKLEY products - OAKLEY25
Copied! Visit Merchant
(But just in case, check out our list of the Best IFAKs here.)
Bubble Popper and Headspace Tool
A canning bubble popper and headspace tool isn’t really as much fun as it sounds, but this tool does help eliminate air bubbles from your filled jars. You simply run the tool around the edge of the jar to release any trapped air and ensure a proper seal.
-
25% off all OAKLEY products - OAKLEY25
Copied! Visit Merchant
If you don’t have a bubble popper on hand, a chopstick, a thin spatula, or even a butter knife will work in a pinch.
However, you can also use the bubble popper’s “staircase” configuration to measure how much headspace is in your jars. Simply rest the proper “stair” on the rim of the jar that coincides with the measurement for your recipe, and then make sure the food or liquid just touches the bottom of the last stair on the tool.
How-To: Water Bath Canning
The two primary home canning methods are water bath and pressure canning.
Water bath canning is suitable for high-acid foods such as fruits, jams, jellies, pickles, and tomatoes. The process involves submerging sealed jars in a jacuzzi of boiling water for a specified amount of time. Time and temperature combine to destroy food-spoilage nasties like mold, yeast, and bacteria. It also creates a handy vacuum seal so you can have those satisfying rows of jarred yummies in your pantry.
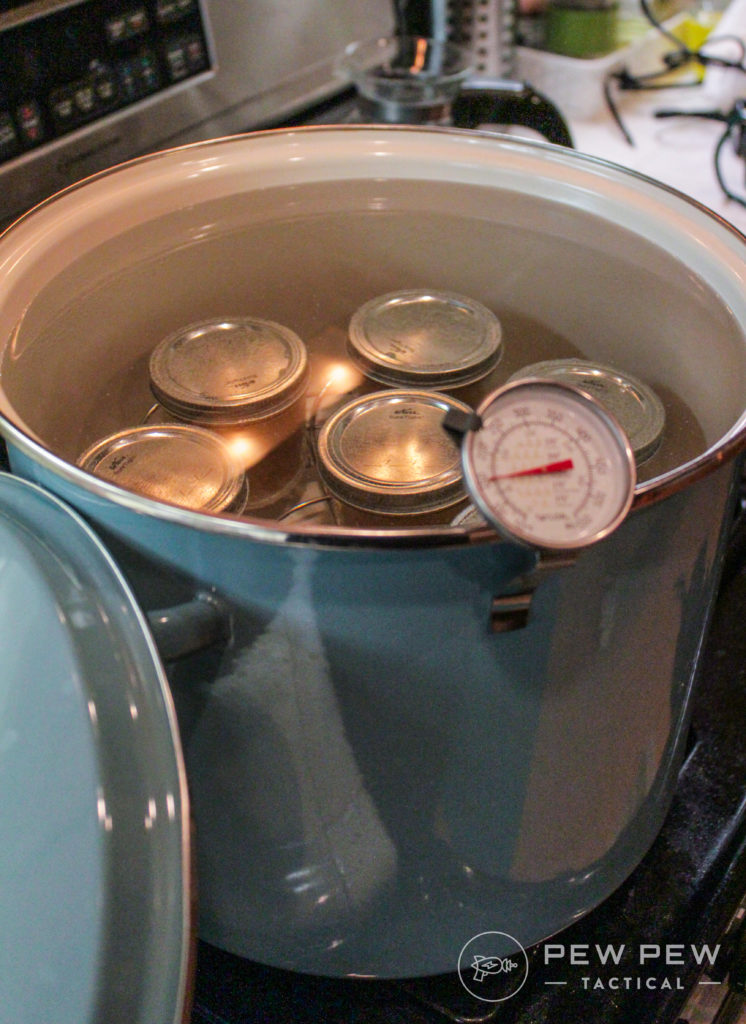
This canning method is recommended for produce and canning recipes, including:
- Fruit
- Jams and jellies
- Salsa
- Tomatoes
- Pickles and relishes
- Chutneys
- Vinegars
Process for Water Bath Canning
- Fill the canner with water like filling a pool for your veggies to dip.
- Preheat the canner while you prep your culinary masterpiece.
- Place filled jars on the canning rack, ensuring they don’t bump into each other. No matter how much canning may make you feel like a rockstar, the water bath is not the place for a mosh pit.
- Submerge the jars in hot water because this will be a hot tub party, not a cool, refreshing dip.
- Bring the water to a boil and start the processing time.
- When the timer rings, turn off the heat and let the jars sit in the canner for five minutes.
- Use the jar lifter to get them out safely.
- Place the jars on a clean towel or cooling rack so they can sit back and relax.
How-To: Pressure Canning
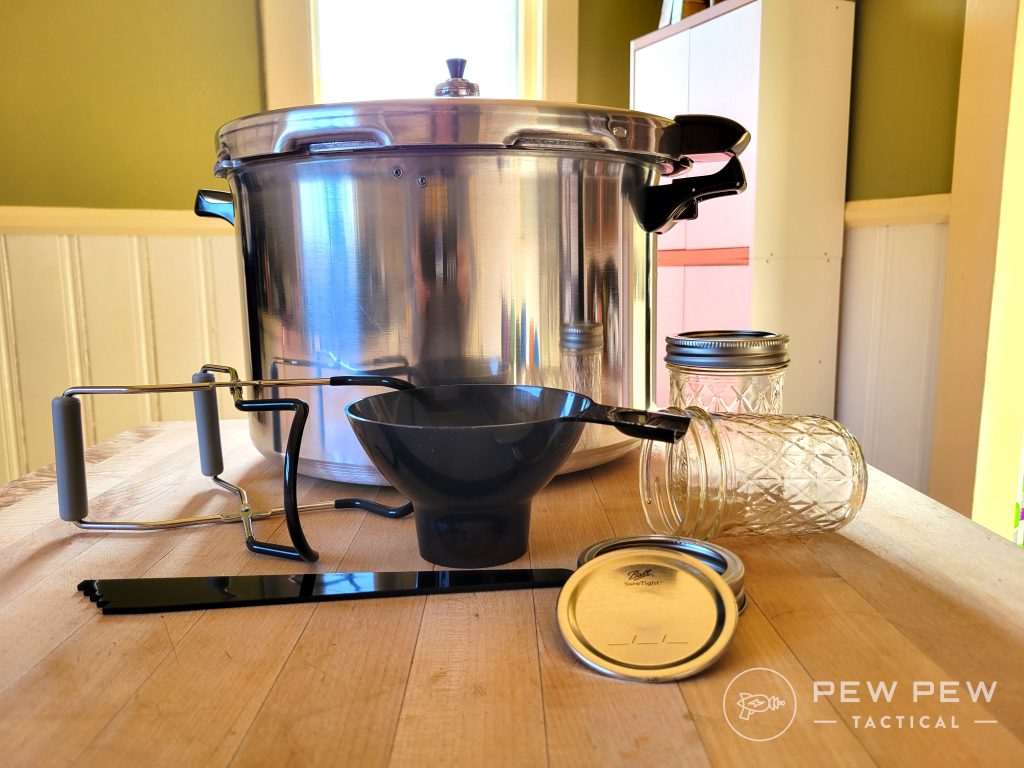
Pressure canning uses pressure to create temperatures well above boiling to heat process low-acid foods effectively. This method uses temperatures higher than boiling water alone to ensure the destruction of harmful bacteria that like to party it up in low-acid environments.
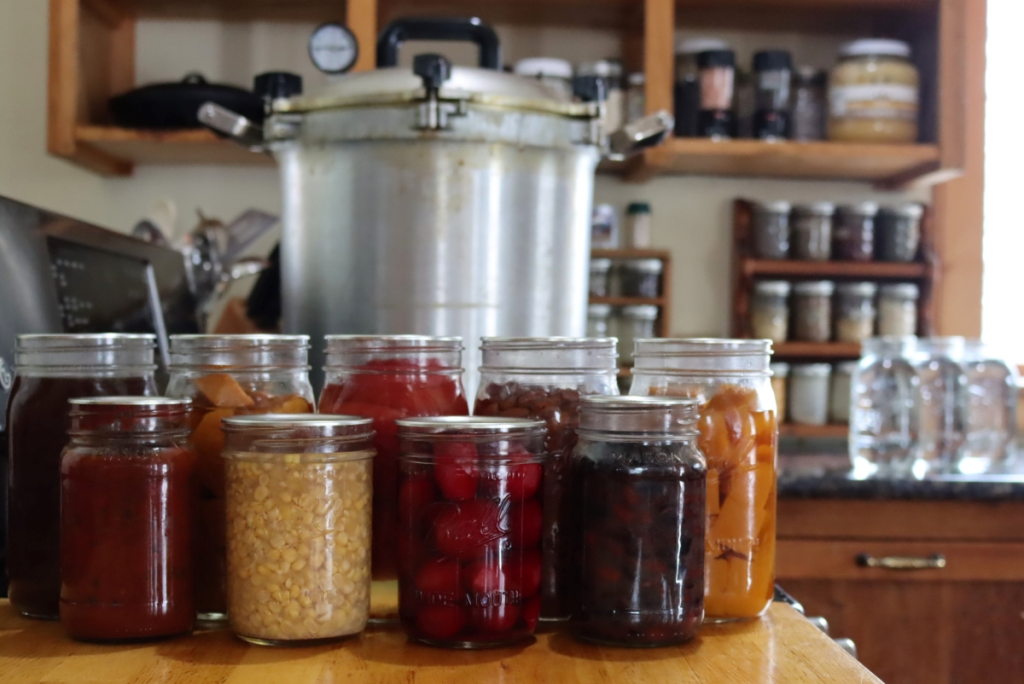
This canning method is best for preserving foods like:
- Meats
- Poultry
- Vegetables
- Chili
- Seafood
Process for Pressure Canning
Note: Feel free to let Queen’s “Under Pressure” be an all-too-appropriate soundtrack for the pressure canning process. Crank it up!
- Add water to the pressure canner.
- Load the jars into the canning rack, ensuring they aren’t touching. Pressure canning requires plenty of elbow room.
- Fasten the lid, and let the steam vent.
- Put on the weight, and get that canner to the pressure sweet spot.
- Start the processing time.
- At the end of the processing time, turn off the heat and let the canner depressurize naturally. The canner is fully depressurized when the dial gauge is at zero, or no steam puffs out when the weight is gently nudged.
- Wait 10 minutes before carefully removing the weight and opening the lid for the big reveal.
- Let the jars sit an additional 10 minutes before using the jar lifter to remove them from the canner.
- Place the jars on a clean towel and let them be. There is no need to cover them with a towel, clean them, tighten the bands, turn them upside down, or touch them in any way for about 24 hours. The lids may make popping sounds, or they might not. Both are okay.
Checking the Seals
After the jars have had plenty of time to rest, it’s time for the moment of truth. Check for seals by pressing down on the center of each lid. A properly sealed jar should not flex or make a popping sound.
If any lids fail to seal, the food inside is still good. It just isn’t suitable for long-term storage. Simply put the unsealed jars in the fridge and use them up first, preferably within five to seven days.
If you’re feeling generous, you can give unsealed jars another shot with a new lid. You just have to put it through the process one more time.
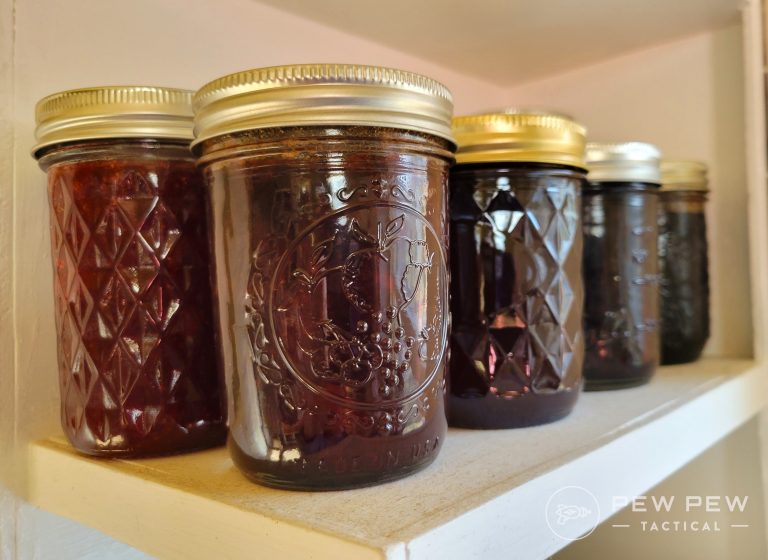
Store your sealed jars in a cool, dark place. Label them with the date and contents before lining them up on those pantry shelves. Always rotate the stock, using up the oldest jars first.
Safety Measures to Minimize Canning Drama
Altitude Adjustment
Higher altitudes can make canning much trickier, even if you aren’t canning on Mount Everest. Adjust processing times for altitude to ensure the destruction of harmful microorganisms. The higher the altitude, the lower the boiling point of water, which can affect the processing time.
Follow the Recipe
Even if you usually like to freestyle in the kitchen, canning isn’t the place to play Mad Libs with food safety. Follow a reputable recipe like it is the culinary Bible, or you could end up with the type of kitchen drama that would turn Shakespeare green with envy.
Final Thoughts
There you have it, folks – the basics of home canning. While this isn’t intended to be an all-inclusive guide to canning anything under the sun, it should be enough information to get you started on your grand canning journey.
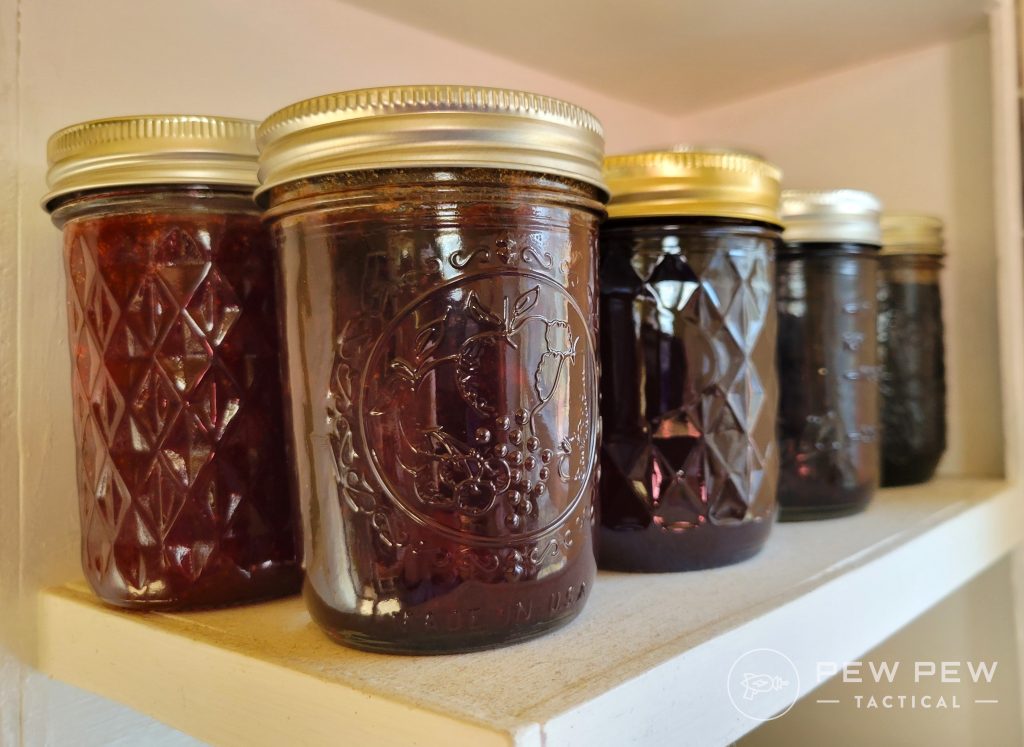
So, grab your jars and apron, crank up the Bluegrass music, and get to work lining those pantry shelves.
Do you have any tips or tricks for those new to home canning? Hit us up in the comments. And if you want the scoop on storing canned goods and other groceries, check out our Long-Term Food Storage: Fresh Food for Survival article.



4 Leave a Reply
Canning is fabulous. If you have not tried it, please do so. It is time consuming. The reward is having food which tastes like you just made it, even though it was canned 3, 6 or 12 months ago. Good article. Good introduction for many people to the world of canning (can’t believe I’m posting this on Pew Pew).
Love these articles!
Check yer local wally world for better prices. If you look around, you can find a 12 count of new jars for around $12 to $15 a dozen. Facebook marketplace often has pressure canners and hot bath pots at a reasonable price. Ask around and you can prolly find someone who will share their experiences with you.
Never expected to see this in a gun site but thank you for doing so. I started canning a few years back to see if I could do it and did. Relatively simply BUT quite time consuming, so don't think its a rush rush process, you'll be glad with the results.