You’re running from 28 Days Later-style zombies deep into the woods. You’ve finally put enough distance between yourself and whatever is out there. But now, it’s time to hunker down for the night.

There’s a bitter chill to the air, and you’ve no supplies worth mentioning.
If you find yourself in a situation where you have minimal gear, you need to know how to get out of the elements.
Lucky for you, the crew at Pew Pew Tactical are here to help with some tips on creating no-paracord, DIY survival shelters that could help you to make it through the night alive.
So, keep reading to learn more!
Table of Contents
Loading…
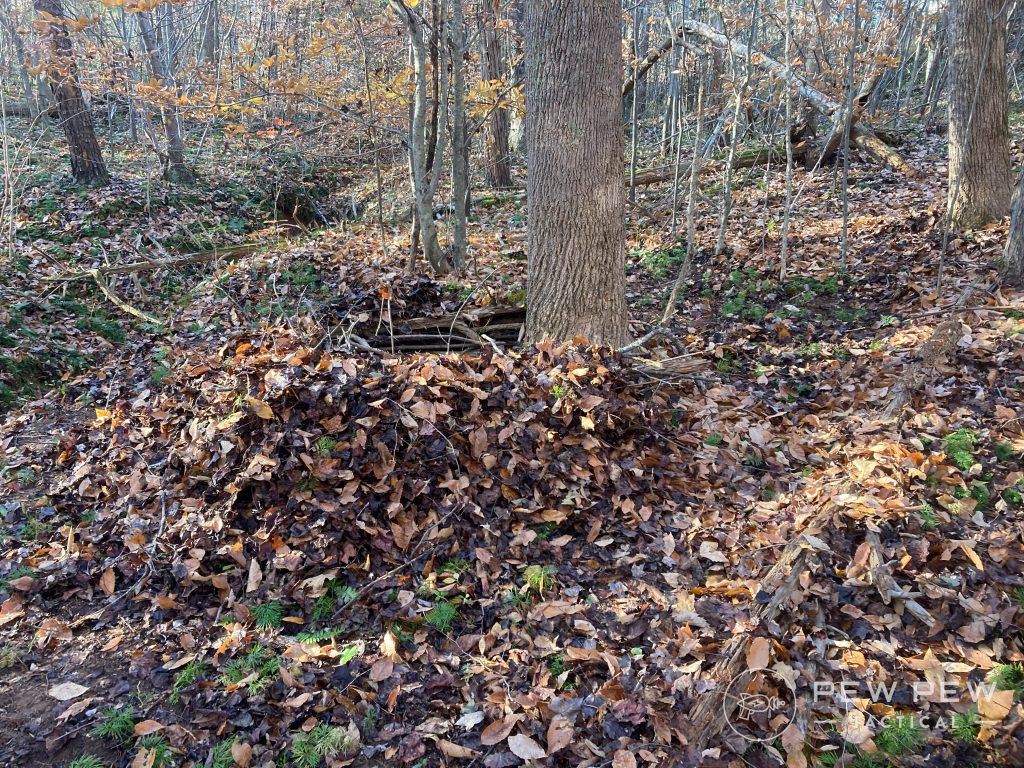
Shelter #1: The Snuggy Box
Starting with the most badass shelter on this list, we have The Snuggy Box.

This is a variant of a shelter I learned from legendary Tony Nester of Ancient Pathways survival school. I highly recommend his courses — which we’ve covered before in our look at the top survival courses in America.
The Snuggy Box is my take on Nester’s Pine Needle Recliner. It’ll keep you nice and, well, snuggly.
If you find yourself in a situation where you don’t have a lot of time to craft anything and are having a hard time finding a good area for a more substantial shelter, this will do.
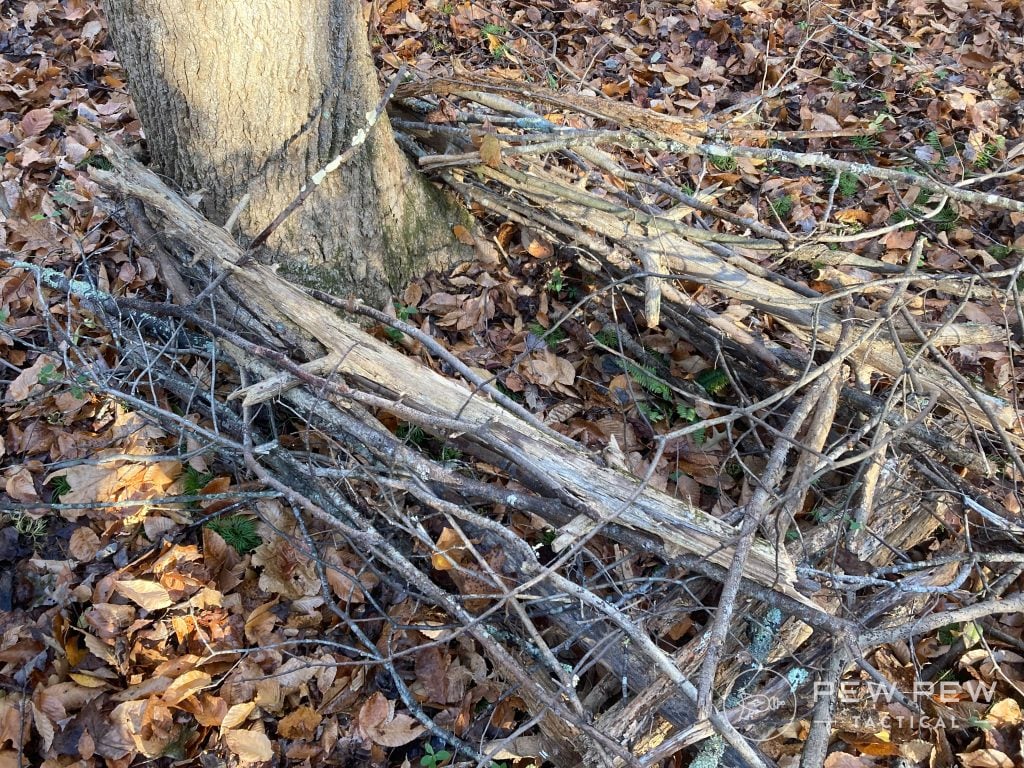
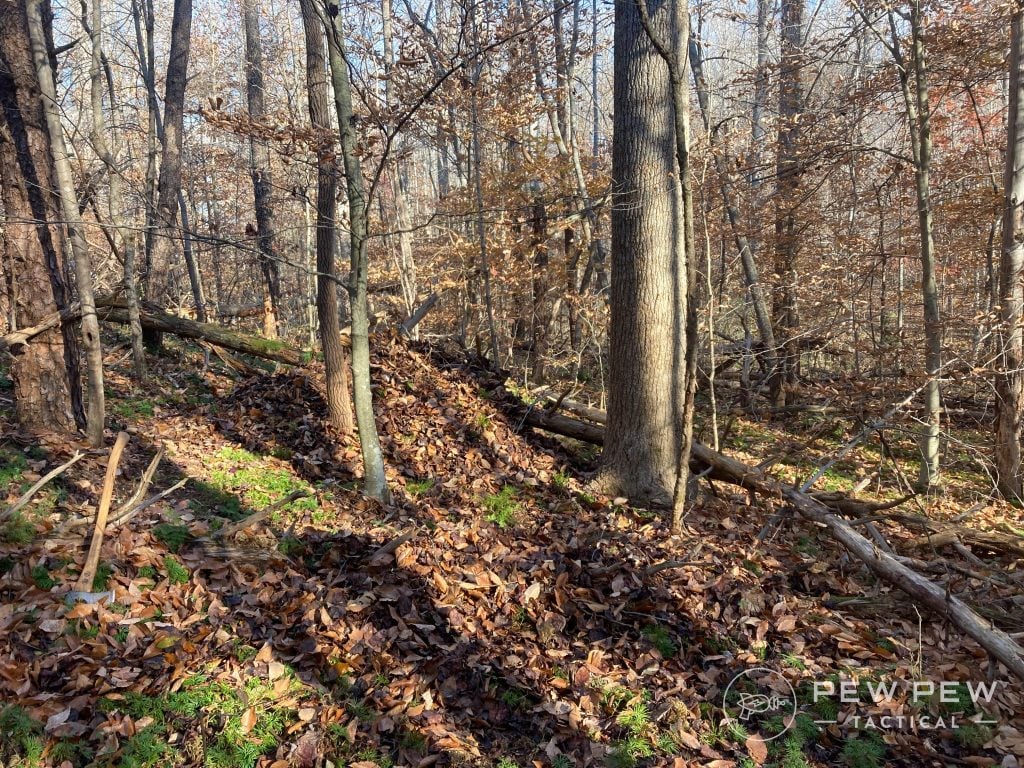
To start, all you need is a nice, hefty tree.
The next step is to build a 3-walled structure long enough for your extended legs to fit in. If I sit inside this box with my back rested against this oak, this works out to be a good length. There isn’t anything fancy to the construction of this.
A simple Lincoln-log build will work just fine. You will see where I’ve used a lot of smaller sticks here as well. These really help with holding leaves in place for the next step.
Once your three walls are built, it’s time to start raking on the leaves. This is my least favorite part of any survival shelter build because it takes forever.
It doesn’t matter if you fashion a branch into a rake, kick together a pile with your boot, or just start grabbing armfuls from the forest floor. There’s simply no quick way to pile leaves onto a shelter.
After 30 minutes or so of gathering leaves, though, you’ll end up with your first layer of insulation against the elements.
Now that the outside of the shelter is covered in leaves — and the more of them there are, the happier you will be — it’s time to start working on the inside of the shelter.
You know how when you camp, you have a sleeping pad under your bag?
The same principle applies to survival shelters. Instead of a $70 thermal pad, you’re going to opt for 2+ feet of leaves.
I even pile them up against the backrest (the tree). This will help insulate you against the heat-sapping ground at night and also help to give you a little bit of cushion against the bark.
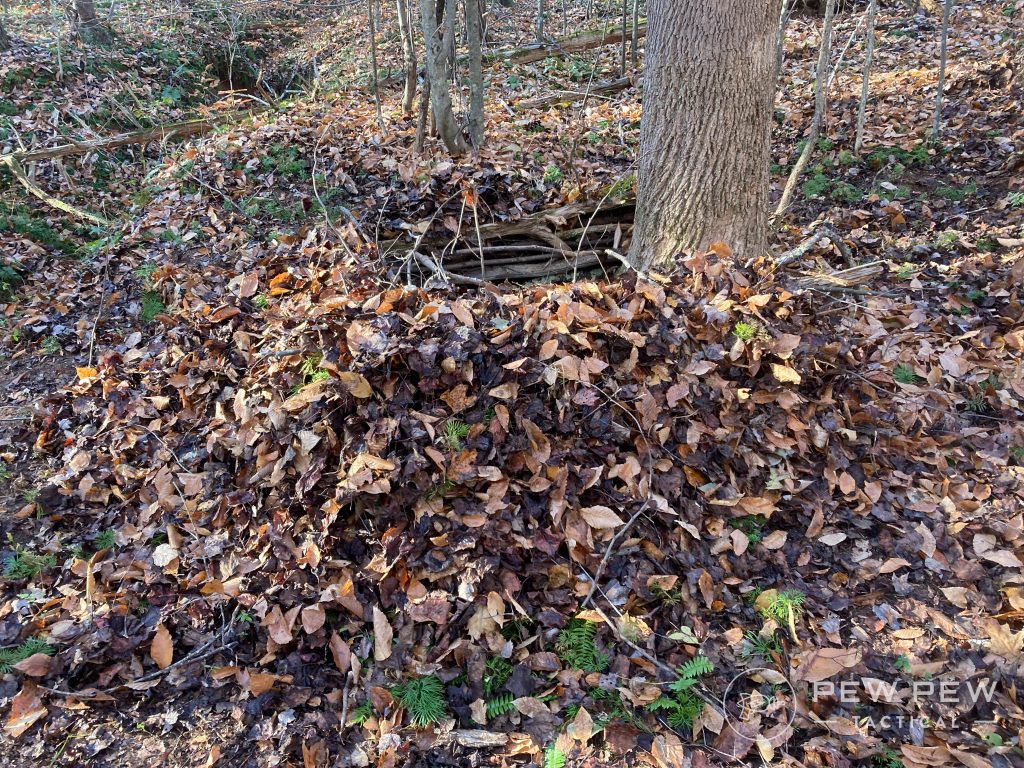
Pile up plenty of leaves at the top of the sides of your shelter as well so that once you nestle yourself into The Snuggy Box, you can rake those leaves on top of your body. Only your head should stick out of the leaves.
You’re going to feel something like Major Pain’s brussel sprouts, but this will help to keep you from freezing to death.
From a distance, this shelter looks like a large mound of leaves. Not a great shelter for an escape and evasion (E&E) scenario, but it is a way to stay somewhat warm at night.
Just remember that the more leaves you add here, the more protected from the cold you will be.
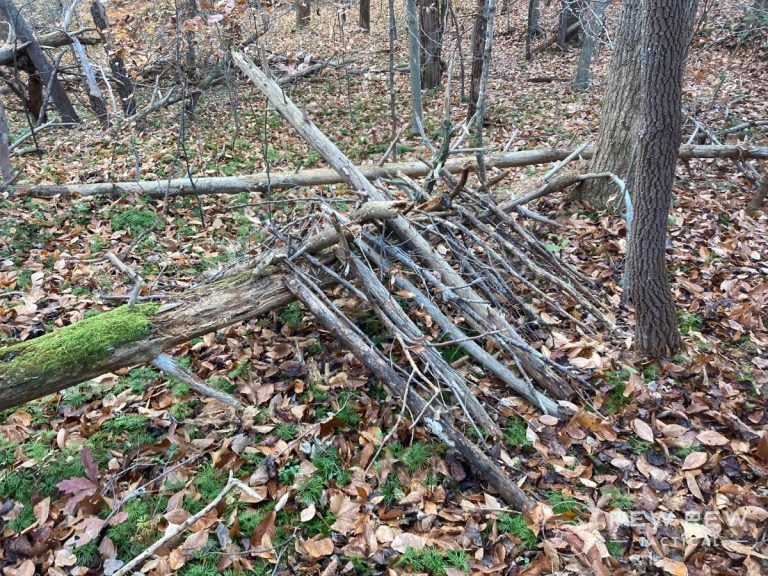
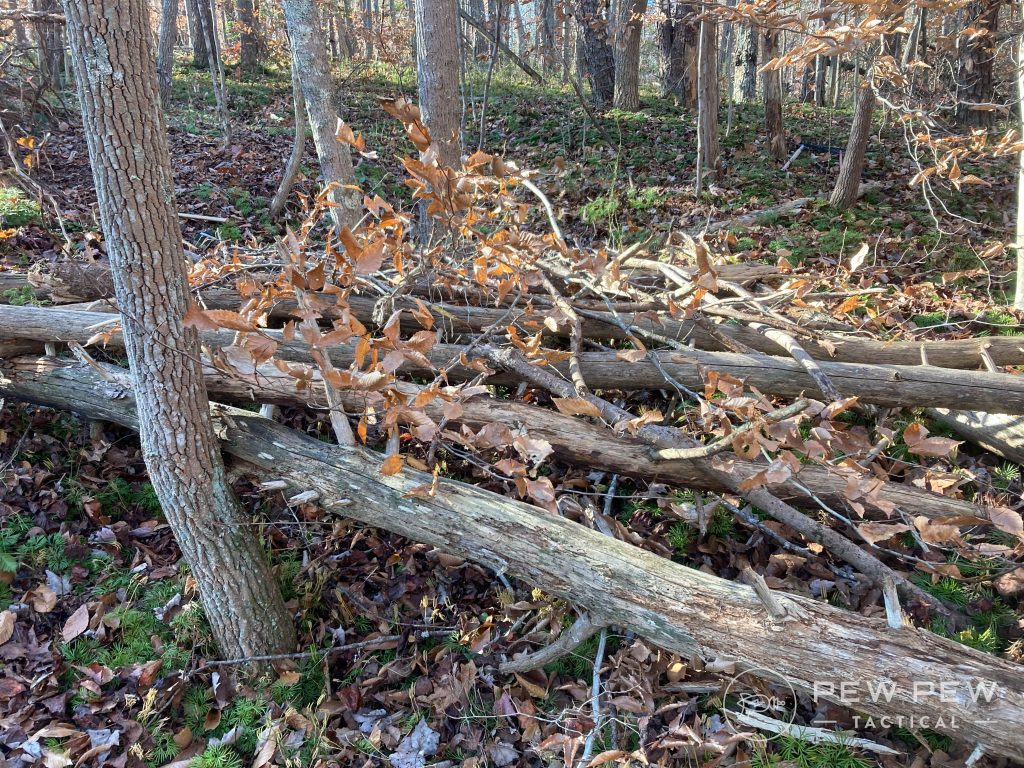
Shelter #2: The Fallen Tree
This is a classic survival shelter that’s simple to make and will get your head out of the rain (unlike The Snuggy Box). It offers a bit more protection from the elements than The Snuggy Box as well.
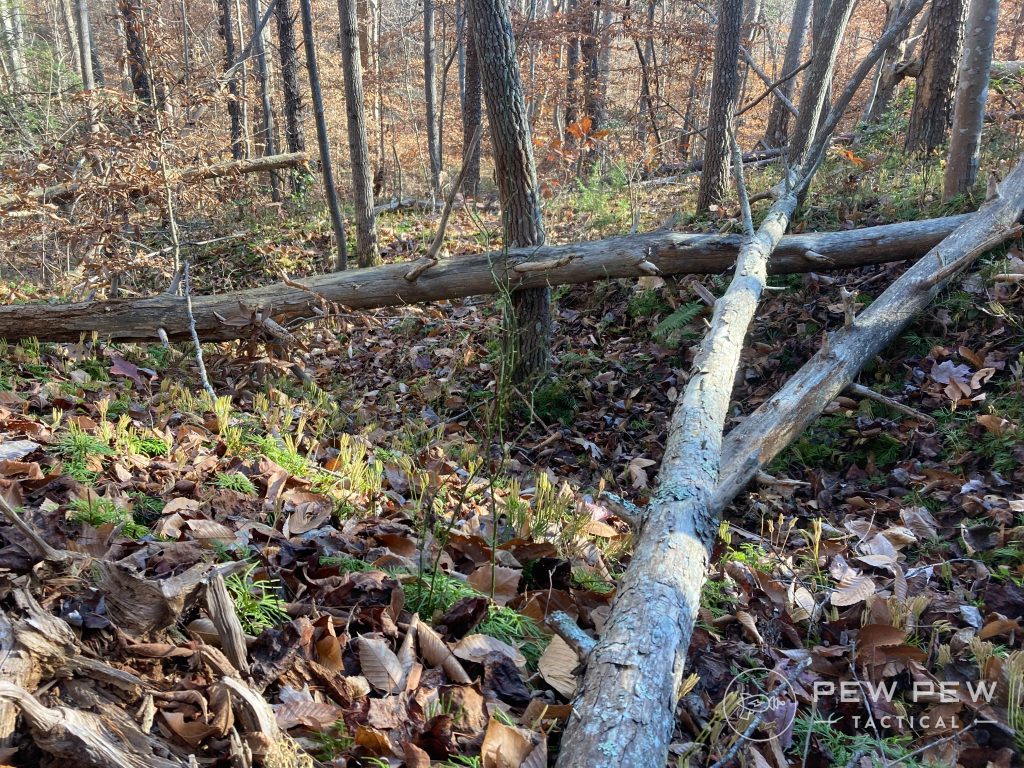
To start, you need to find a fallen tree with enough room for you to lay underneath it.
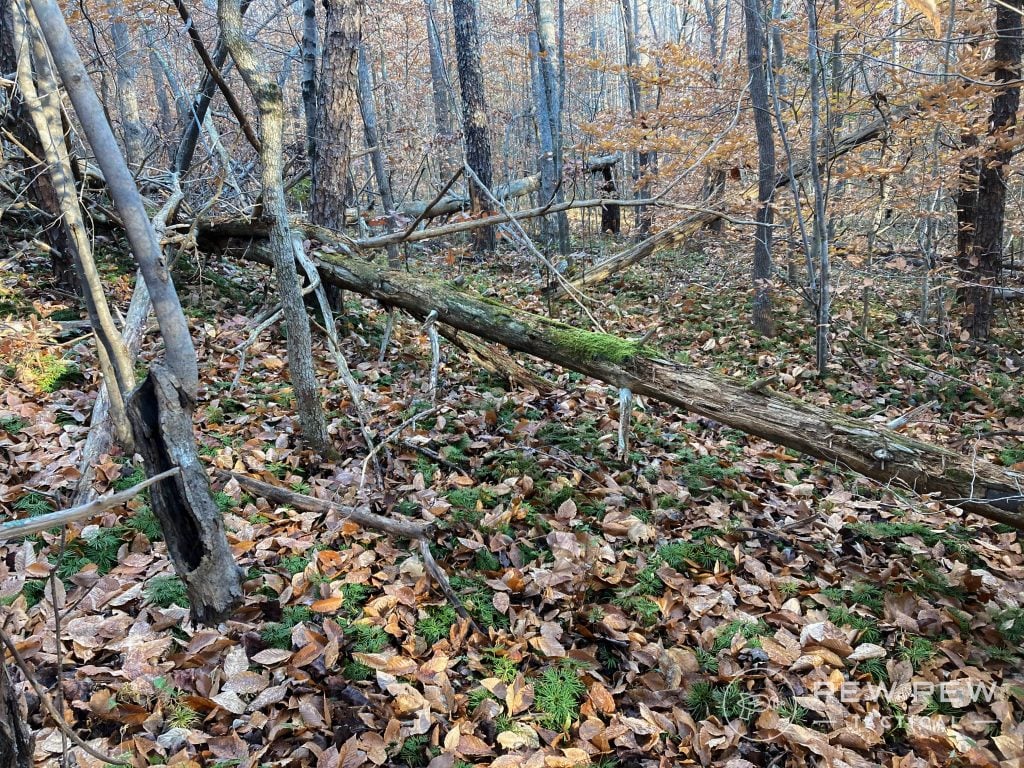
Ideally, you would want to find something a bit fresher than this. Just remember that punky logs equal sleeping with the spiders and the snakes. Personally, I’m not a huge fan of that.
Given that it’s freezing where I’m at right now, I’m not as concerned about such.
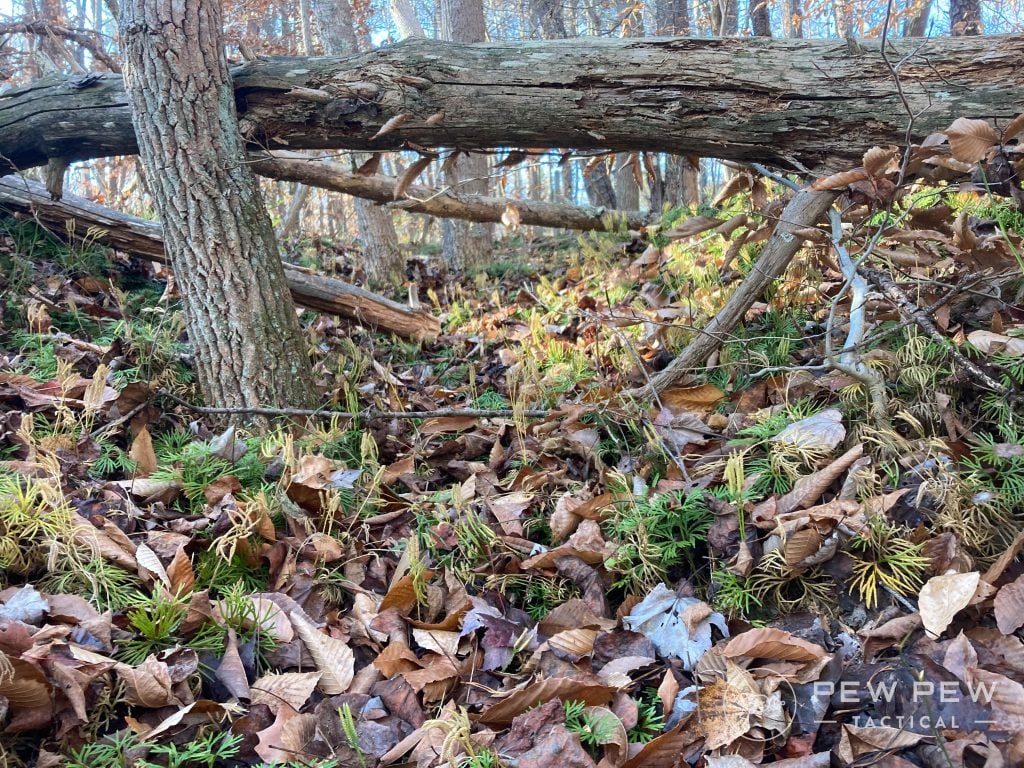
To start, lean as many sticks against the fallen tree as you can. It will result in a nice A-frame structure. I use bigger sticks for the base layer and then put sticks to better catch the leaves on top.
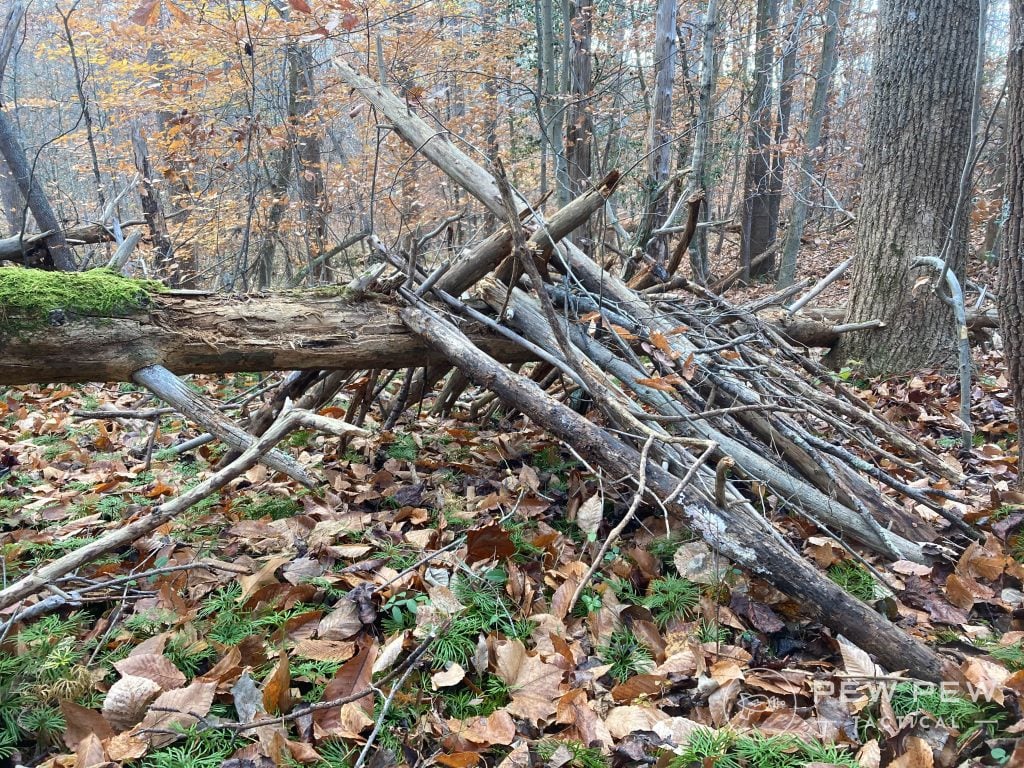
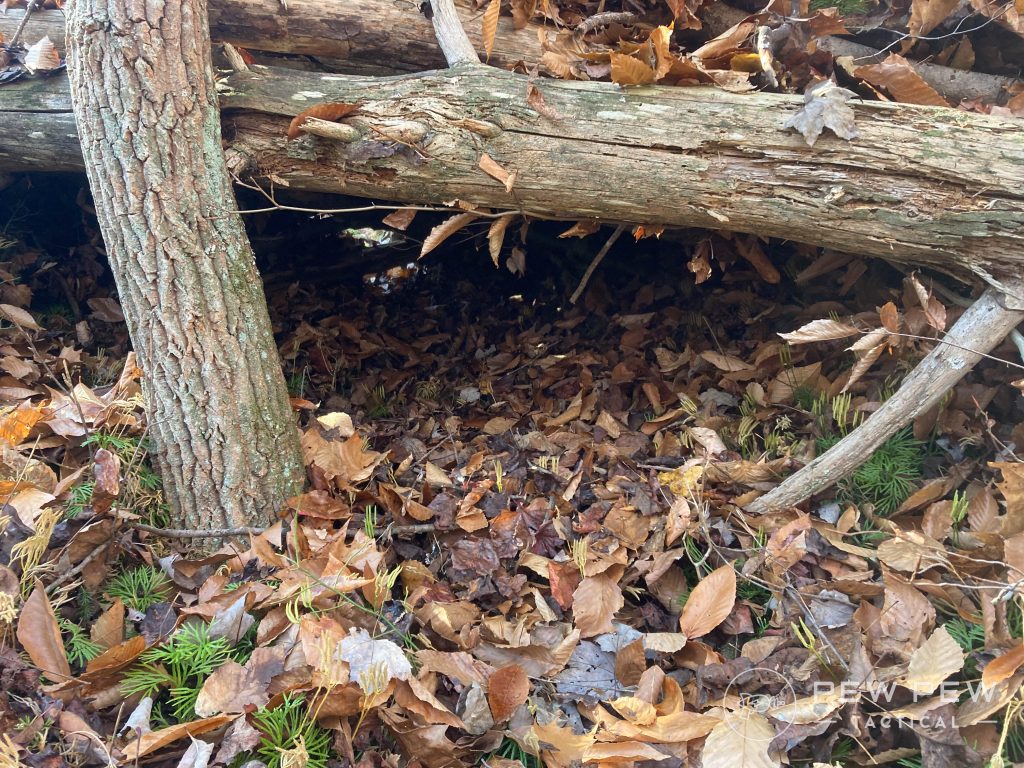
If you take a look underneath, you can see that this is a very snug shelter. There’s not a lot of room to move about once you’re inside.
But the less airspace that’s inside your shelter, the less air your body is going to have to warm up.
By purposefully keeping the airspace within a survival shelter to a minimum, we don’t have to worry about losing as much body heat as we would otherwise.
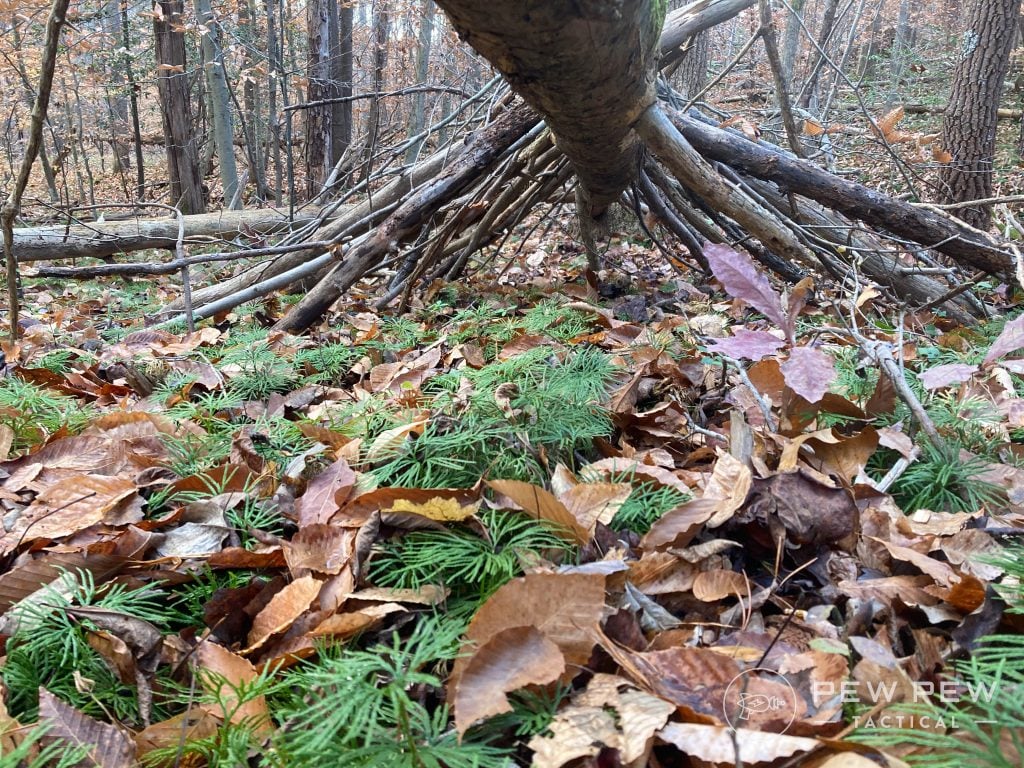
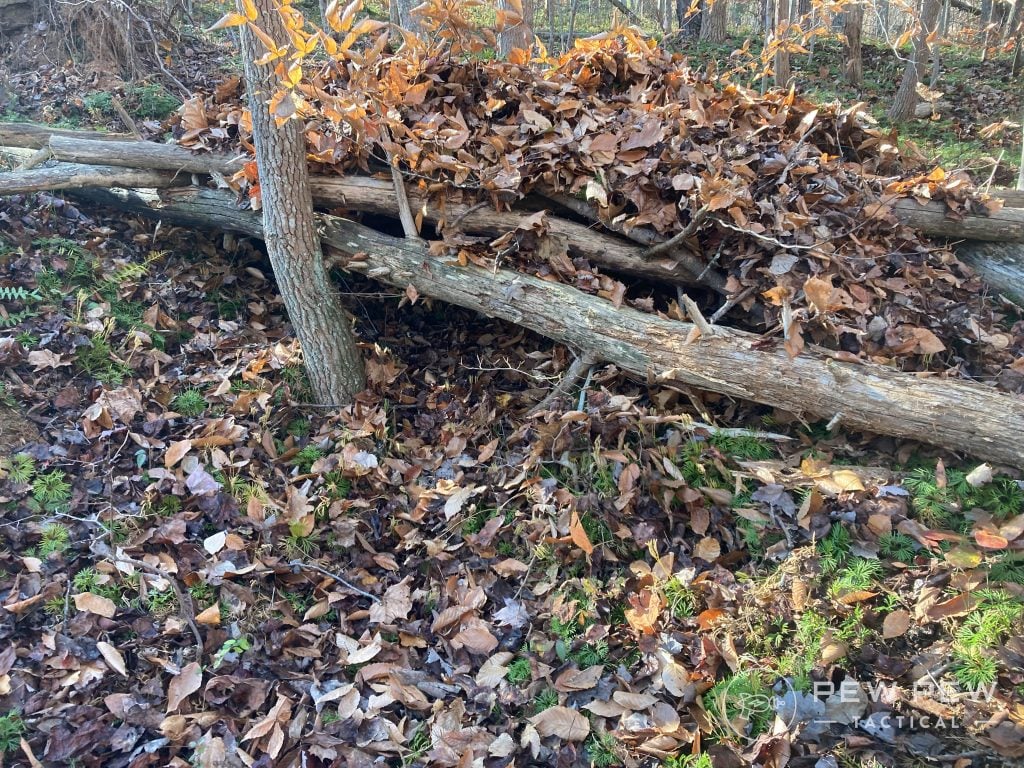
Once this has been accomplished, begin the dreaded task of gathering up leaves.
Again, we’re going to want to throw in plenty of leaves to form a barrier against the cold ground here.
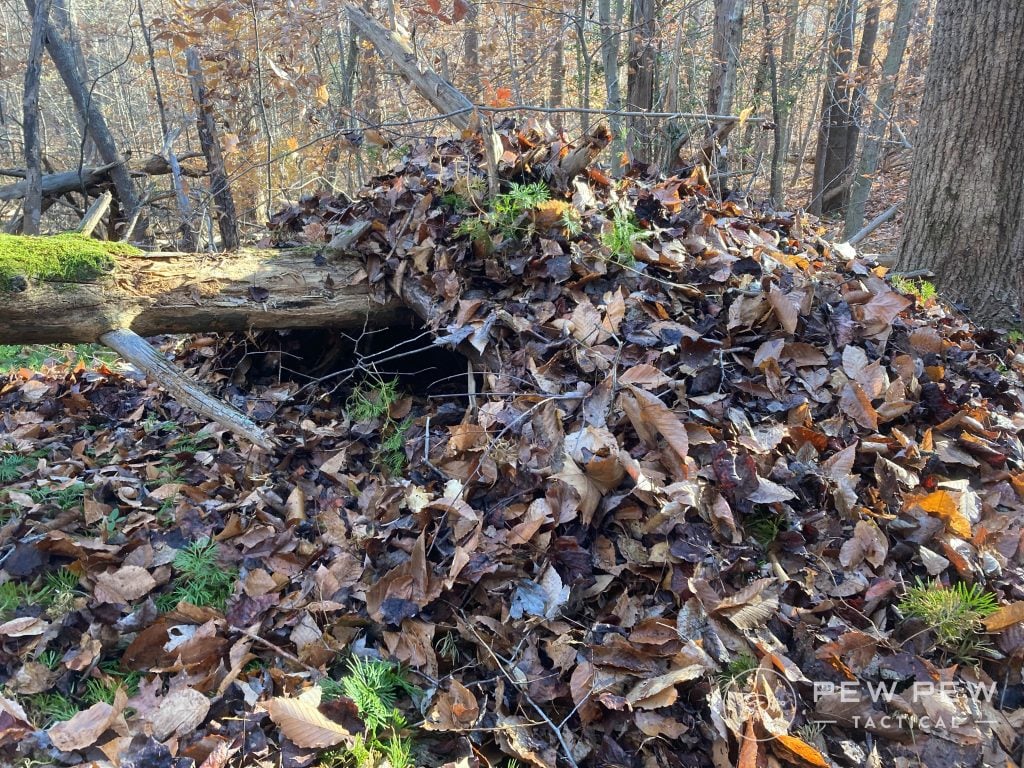
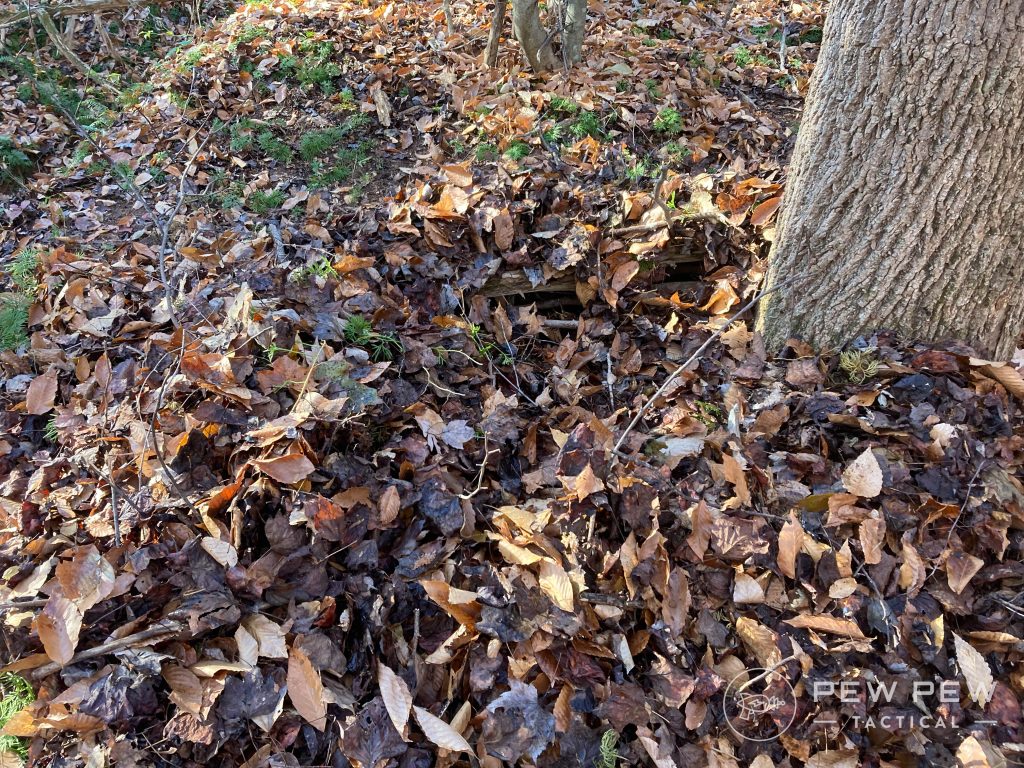
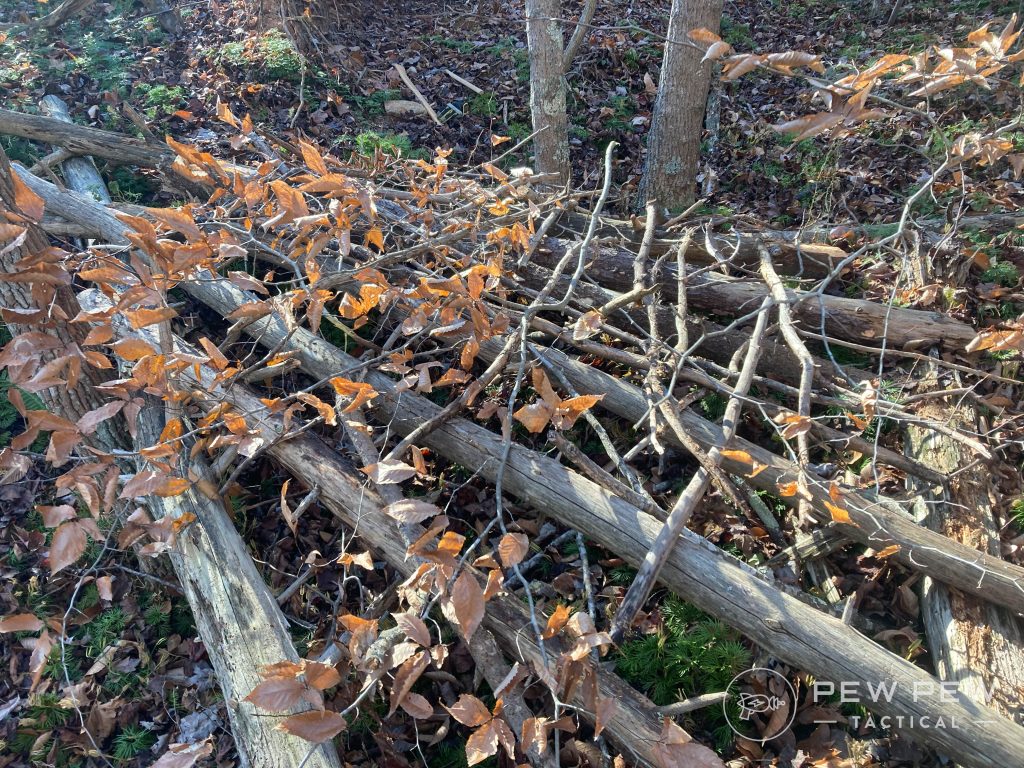
If we take a step back, we can see that this is a much more camouflaged shelter than The Snuggy Box. I would much rather choose this type of shelter for escape and evasion.
I believe it has a more natural appearance to it than does the unwieldy Snuggy Box and disappears into the background better.
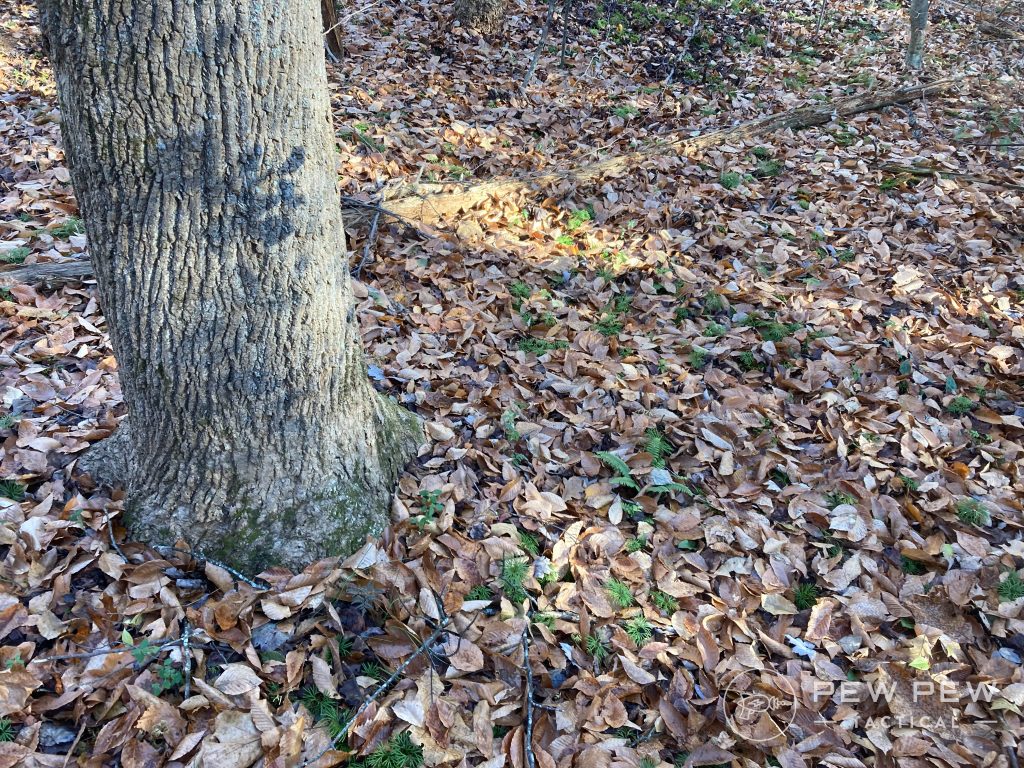
Shelter #3: The Hobbit Hole
If you’ve got a bit more time to work with, and perhaps numerous people running away from zombies with you, then you may want to consider The Hobbit Hole.

To start with this one, you’ll first need to find a depression in the ground of some sort — but, remember, avoid dried creek beds. Should it rain in the middle of the night, there’s a very good chance you’ll soon find yourself in the middle of running water.
Being wet and cold is a recipe for hypothermia/death. We’re trying to stay alive, so let’s avoid that.
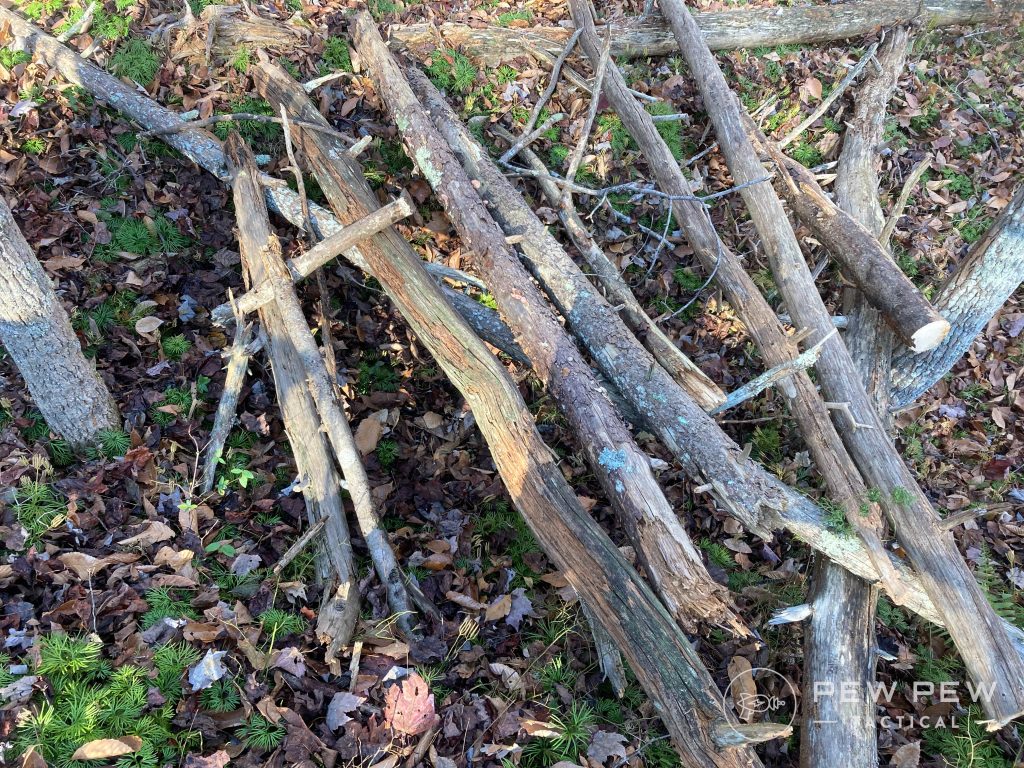
Start by dragging over as many large, fallen logs as you can.
Slowly, you’ll start to see the Hobbit Hole coming together.
Next, layer on twigs and sticks to better catch the barrage of leaves to follow.
My least favorite step comes next — gathering the leaves.
With a shelter this big, it takes a ridiculous amount of time to gather the necessary leaves to keep everything well insulated.
Many hands make light work, so if you have plenty of people that are getting in this thing, you’ve got that in your favor, but just keep that in mind if this is a solo endeavor.
Don’t forget to layer the leaves on the inside of the shelter as well.
With a bigger depression, you could easily make this into a shelter you can sit up in, but, again, you have to consider how much air you’re going to have to heat up at that point as well.
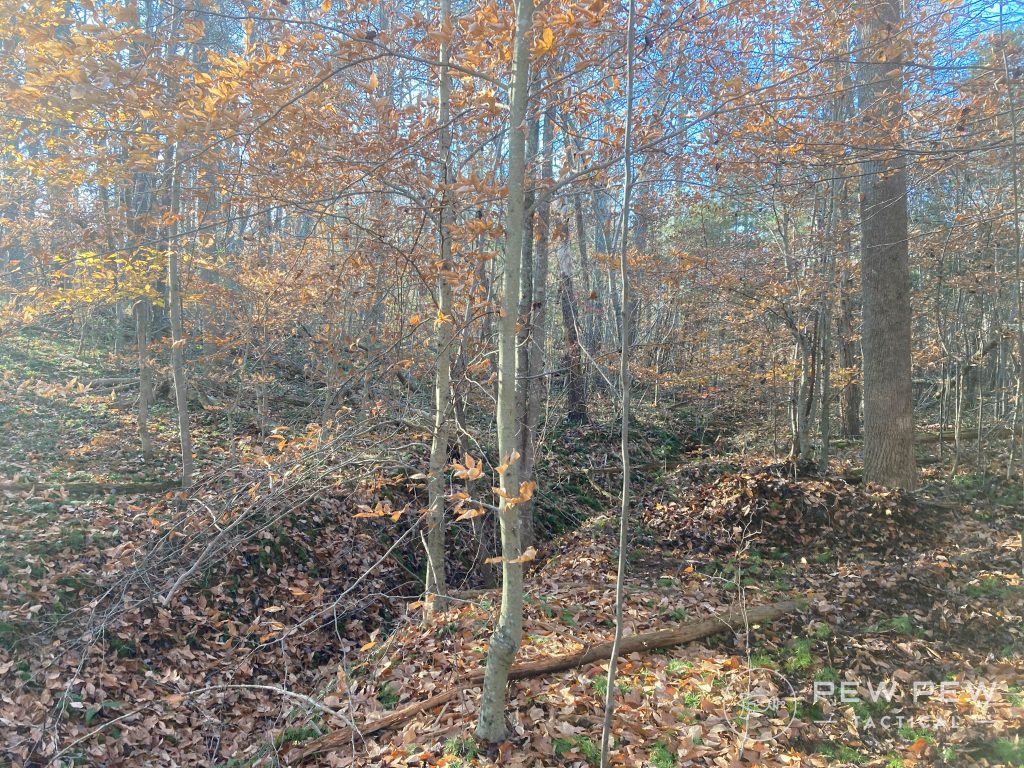
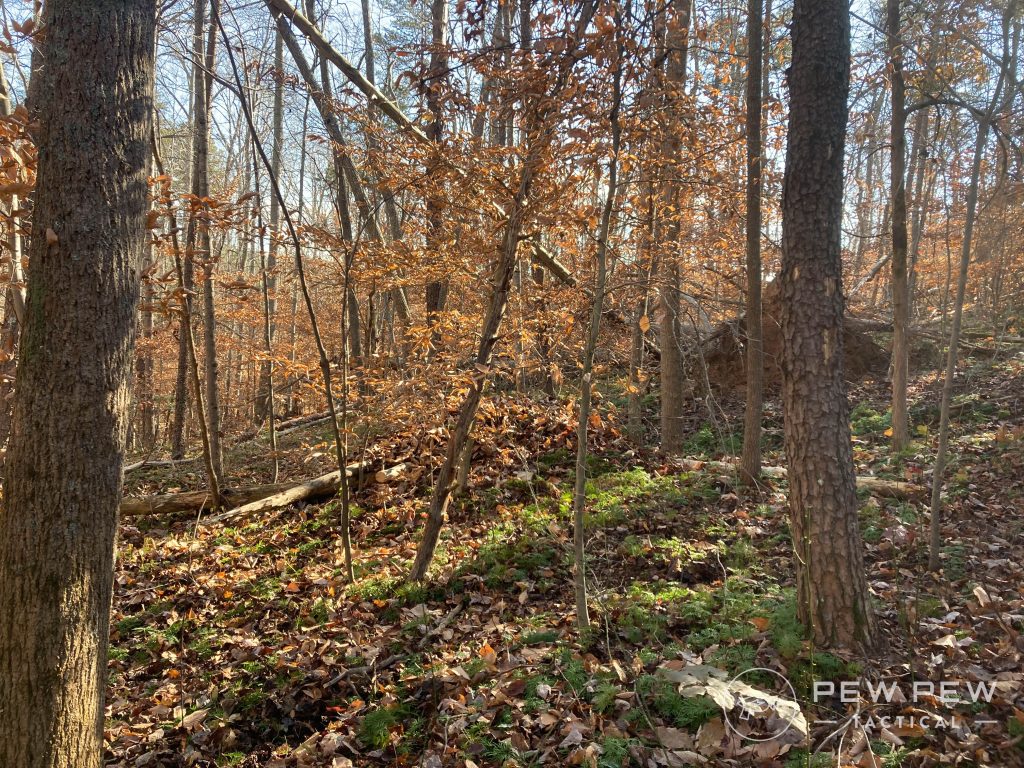
You’ll notice that from a distance, this is a superb E&E shelter. From 20 yards out, it simply looks like a part of the forest floor.
Just keep in mind with any E&E shelter, though, that it’s rather suspicious if there’s an absence of leaves in the vicinity of a gigantic pile of leaves in the woods.
The leaves for this one were gathered from the bottom of the hill and then carried up to cover everything. I’m planning on using this for a deer blind.
Final Thoughts
A survival situation is no laughing matter, particularly if you find yourself out in the middle of the woods without any gear. However, I’ve found that one of the best tools that you can have on your person is knowledge.
If you’ve taken the time to read other peoples’ accounts of what works, what doesn’t, and what can be a creative fix, you’ll be better prepared to MacGuyver whatever obstacle lays in your path.

Hopefully, these three no-paracord builds will help to give you some ideas as to what is possible when Mother Nature threatens her worst.
Are there other no-paracord shelters that deserve a mention? Let us know in the comments below! For more information on bushcrafting (using the tools around you), check out the 5 Essential Bushcraft Skills You Should Know.


6 Leave a Reply
I suppose in the desert stacking up cactus in a running bond pattern might work. Use Joshua for the rafters and add some tumble weed. Or, pile up stones. Of course, like anywhere, something might move in with you.
Overall, good article, not enough of this is discussed - even on hunting blogs. And no, paracord, while certainly the cool kid cordage since 9/11, isn't necessarily the better tool. Try jute twine - it's a natural fiber, cheap, works easily, biodegradable, and in a perfect color for the environment. It's also a good fire tinder and a small bundle is easy to carry.
It's what we used BEFORE paracord and with a view to reusing the site. It won't be so prone to salvaging by a passerby after the season is over and when blinds/stands are required to be removed.
Given a deer blind can be prepared in advance, one thing to do is plant brush around the site in a manner that contributes to it's shelter and construction. But that's a lot more involved.
Shelter is one thing but need to whip up something to use as a ground barrier.....
They mentioned piling leaves on the ground as insulation in all three shelters.
I prefer to cut open a cow and crawl inside.
I thought they smelled bad… on the outside!
And of course, of you are stuck in scrubby desert areas.. you can kick your self for not running from zombies in a wooded area where you will have the materials to build these shelters