
Top 5 Mantis Drills: Dry Fire Is Fun!
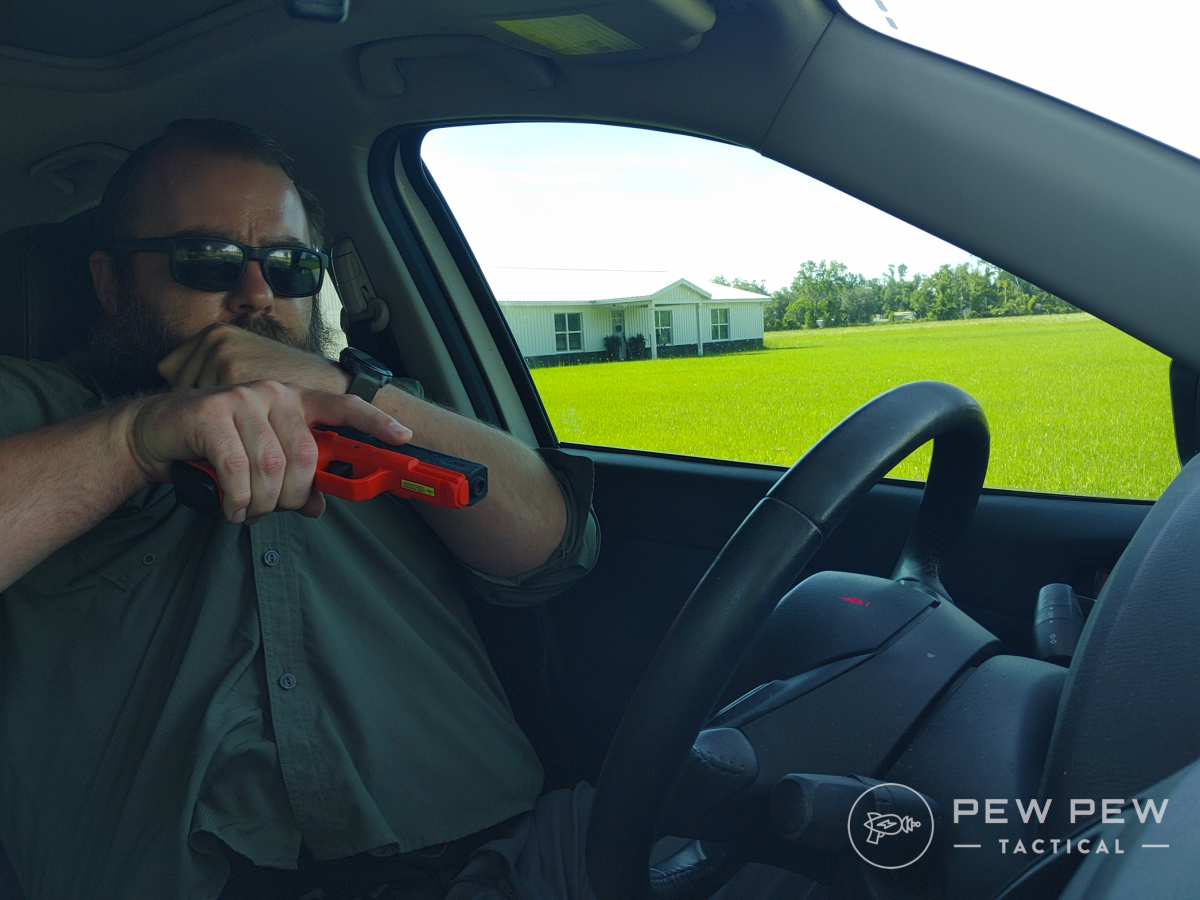
The Mantis TitanX is a powerful training tool. Here’s how to get the most out of it with fun, practical drills.
We review products independently. When you buy through links on our site, we may earn a commission to help support our testing. Learn more.
Of all the ways I’ve improved my shooting, few are more effective than these five Mantis dry-fire drills.
Dry fire is only as boring as you make it. There are tons of skills you can learn and refine through dry fire, and it can be a whole lot of fun!
Here are five drills you should be working on. If you have other suggestions, drop a comment at the end of the article so we can all train together!
Table of Contents
Trending: Best AR-15s, Best Pistol Red Dots, & Ammo in Stock
Mantis Dry-Fire Training Tools: The Gear You Need
The Mantis TitanX is an inert training pistol that houses both a Mantis sensor and a laser system with a reset trigger. It doesn’t simulate recoil, but it lets you take shots as fast as you can pull the trigger, see where the shot would have landed, and track data with the Mantis app.
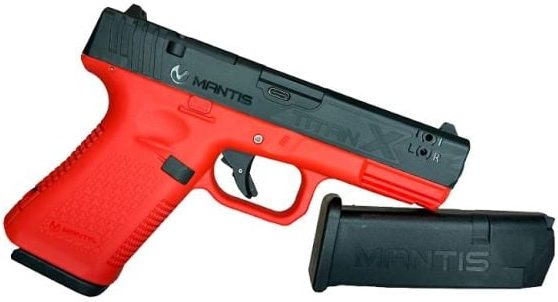
Check out our Mantis TitanX review to see it in action!
The Mantis Blackbeard is a drop-in bolt-and-battery system that converts your AR-15 into a laser-firing dry-fire tool that also automatically resets your trigger. It works with the real carbine or pistol you actually shoot!
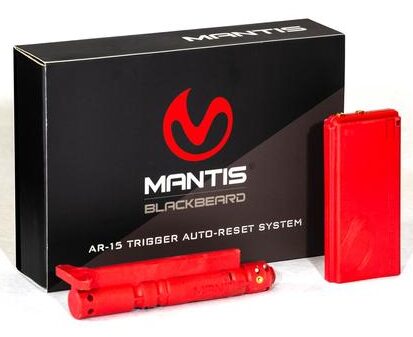
Want to learn more? Head over to our Mantis Blackbeard review!
These two pieces of gear changed the entire dryfire experience for me. Not only do they provide feedback and improve training efficiency, but they also unlock unmatched training potential due to two different features:
Safety: Live ammo cannot be used with these systems. Additionally, the constant, always-on laser design allows you to track exactly what your muzzle is covering, providing real-time safety feedback.
Feedback: These laser firing systems provide target-based feedback. Normal dry fire feedback comes entirely from the shooter, but with the TitanX and Blackbeard, you can see where your virtual shots land.
Additionally, there are two Mantis apps that provide feedback via the trigger pull and target. You can dig into all the data, find things you need to improve, and track your progress over time.
Top 5 Mantis Dry-Fire Drills
1. Drawing Inside a Vehicle
We all have to practice drawing from a holster. Usually, we do it from a basic standing position.
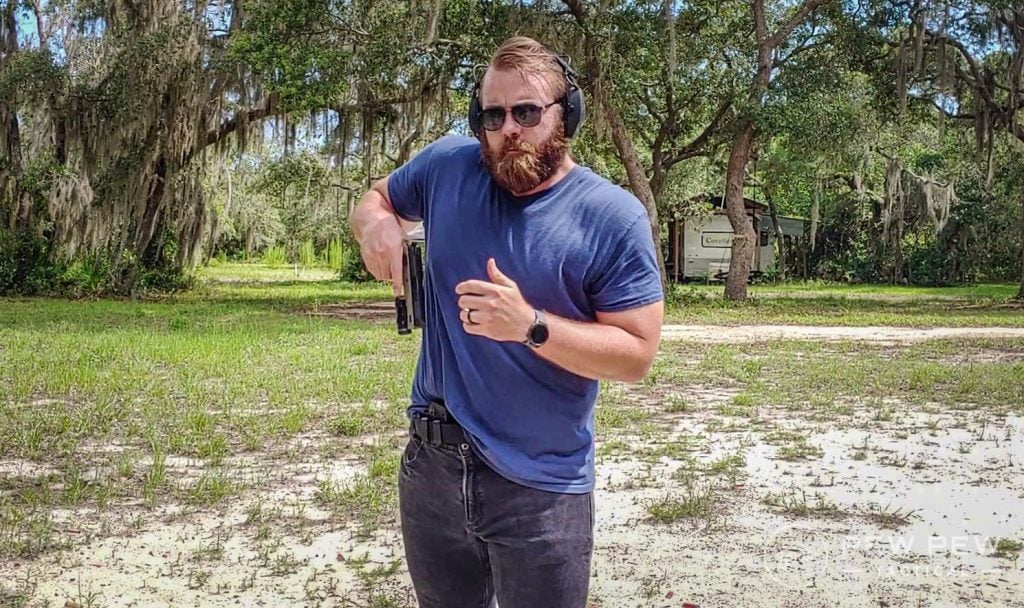
That’s absolutely necessary, but in our lives, we do a lot more than just stand facing a target. We might be seated – in a vehicle, even. With as much time as Americans spend in the car every day, shouldn’t we be capable of drawing our firearm from the driver’s seat?
Yes, if we can drive away, we drive away. But if you’re forced to draw a gun inside a vehicle, you don’t want it to be your very first attempt. With the TitanX, you can safely practice drawing from inside a vehicle and aiming at the target.
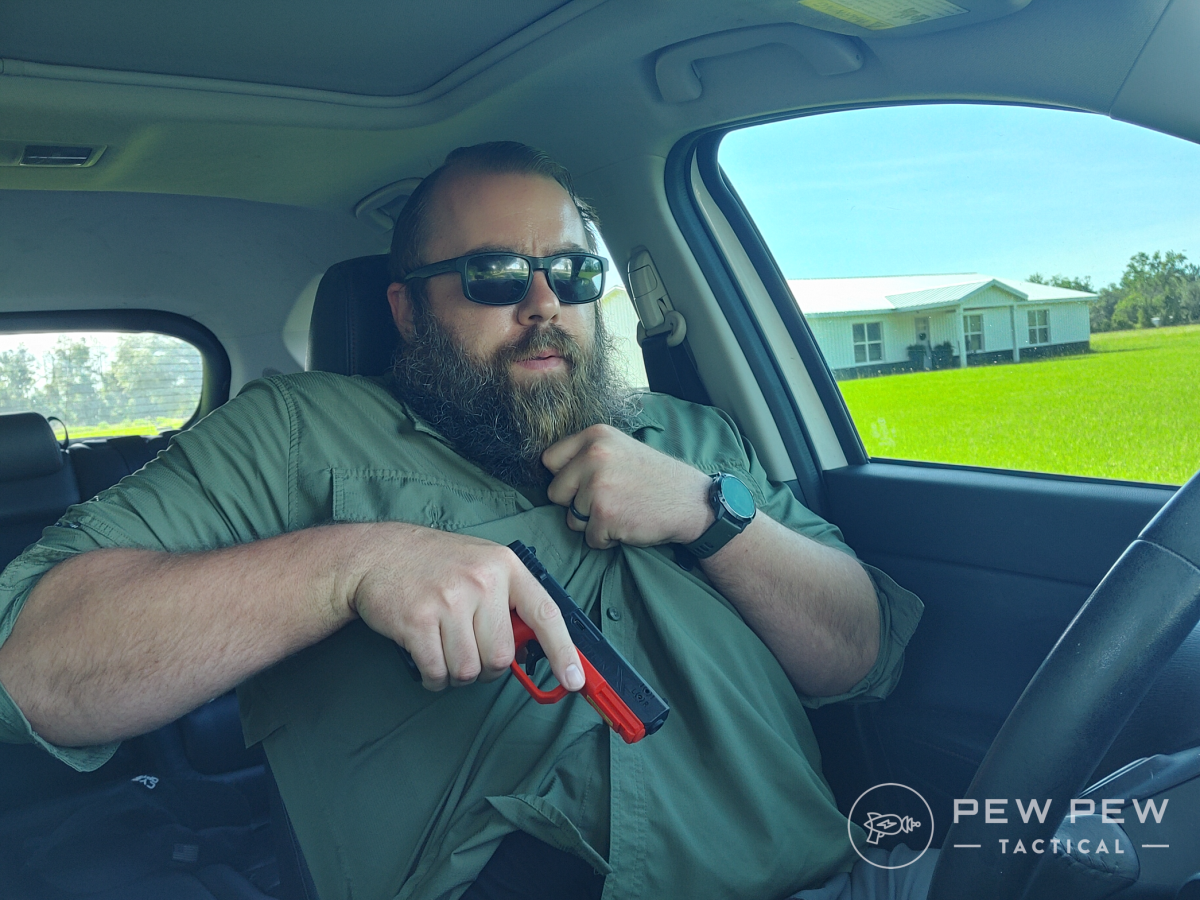
Depending on how you carry, you may have to lean a bit in one direction or another to clear your holster, but you’ll still want to be efficient in your movements, get a good grip, and draw quickly without a good presentation.
In a vehicle, what we have to deal with is the steering wheel, the seat belt, and limited presentation space. Additionally, if you have passengers, you are all stuck in a close environment. This opens up opportunities to flag yourself and others as you draw.
This is where the TitanX comes into play. You can set a mode to keep the laser on at all times, making it easy to see where your muzzle is pointing.
Note where the gun is pointing as you bring it to presentation, and adjust as necessary to refine our draw and maintain safe handling.
How to Practice Drawing Your Pistol Inside a Vehicle With Mantis
To practice this drill, start by drawing your firearm as efficiently as you can, and take note of anything that gets in the way – clothing, your seatbelt, the steering wheel, you name it. Drawing a firearm in an Escalade is a lot easier than drawing inside a Smart Car. It’s hard to know what will get in your way until you try it for the first time.
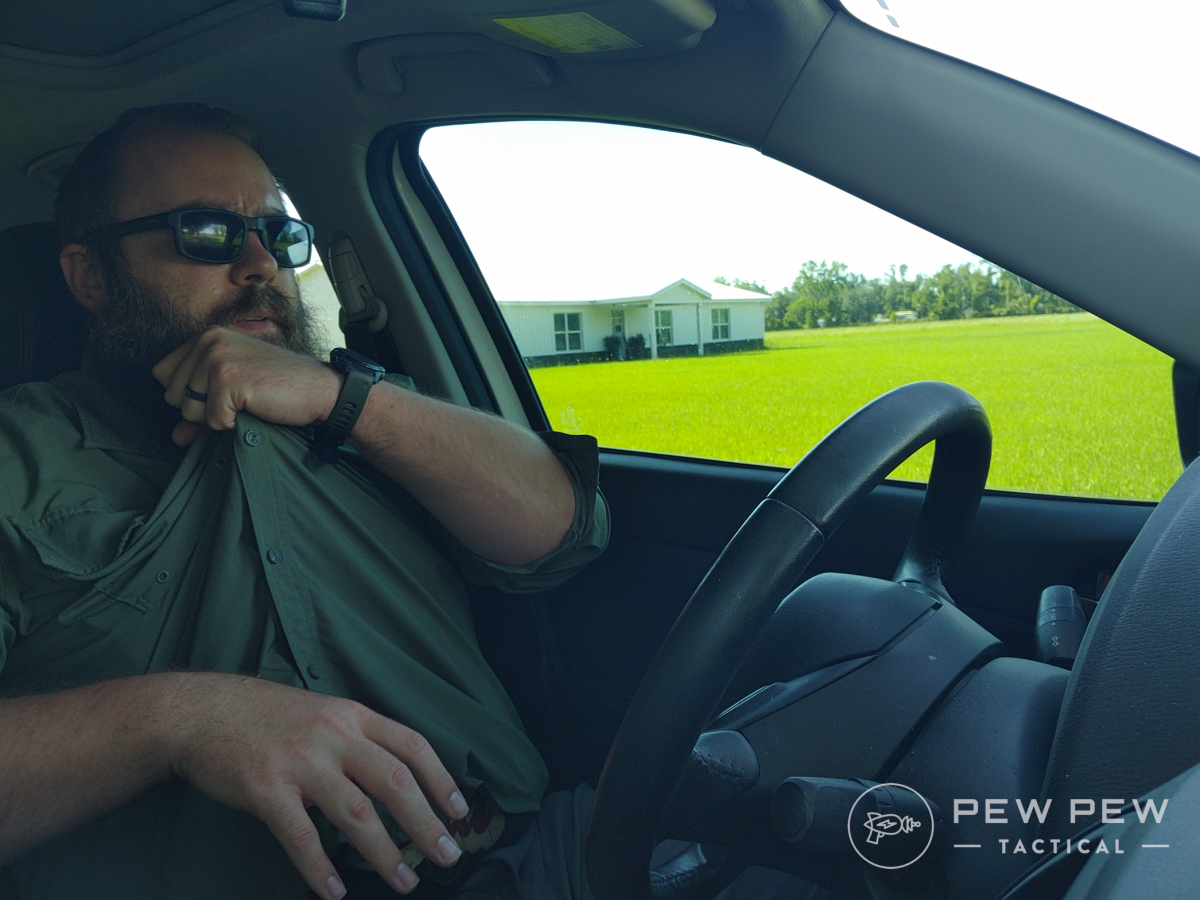
My draw looks something like this:
- Hands on the steering wheel
- On the signal, the right hand goes to the gun, and the left hand grips the cover garment
- Defeat the cover garment and grab the gun
- Draw the gun while orienting to the threat
- Come to full extension
As you practice, make adjustments and use the laser to remind you of exactly where you’re pointing the gun. Getting the gun up is half the battle; where you point it is the other half.
In a vehicle, you realistically have three places to point a gun. Left, right, and forward. Pointing forward tends to be easy. Pointing to the left is difficult when you’re the driver, and pointing right is difficult when you’re in the passenger seat.
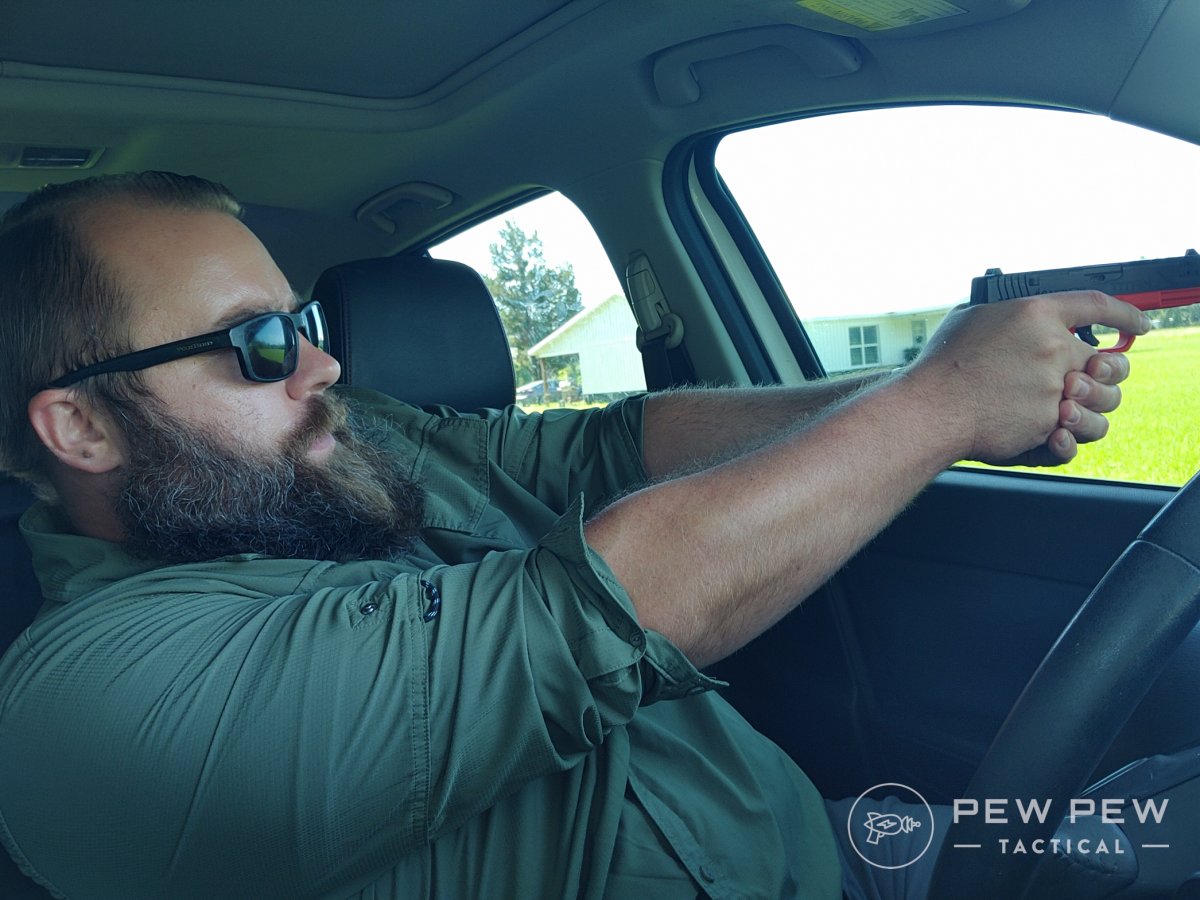
That pesky window gets in the way of your reaching full extension, so you may need to shift your entire body to the left or right to come to full extension. Don’t waste time rolling the window down.
Throw your body against the center console and come to full extension. Practice slowly, making each move purposeful. Add speed a little bit at a time, always observing what the laser covers.
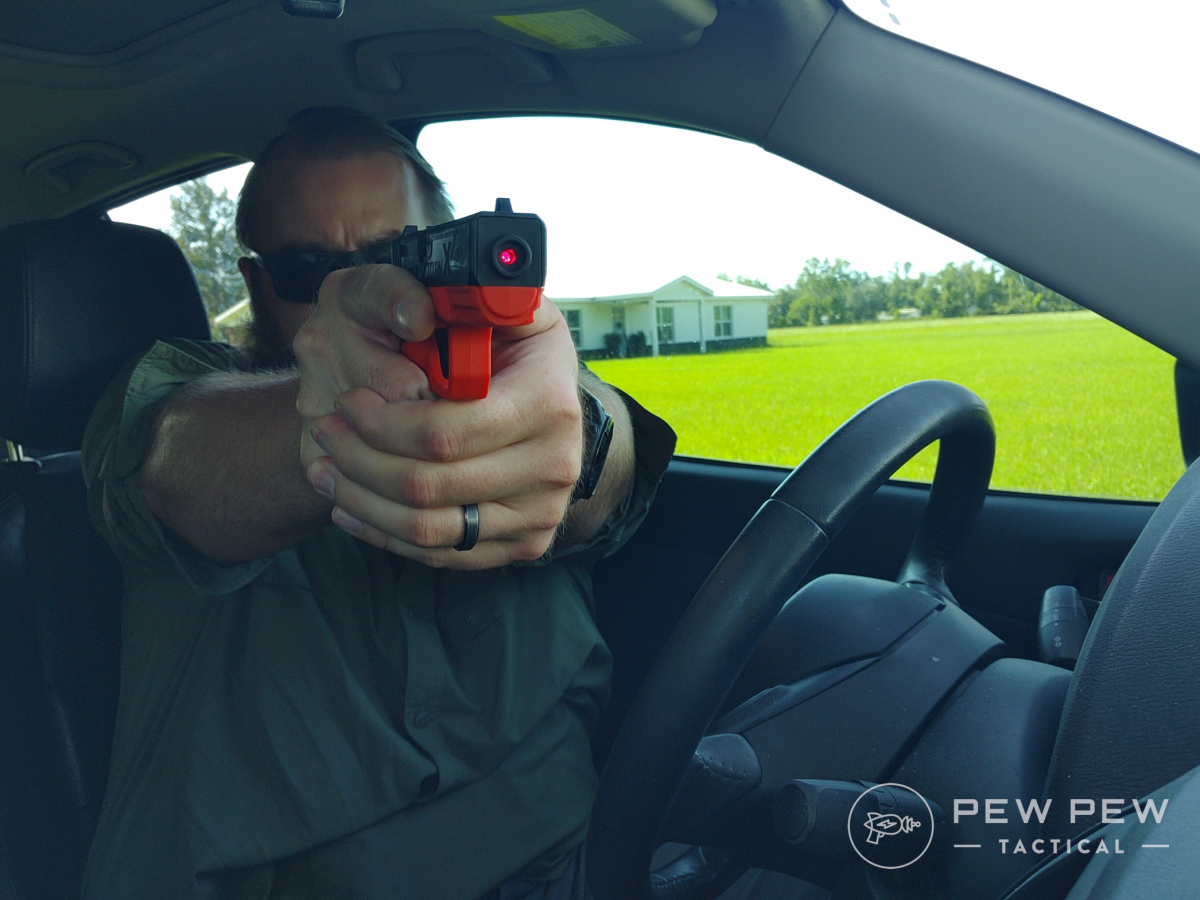
Once you feel confident, add a timer, and try to get faster and smoother until the motion is second nature. Then switch it up; practice from every seat in the vehicle, find the hidden intricacies of the movement, and refine them. Keep that laser on and learn how to draw without flagging yourself or someone else.
2. Close Retention Training
In the event someone is nearly on top of you before you can draw your gun, you’ll need to revert to a position called close retention. This can take different forms depending on your training method, but the Craig Douglas method is my favorite. Craig Douglas, of ShivWorks, is the premier close-quarters combat instructor.
In a close retention situation, there will likely be limbs everywhere, movement, adrenaline, and more. This isn’t something you can figure out in the heat of the moment – you have to train. Practicing with live ammo should be done under the watchful eye of a skilled instructor.
This is where dry fire and the TitanX come in. It’s perfectly safe, and we can turn the laser on to actively observe where the gun is pointing the entire time. For this drill, you’ll need a target that’s approximately the height of a person.
The Best Gun Deals, Coupons and Finds
Subscribe to Pew Pew Tactical's sales and deals email.
How to Practice Close Retention Shooting With Mantis
With close retention, our goal is to draw and engage without giving the threat an opportunity to grab the pistol. The golden rule is that a gun in play is everybody’s gun.

To make sure it stays in your hands, keep it close to your body.
In a situation where the attacker is on top of you, your support hand will likely be engaged with the threat – trying to keep them away from you, blocking blows, etc. Practice this way, with your support hand engaging the target.
Draw your TitanX and keep it tucked close to your body. I pin my wrist against my pectoral, pushing in against my chest. Pull your elbow back and up with your shoulders until you feel tension in the middle of your upper back. It’s not comfortable, but it’s locked in, and the gun stays pointed down.
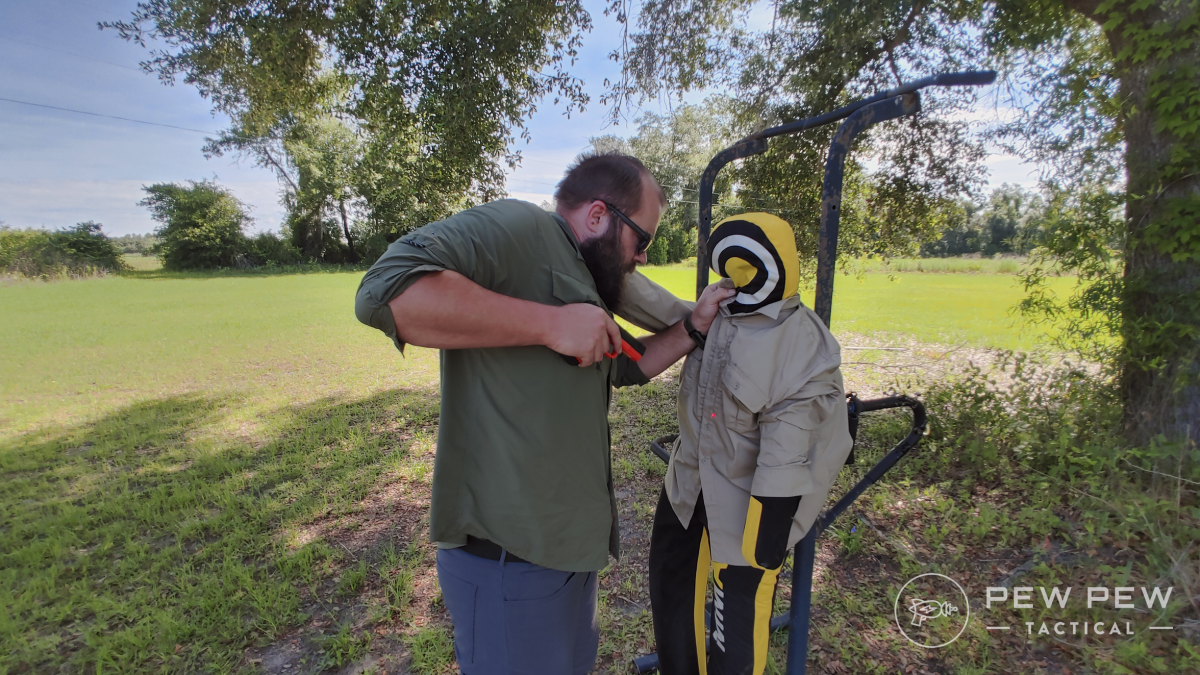
This is important because you’ll be point-shooting rather than aiming. If the muzzle is pointing down when you fire, you reduce the chances of striking an innocent bystander with a miss. You’re sacrificing precise shot placement in the pursuit of risk mitigation.
More than likely, an attacker will be dismayed by shots to the stomach and groin enough for you to break contact. Practicing breaking contact and retreating is a valuable part of close-retention shooting.
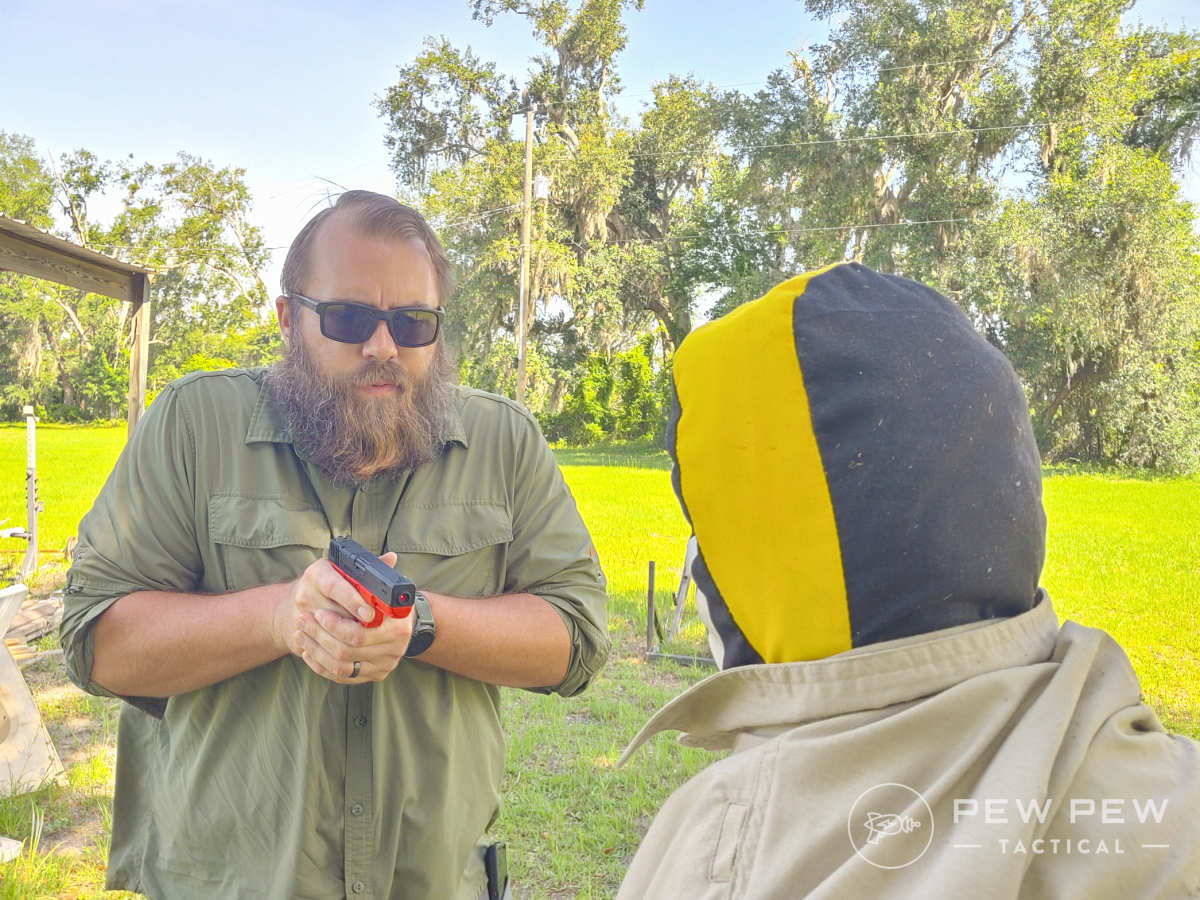
Step back, presenting the pistol as you’re able. When you take one step back and create room, you can transition into a normal shooting stance with the pistol in front of your body.
3. Transition Drills
Call of Duty got one thing right: transitioning to your secondary firearm is faster than reloading in many cases. Like anything, you can get better and faster at this with practice.
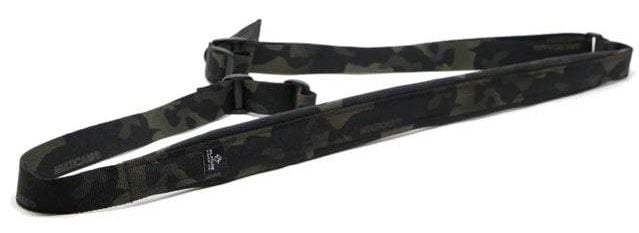
Transition drills allow us to use the Mantis Blackbeard and TitanX together. Your rifle will need a sling, and your TitanX needs a holster.
How to Practice Transition Drills With Mantis
Start with the rifle shouldered. What I typically do is fire a Bill Drill into a paper A-zone target on the wall (painters tape for the win). After the sixth round, I transition to my pistol.
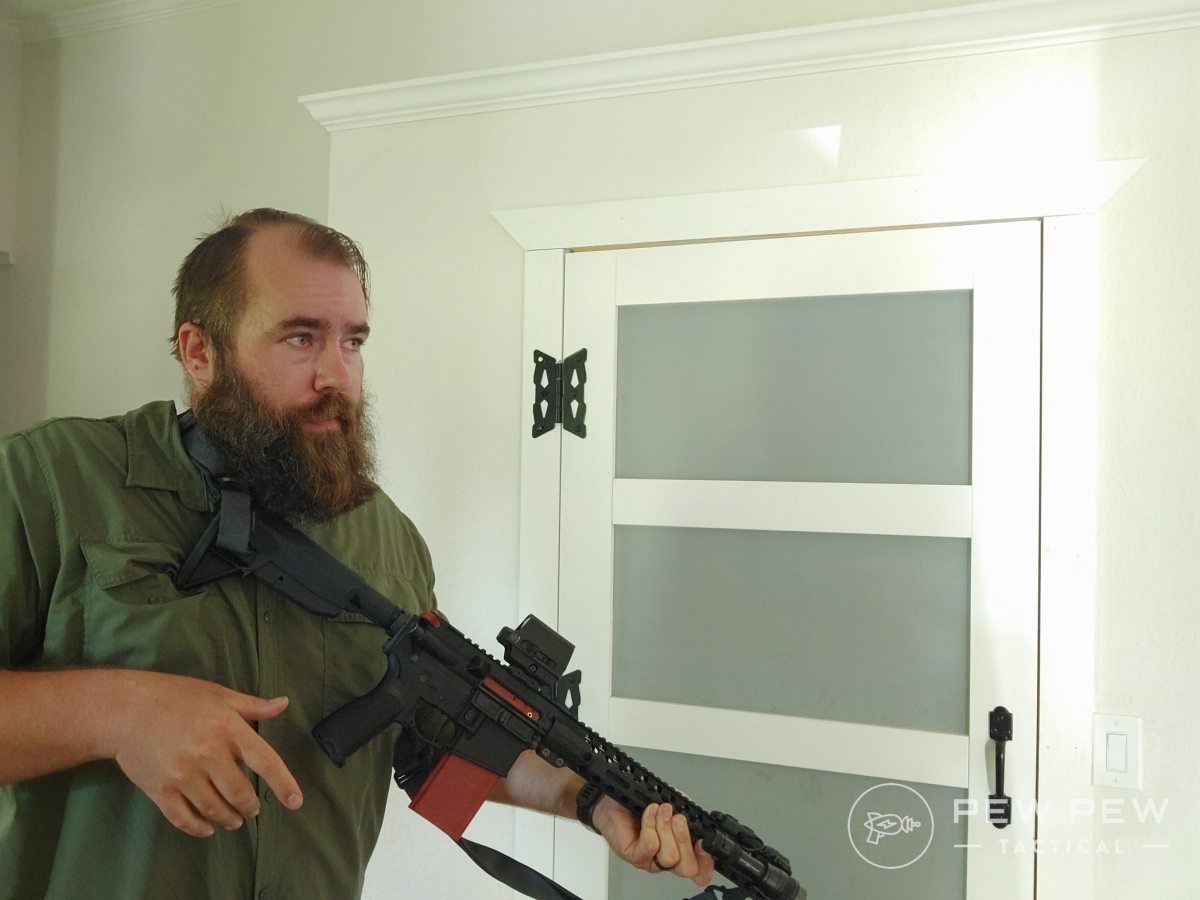
To execute the transition, release the pistol grip with your dominant hand, and immediately move it to your pistol. At the same time, use your left hand to pull the rifle down and to your left (or support) side and out of the way. By the time your left hand releases the rifle, your pistol should have already cleared the holster.
The goal is to get the left hand into position on the pistol as it points downrange and begins to extend towards the target. This way, by the time you start to develop a proper sight picture, you have a solid two-hand grip. At this point, I fire another Bill Drill with the pistol.
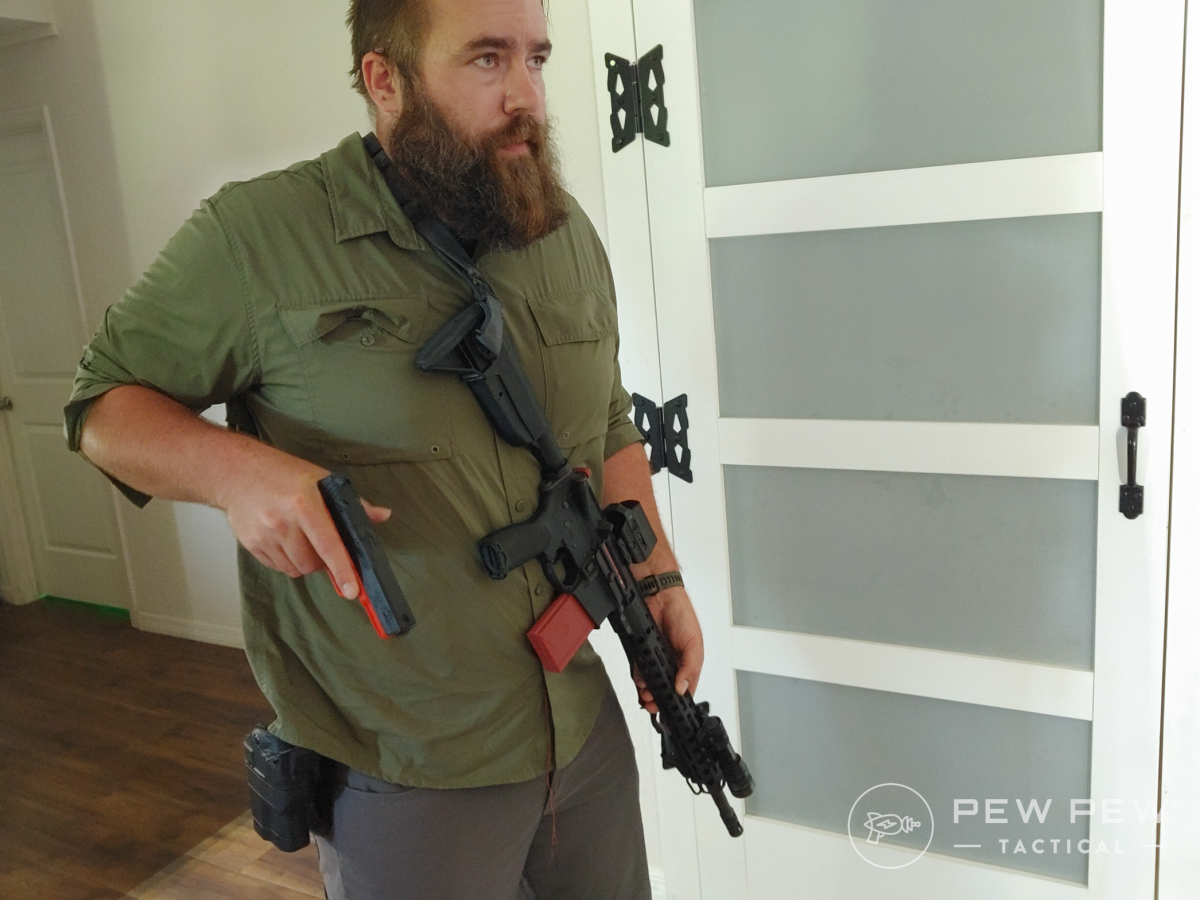
This transition drill is short, sweet, and uncomplicated. It requires you to do different things with each hand, and that’s where people typically make mistakes.
When I started this, I would often pause between movements. The goal is to eliminate that pause to make it a single, smooth, fast motion.
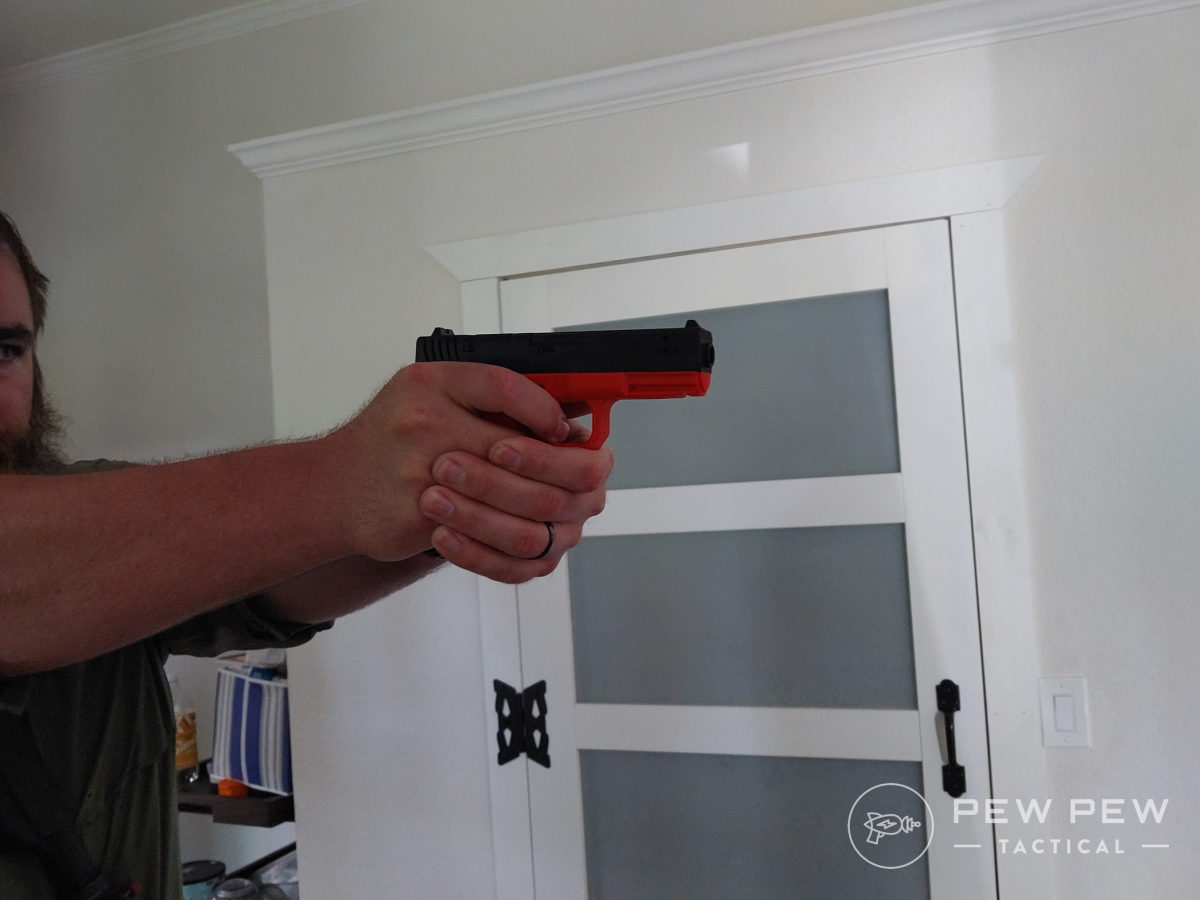
Use timers built into the Mantis application to get feedback on the entire exercise, including the total time used, split times, and information about your trigger manipulations.
You can get visual feedback from the lasers hitting the target to check your shot placement. Be honest with yourself!
Our Most Popular Posts

4. Height-Over-Bore Ready-Ups
Height-over-bore ready-up is a Blackbeard-exclusive drill – the TitanX can take a break for this one.
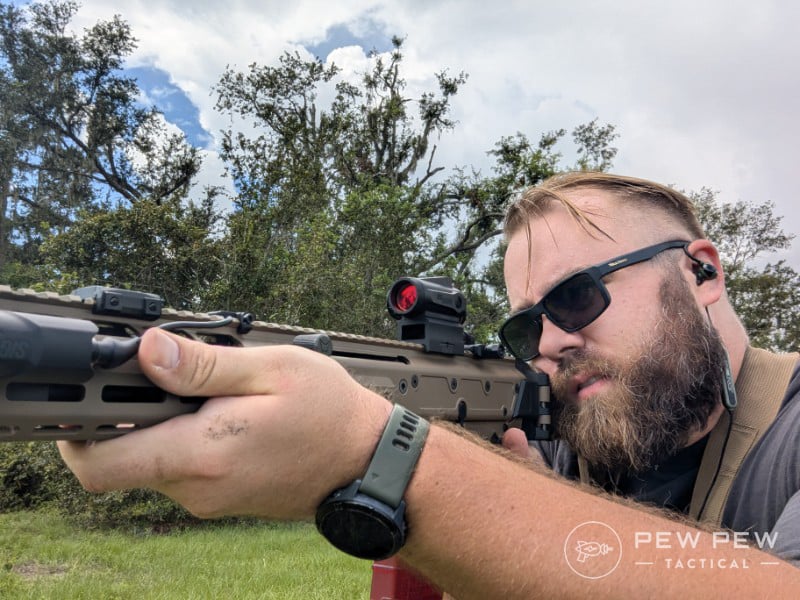
If you’re using your AR-15 for home defense, this drill is a must-have. AR-15-type rifles have an inline stock, which is great for mitigating recoil and controlling muzzle rise, but it also requires you to use sights that sit high on the gun to reach your eyeline. This, plus a rifle-range zero, creates a significant height-over-bore effect.
This means that, up close, your rifle shoots low. How low will vary depending on your mount height and zero distance.
To deal with height over bore, learn how far below your aiming point a round will land at close-quarters distances. The best way to do this is at the range with a single live round and a zeroed optic. Use a small aiming point, like a quarter-sized dot.
Put the reticle on the dot and fire. Your round will hit low, giving you a marking point.
Unload, show clear, and install your Blackbeard.
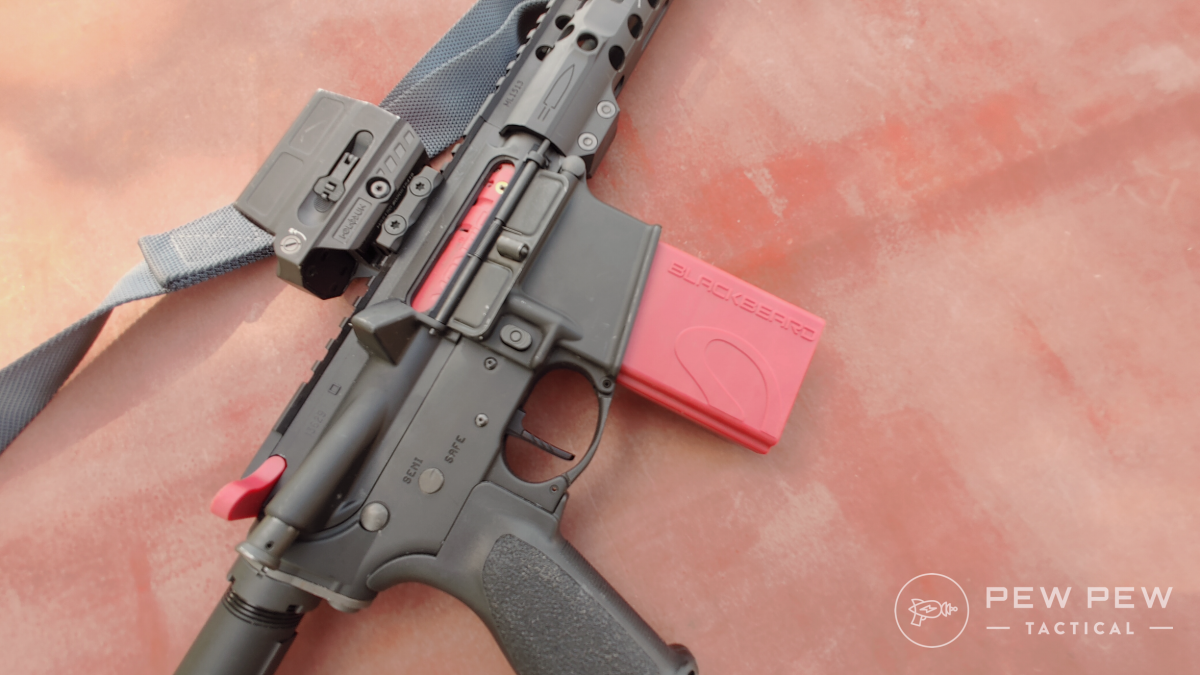
Like the TitanX, you have an option for a constant-on laser. With the laser on, aim at the dot and adjust the laser until it aligns with the fired shot while your reticle sits on your quarter-sized dot. Now you’re ready to go dry.
If you can’t do all this at the range, shoot a target, save it, and take it home to reference when adjusting your Blackbeard laser.
How to Practice Height-Over-Bore Training With Mantis
For this type of training, I use sticky notes as targets because they’re cheap, small, and don’t mess up the paint on my walls.
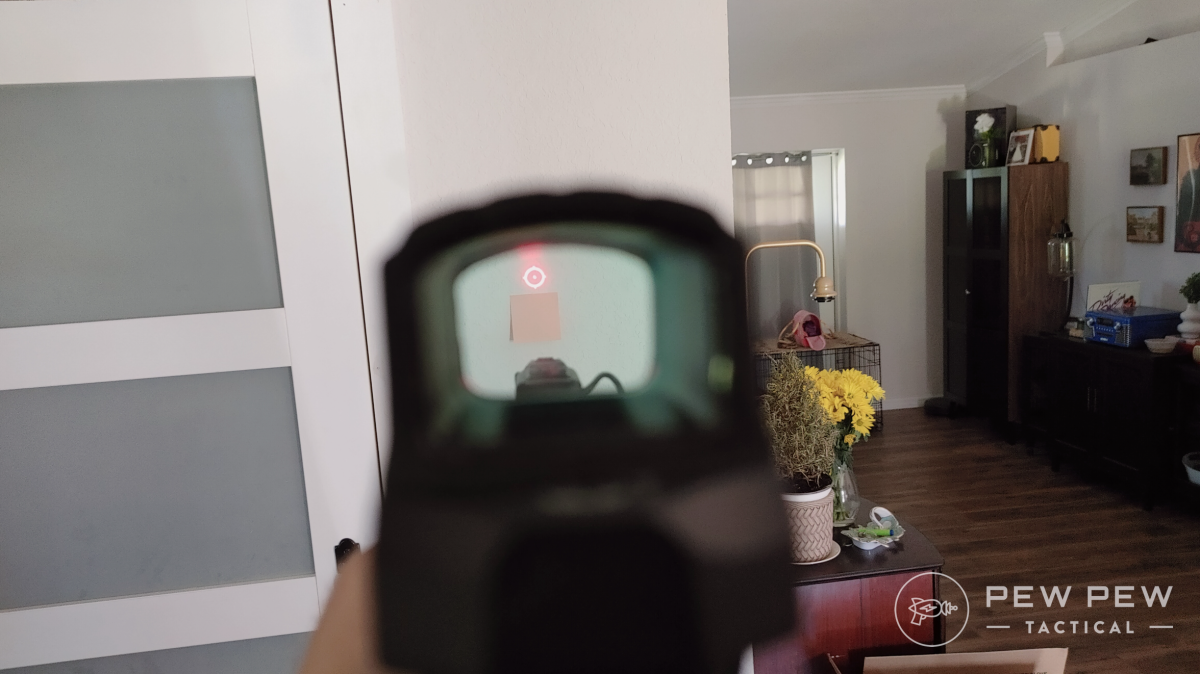
Set up your target, assume a low ready position, and run a simple ready-up drill. Your goal is to hit the small target with the laser.
As you practice, you’ll learn all about height over bore. Through repetitive practice, you’ll be able to predict how high over the target you need to put your reticle.
It’s not sexy, and it’s not particularly high speed, but it’s a fundamental skill that ensures your shots go where you need them to go at home defense ranges.
5. Moving & Shooting
Moving and shooting is tough to practice. This kind of stuff is strictly prohibited at most ranges, so you’re kind of limited to classes and competition if you want to try it.

Luckily, you can get realistic reps with either the TitanX or an AR-15 equipped with the Blackbeard.
Movement is critical in a fight. Moving to cover, retreating, escaping, etc., are all things you might need to do. And moving targets are harder to hit than stationary targets.
Moving and shooting requires you to take small, choppy steps to help keep the upper body from bouncing around and moving you off target. Keep a bend in your knees, and focus on moving smoothly. If you have to go fast, take more steps, not longer steps.
When shooting on the move, going straight is pretty simple. But what happens if you’re moving straight and a threat presents itself to the right or left? We don’t start lateral shuffles.
I’m a fan of the Rick Hogg method of pivoting the upper body to the right or left to engage while keeping a forward direction of movement.
Think of your body as a tank – your legs are the tracks, and your torso is the turret. They can move independently of one another to cover ground while keeping your sights on the target.
How to Practice Moving & Shooting With Mantis
To start shooting on the move, start by setting up a few small targets. I prefer ISPC-sized A-zones. Give yourself enough space to take several steps and get real movement going.
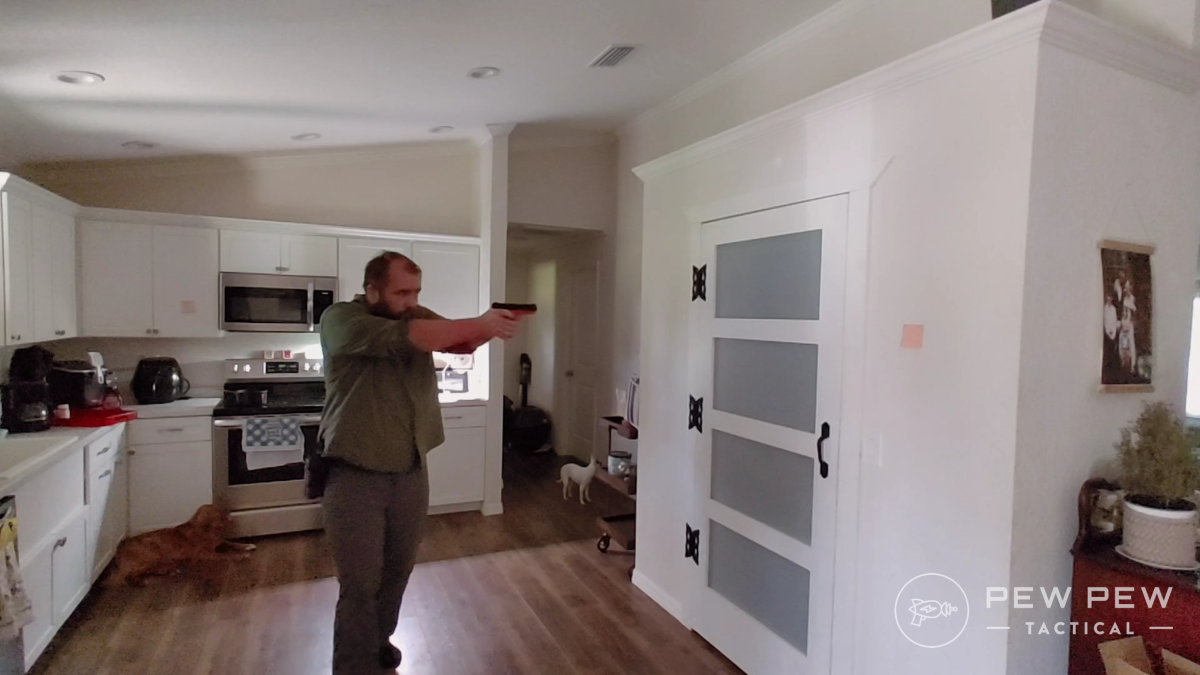
For forward movement you only need one target. For lateral movement, put up three targets with a few feet between them.
Alternate between walking forward and laterally. When moving side to side, focus on engaging the targets at different angles. Some slightly forward of you, some directly to your side, and some slightly behind you.
Switch sides to practice shooting to your right and left.
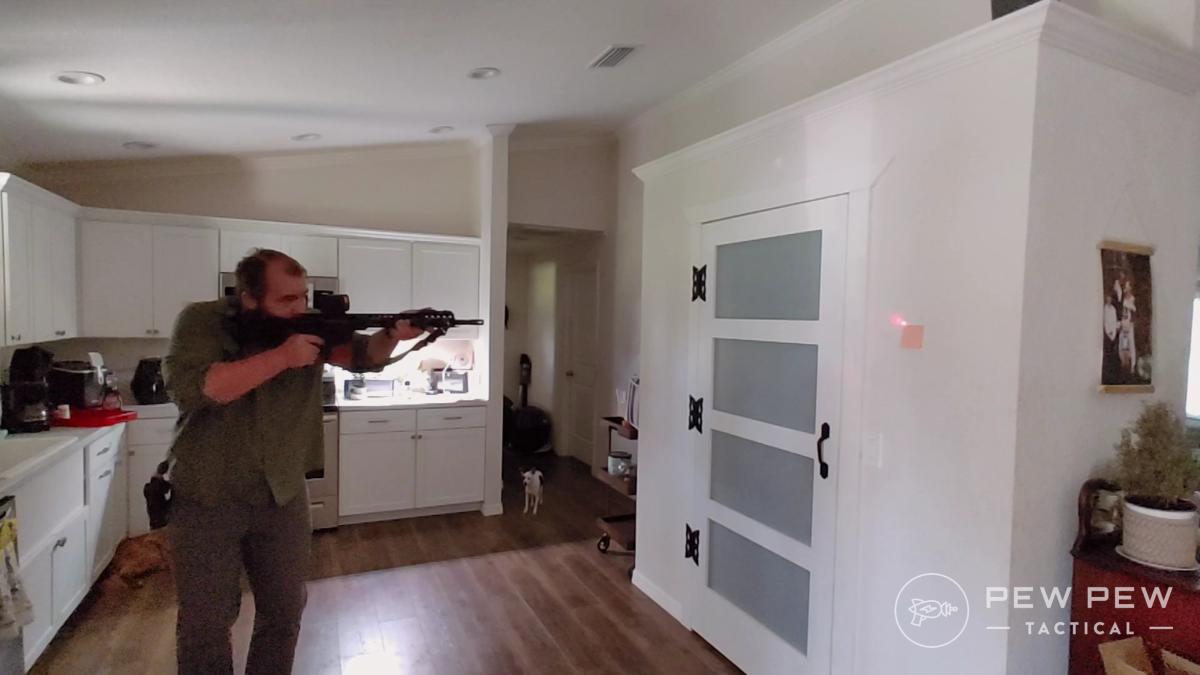
Move only as fast as you can make your hits. Remember, accountability is everything. The visual laser fired by Blackbeard and TitanX makes it easy for you to see your shots. You’ll know whether you miss or not; if you fail, accept it and fix it.
Final Thoughts: Laser Training Rules
The Mantis TitanX and Blackbeard systems provide a safe, effective set of training tools that allow you to take your training to the next level.
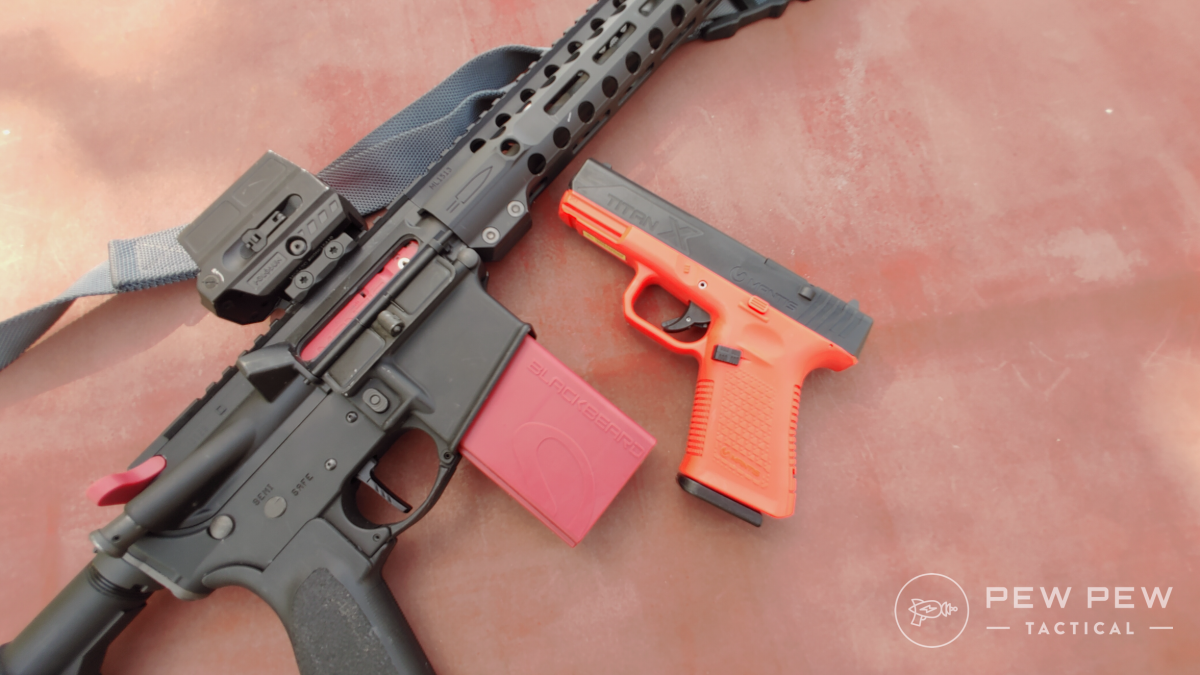
These systems help increase the efficiency and safety of your training. Plus, it’s a lot more entertaining than just clicks and constant trigger resets.
What drills do you use? Let us know below! Looking for more ways to train at home? Check out our CoolFire Trainer Review!
Meet the Experts
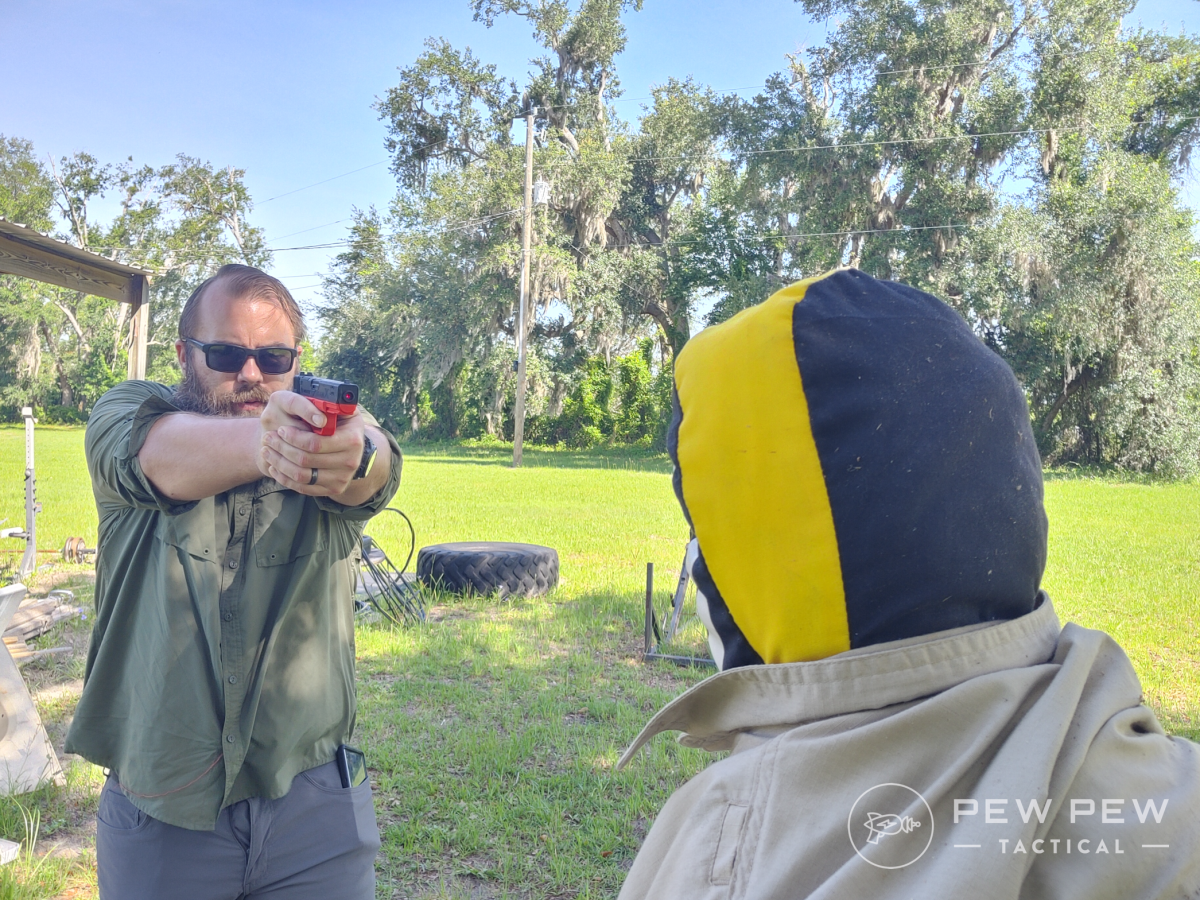
This article comes to you from Pew Pew Tactical author Travis Pike. Travis is a lifelong shooter who served as a Marine Corps infantryman. In the civilian sector, Travis is a concealed carry instructor and writes for many firearm industry publications. His extensive experience with firearms, gear testing, and training methods informed this article.